Materials:
H (5 mm) crochet hook
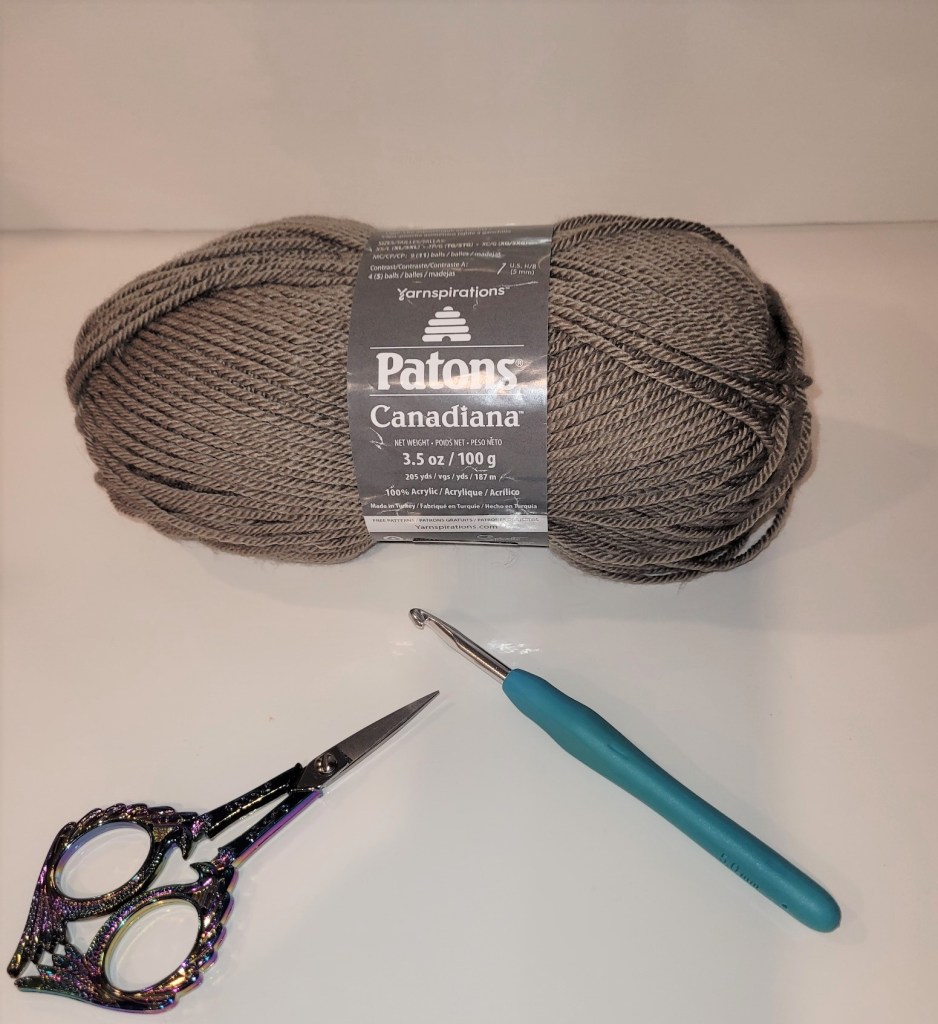
Any Worsted Weight yarn (4 weight): Black, Pink
Fuzzy yarn: I used Lion Brand Go for Faux, but Faux Fur but loops and Thread would also work
Yarn needle
STITCHES:
CH – Chain
SSt – Slip Stitch
SC – Single crochet
Hdc – Half double crochet
Notes:
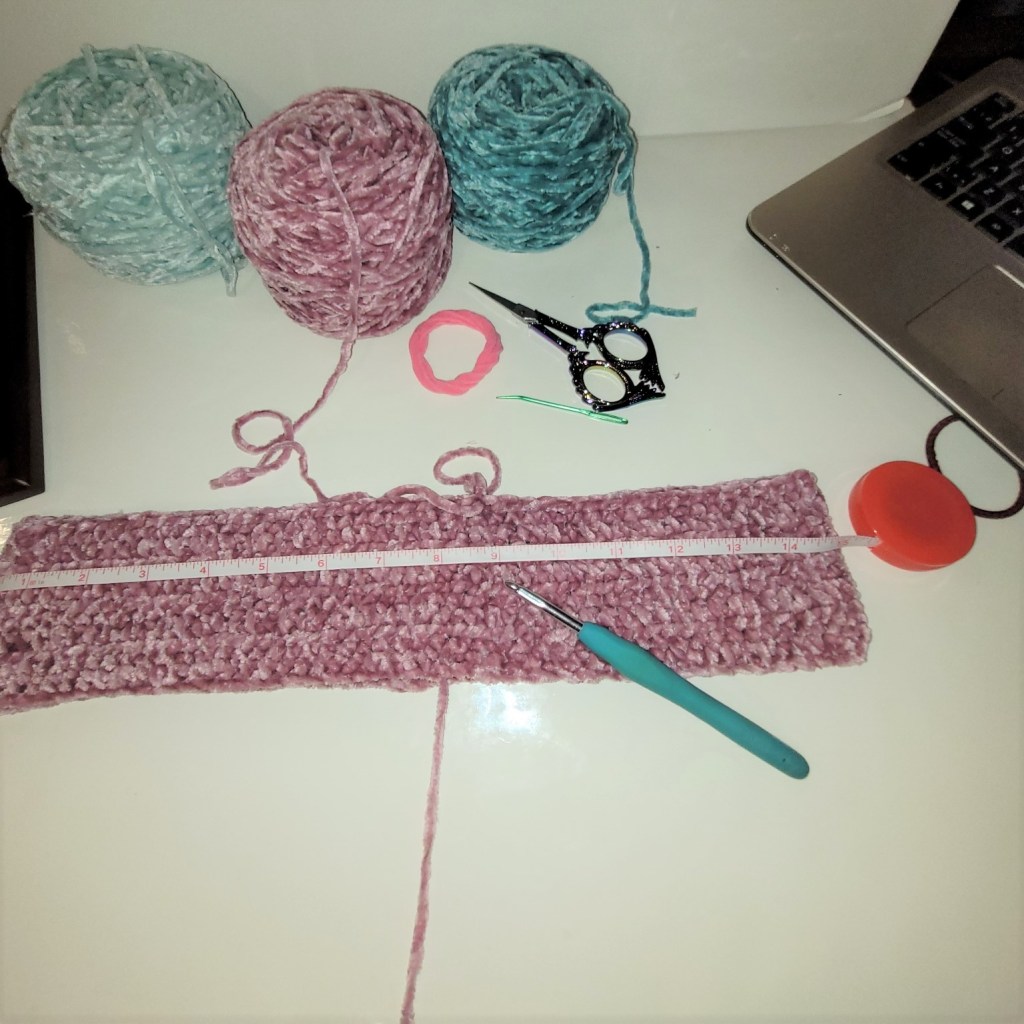
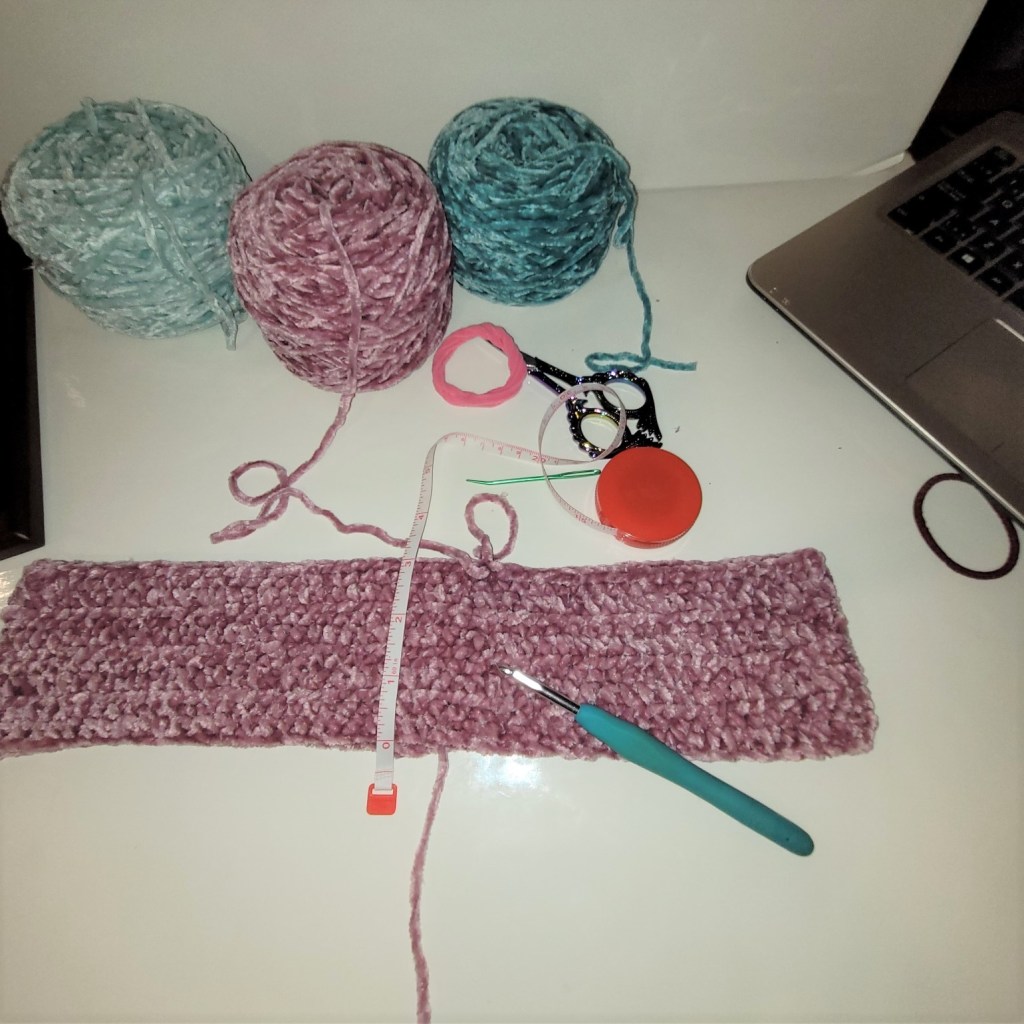
This pattern makes an adult size hat. The height can be adjusted by increasing or decreasing the number of starting chains. The width can be adjusted by increasing or decreasing the number of rows.
For adult hats, I generally use 48 stitches per row with a total of 44 rows.
For a teen hat I generally use 46 stitches per row with a total of 42 rows.
For a child had I would use 44 stitches per row with a total of 40 rows.
For a toddler hat I would use 35 stitches per row with a total of 38 rows.
For a baby hat I would use 32 stitches per row with a total of 36 rows.
The Chain 1 at beginning of each row does not count as a stitch
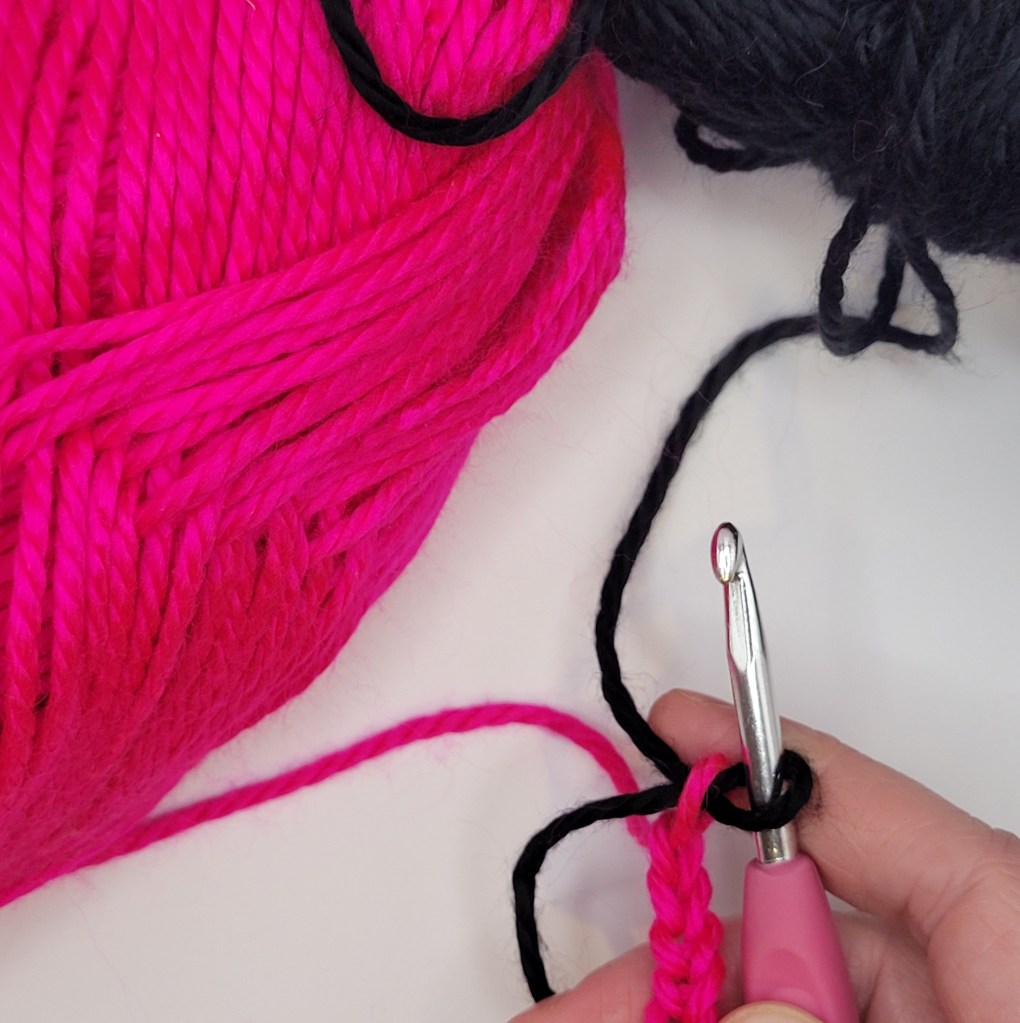
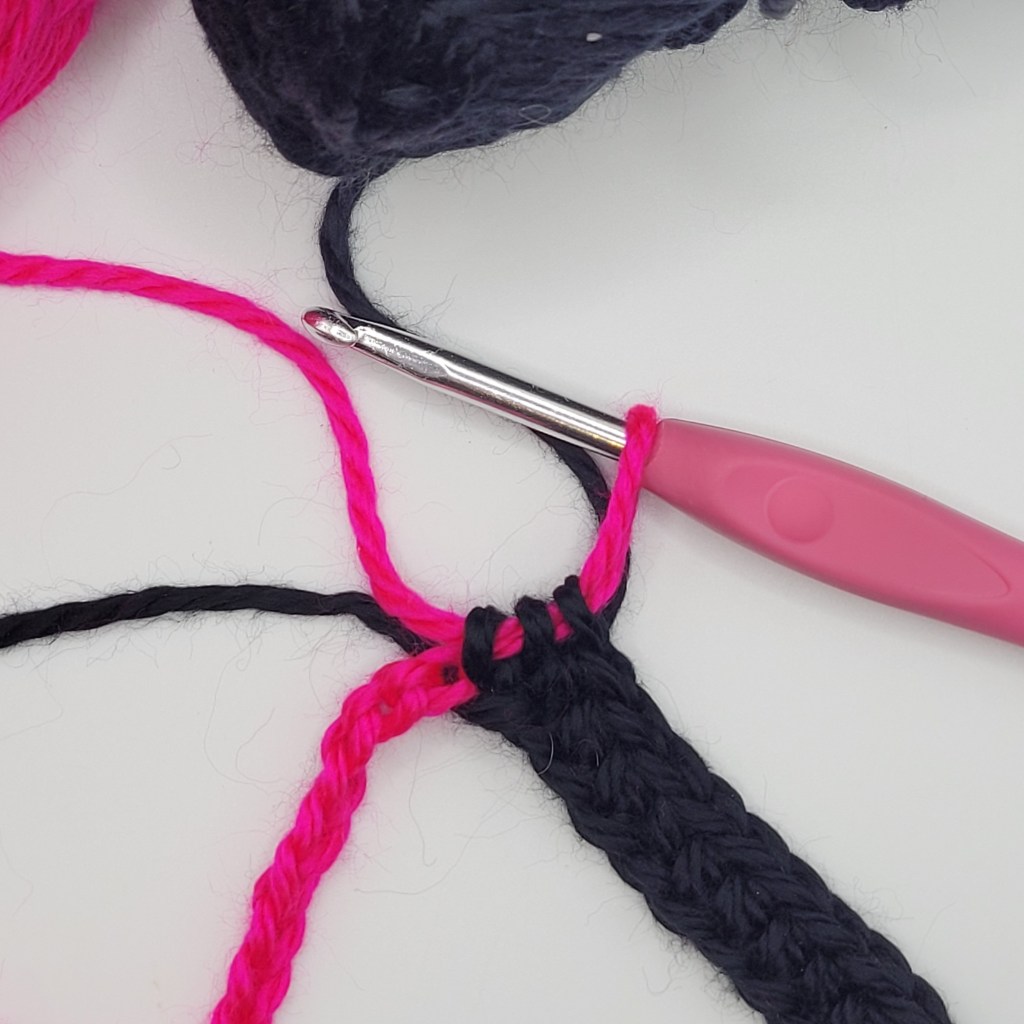
When changing colors, start last stitch of current color then complete stitch using new color
Do NOT cut yarn when changing colours, instead drop and carry the yarn on the wrong side of the work (colors will be carried side facing away from you on the odd rows and on the side facing you on the even rows)
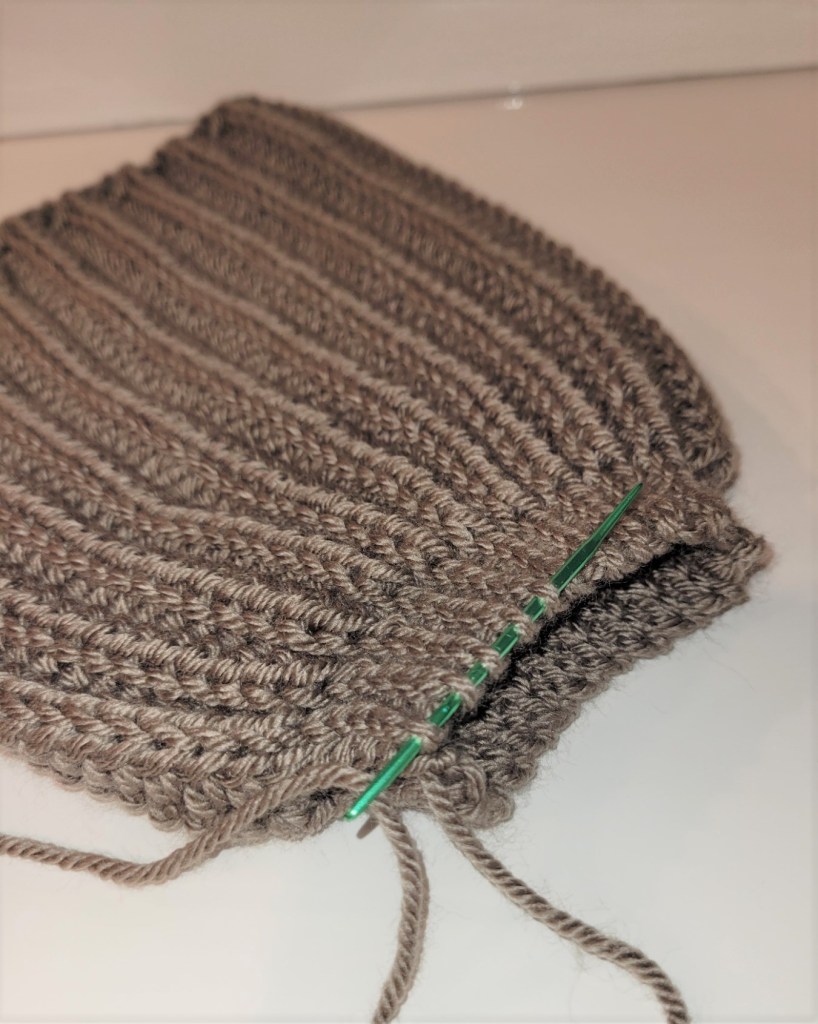
For body of hat – all stitches are worked in back loop only, with the exception of the 1st row which is worked into the back bump of the chain.
Body of hat is made in rows and then seamed up.
Ears of the hat are made in the round.
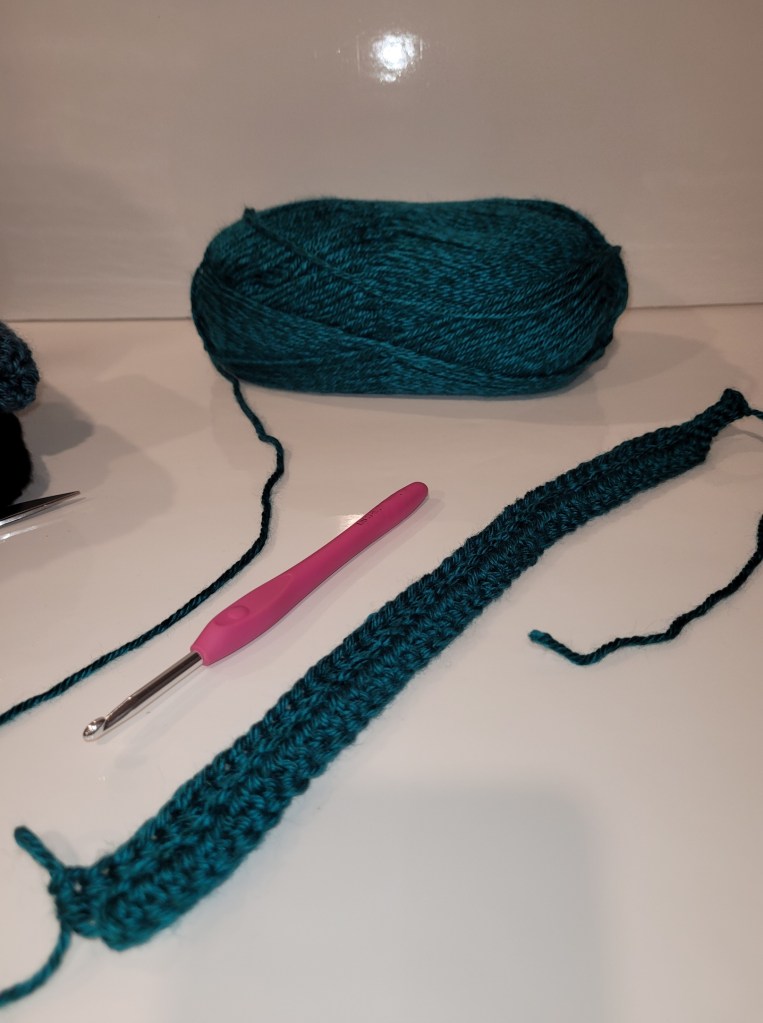
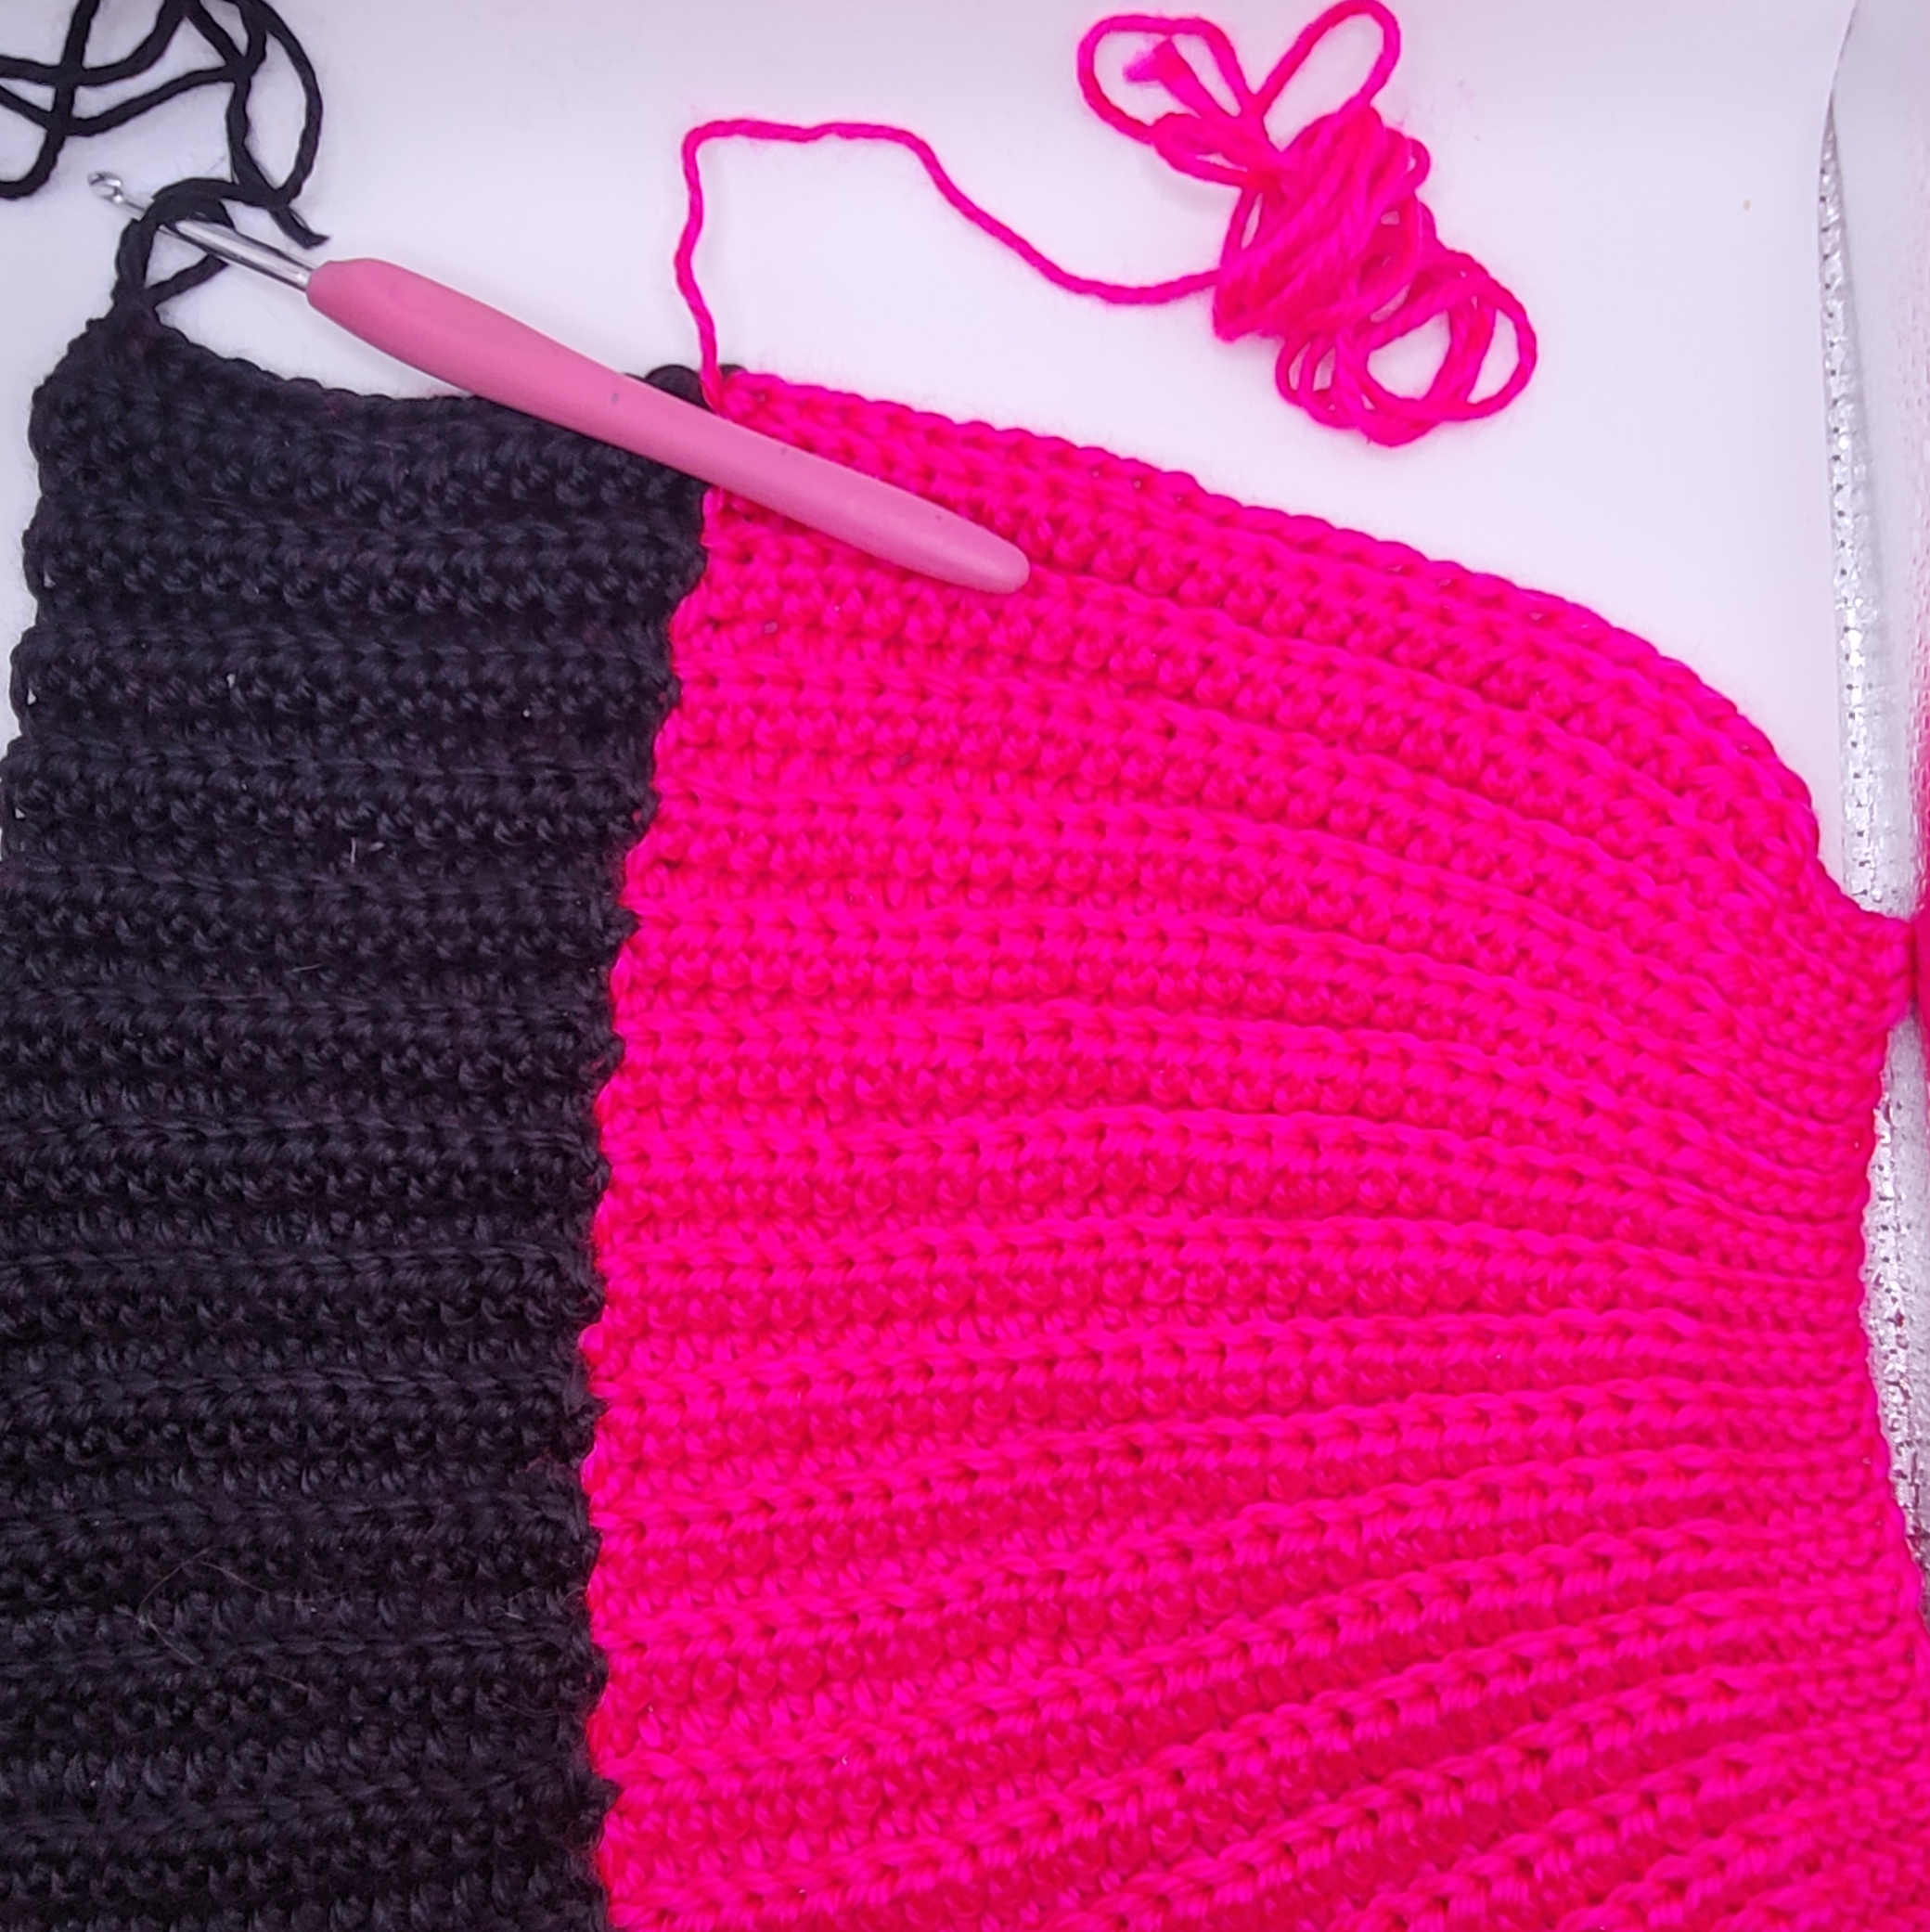
Body of Hat:
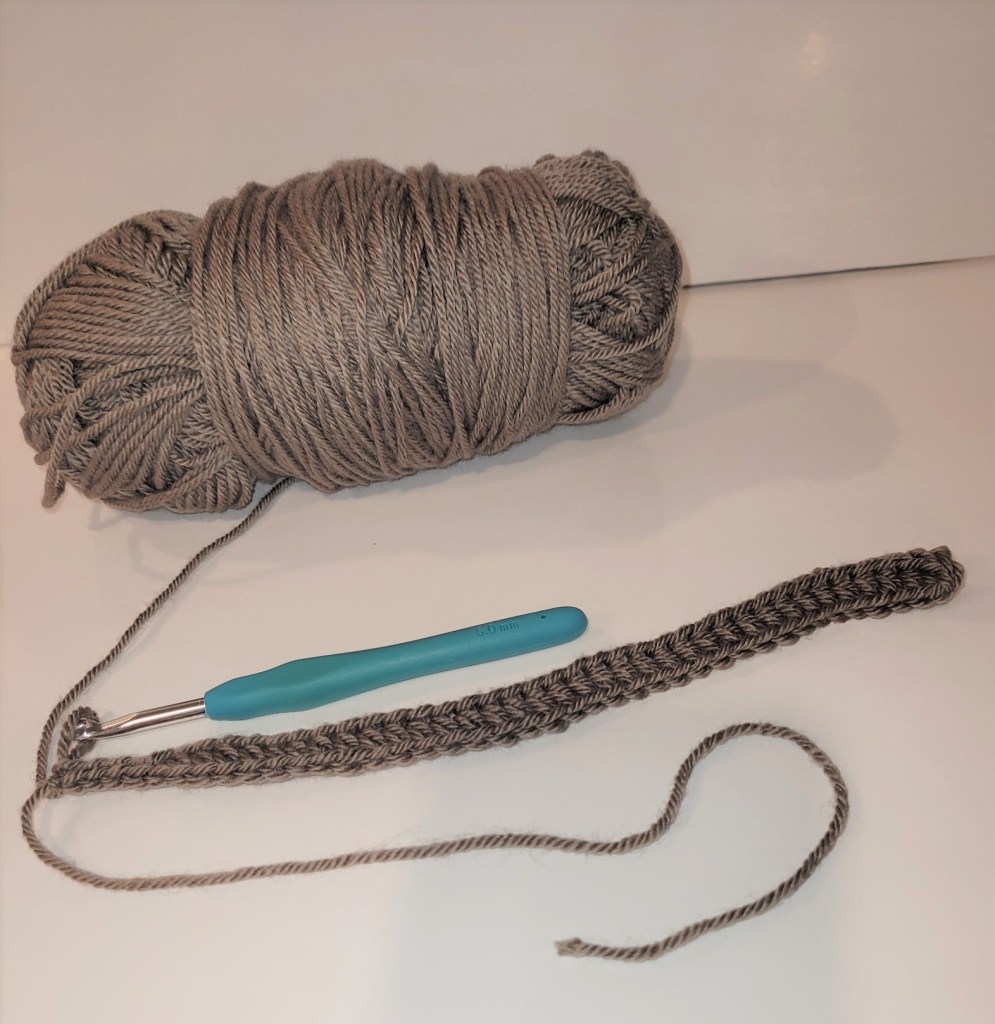
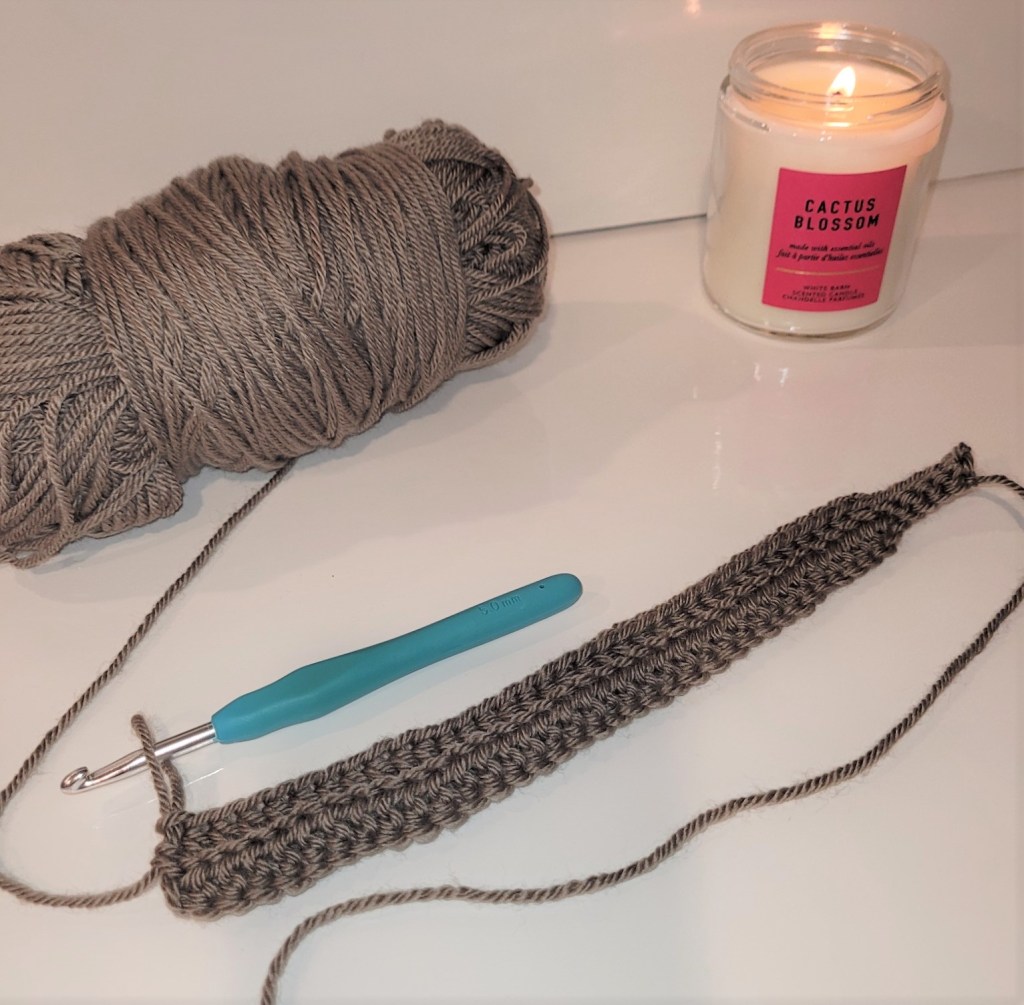
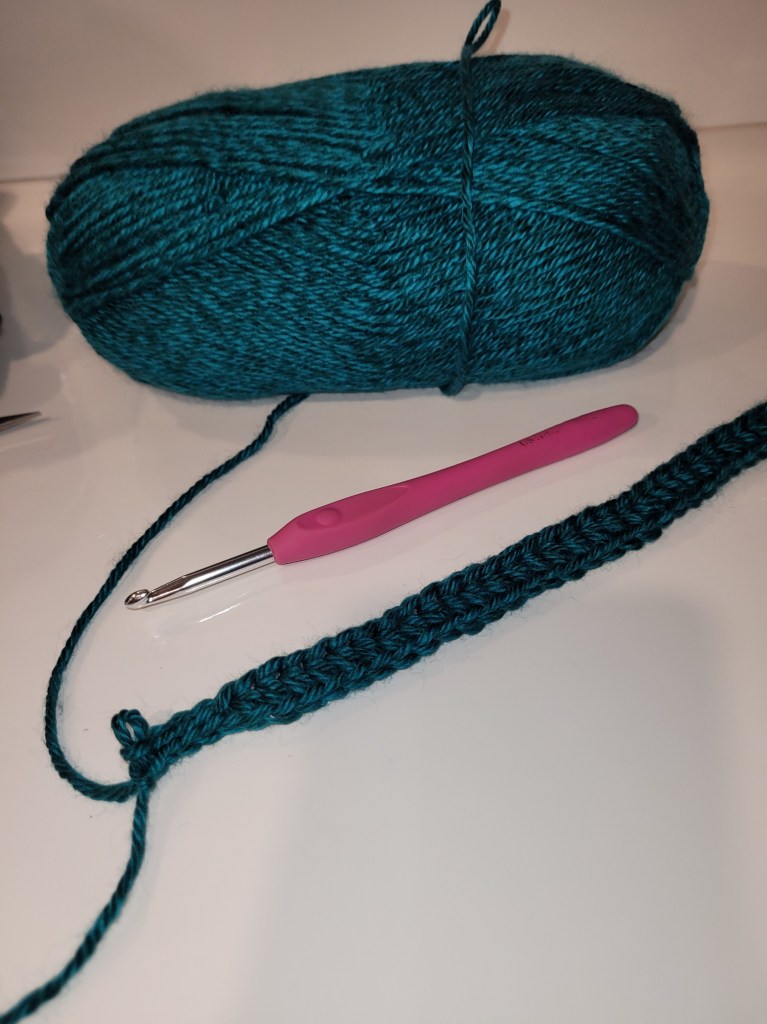
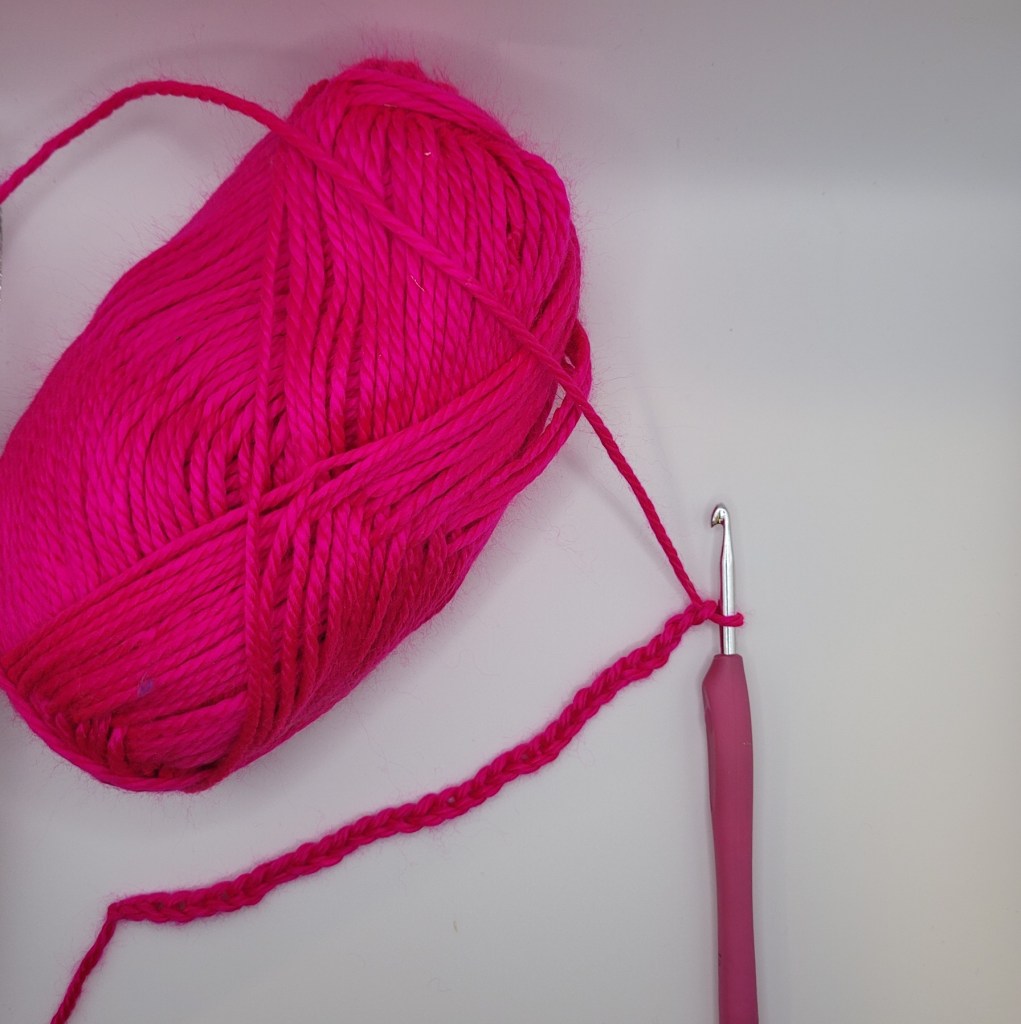
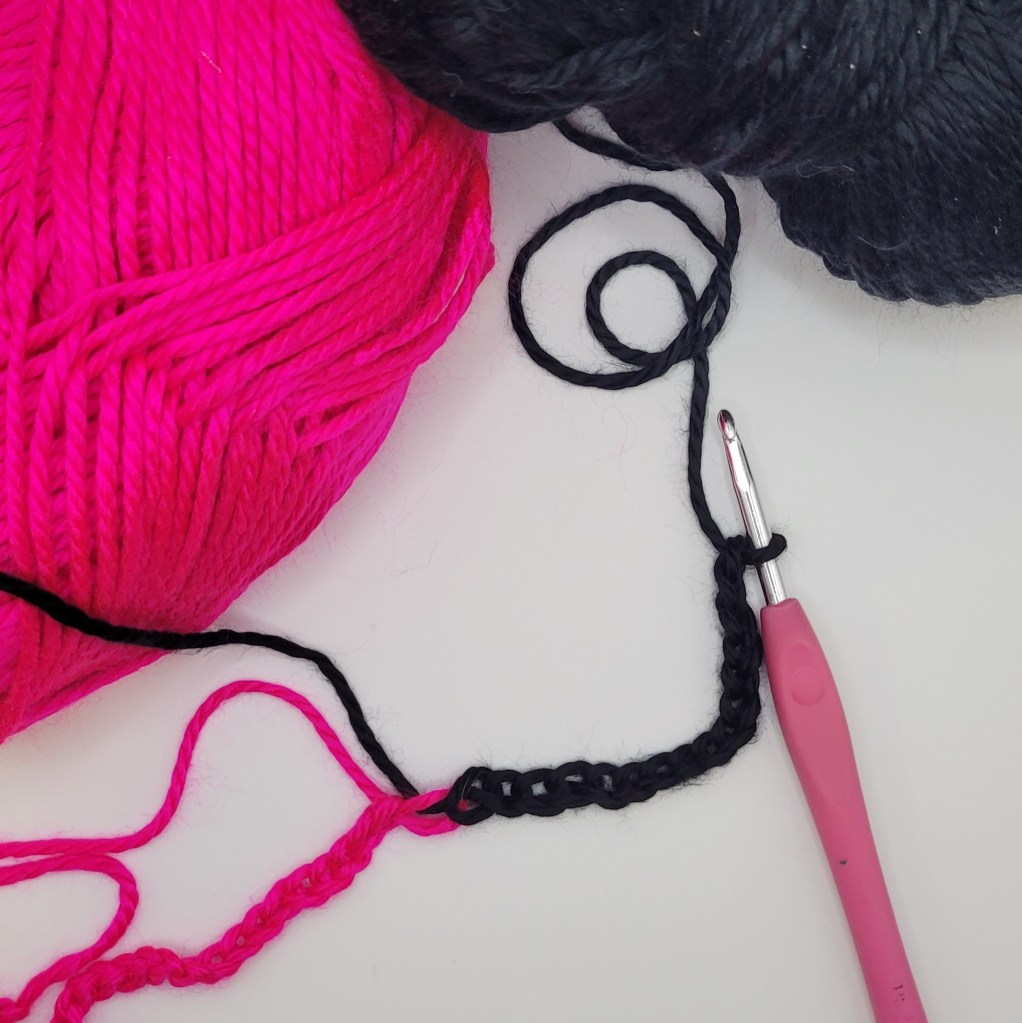
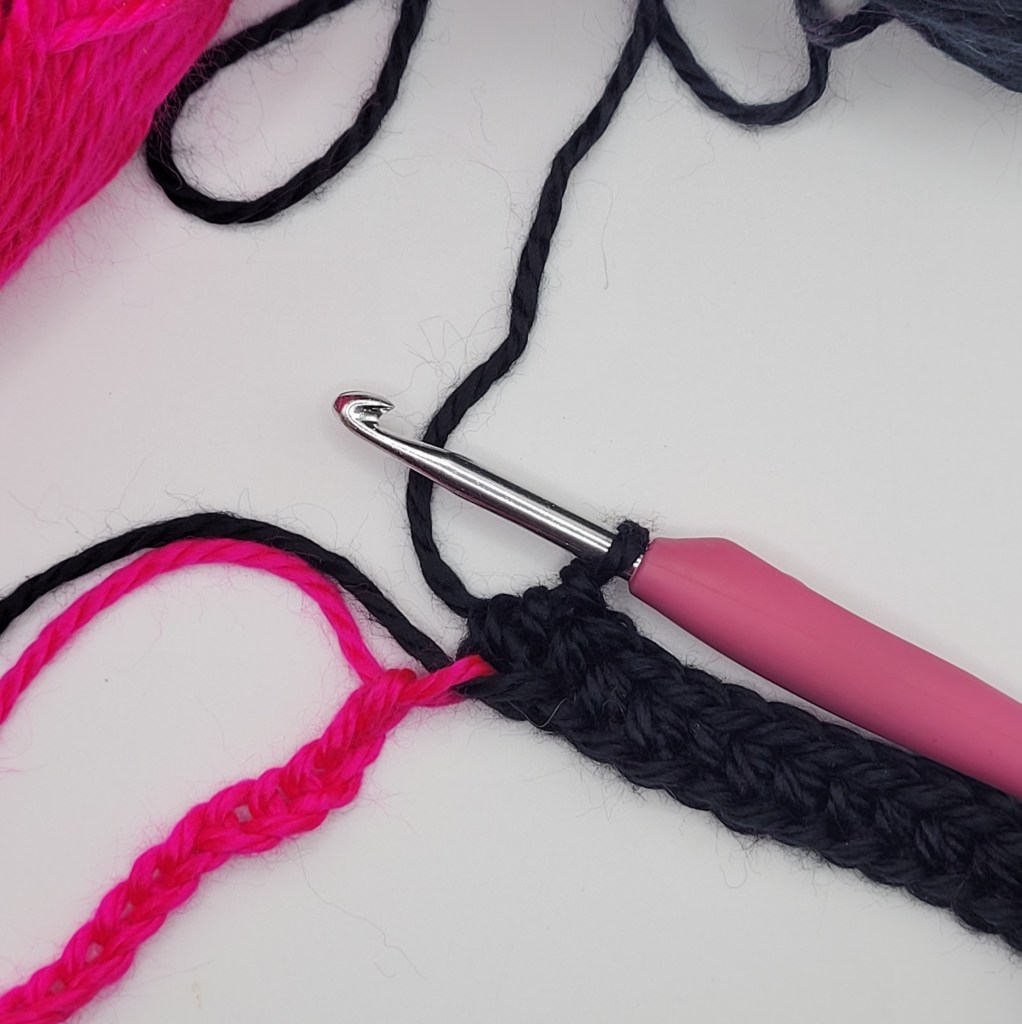
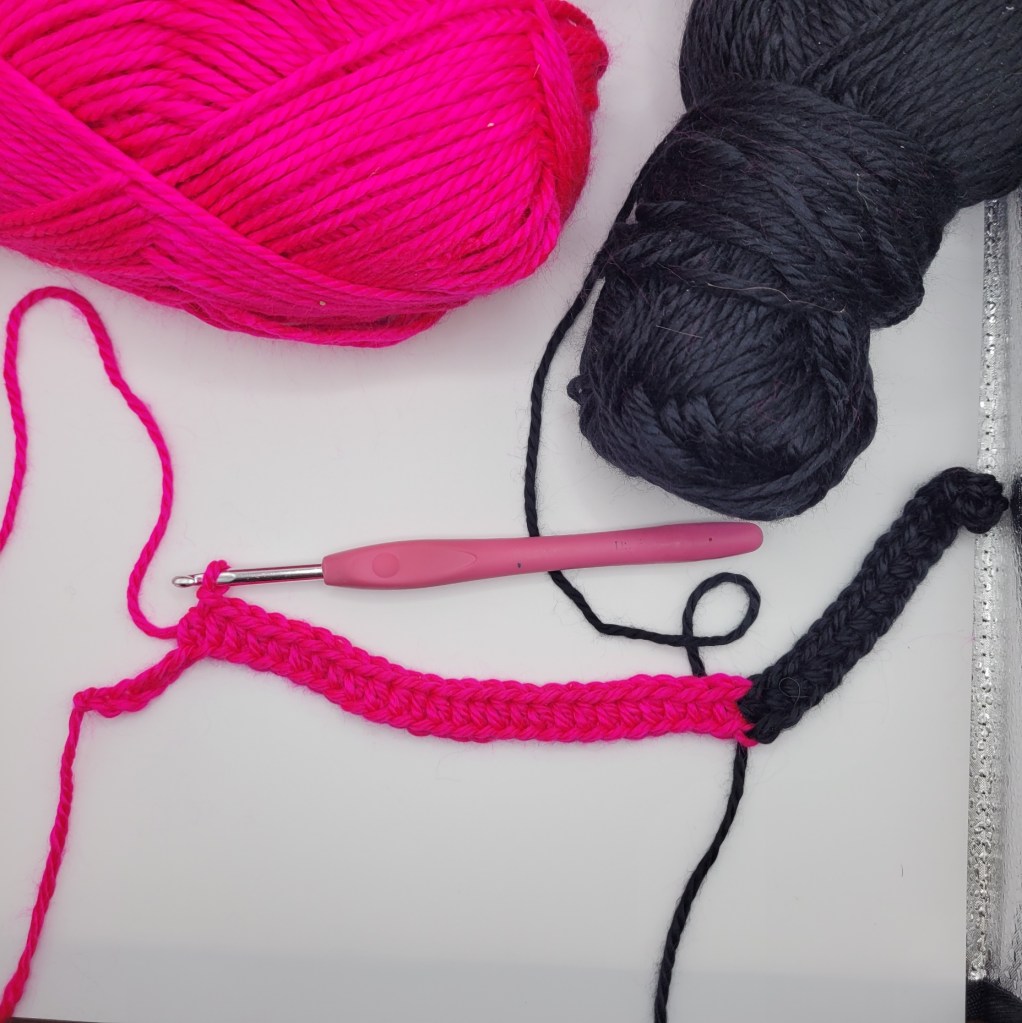
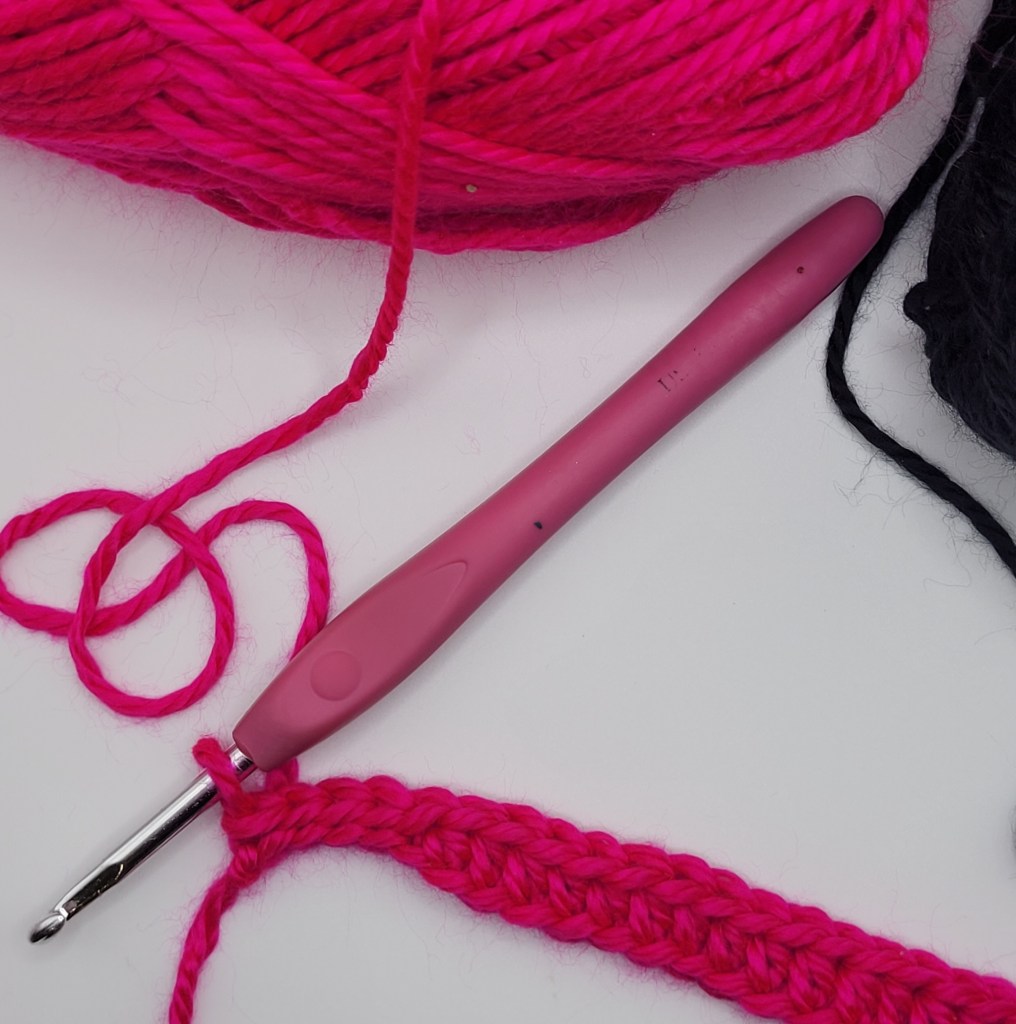
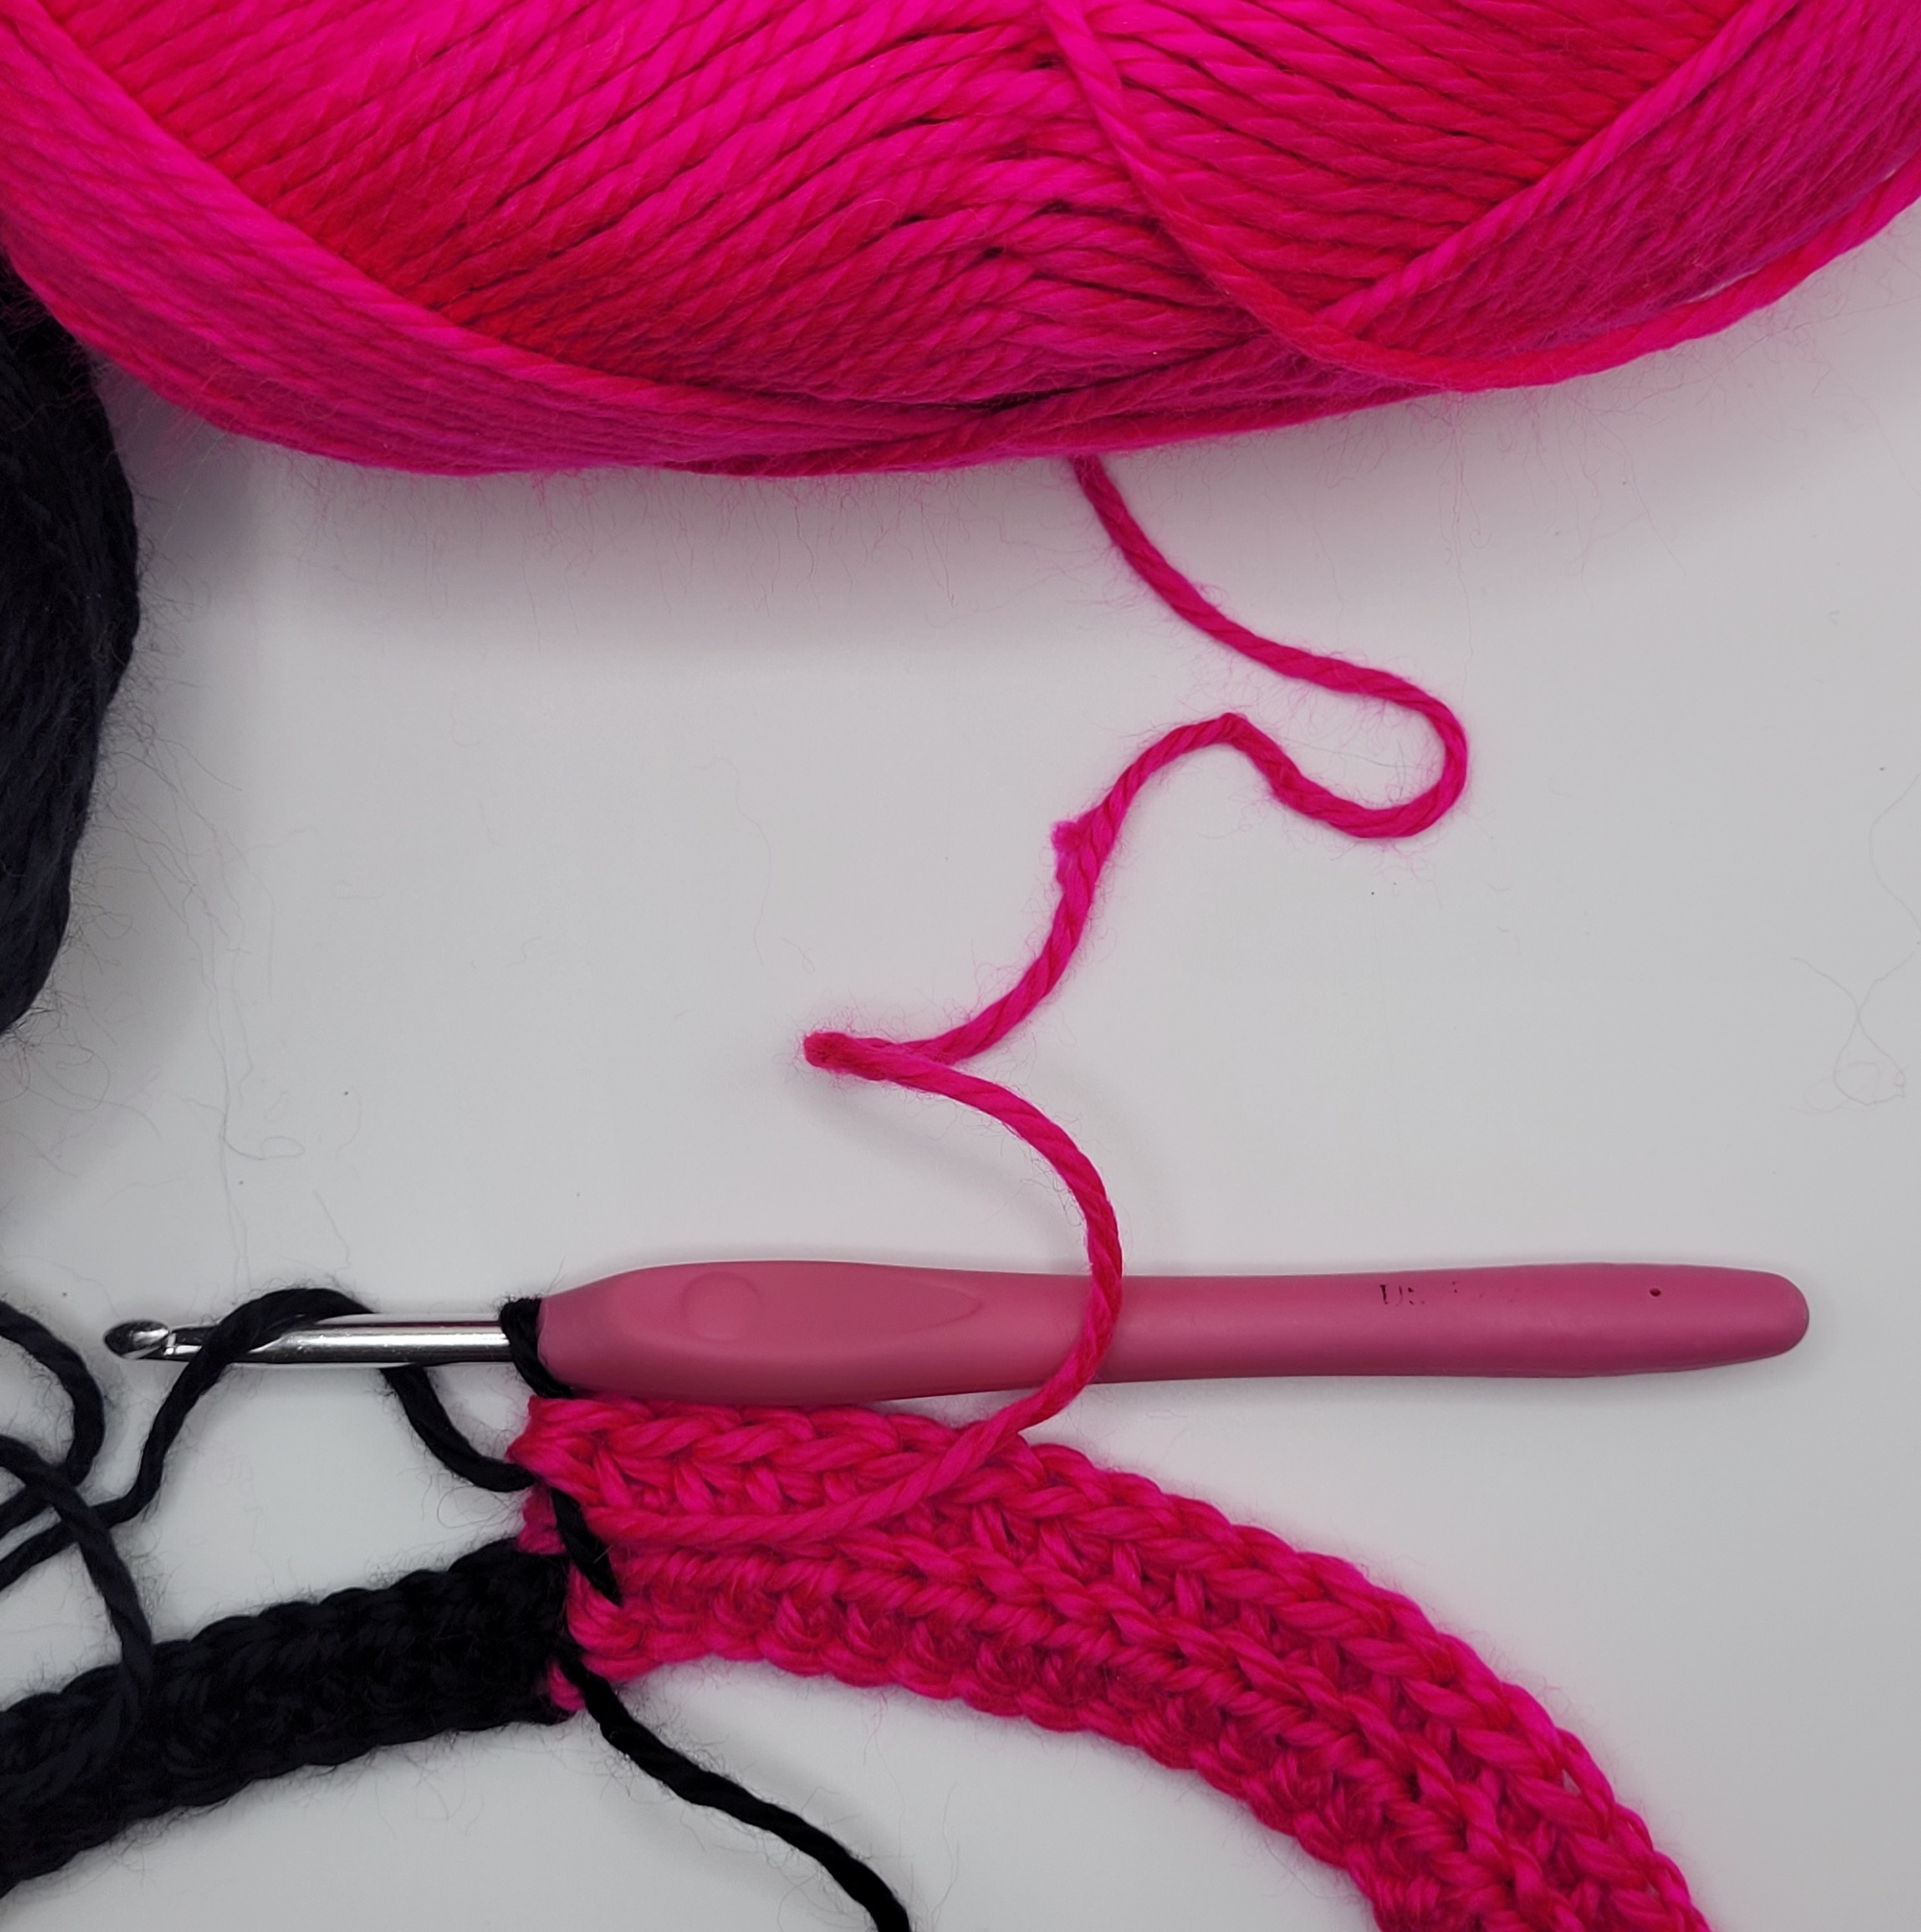
Row 1: Chain 31 in Pink, bring a loop of black through the pink loop on hook (this counts as the 32nd chain), then chain 17 in black (49 chains total), HDC into the back bump of the 2nd black chain from hook, HDC in the back bump of the next 15 chains. Change to PINK. HDC in the back bump of the next 27 pink chains, SSt in the back bump of the last 5 pink chains. You should have 16 black stitches and 32 pink stitches (48 stitches total). Chain 1 and turn
For the rest of the body of the hat, we will work in the Back Loop Only
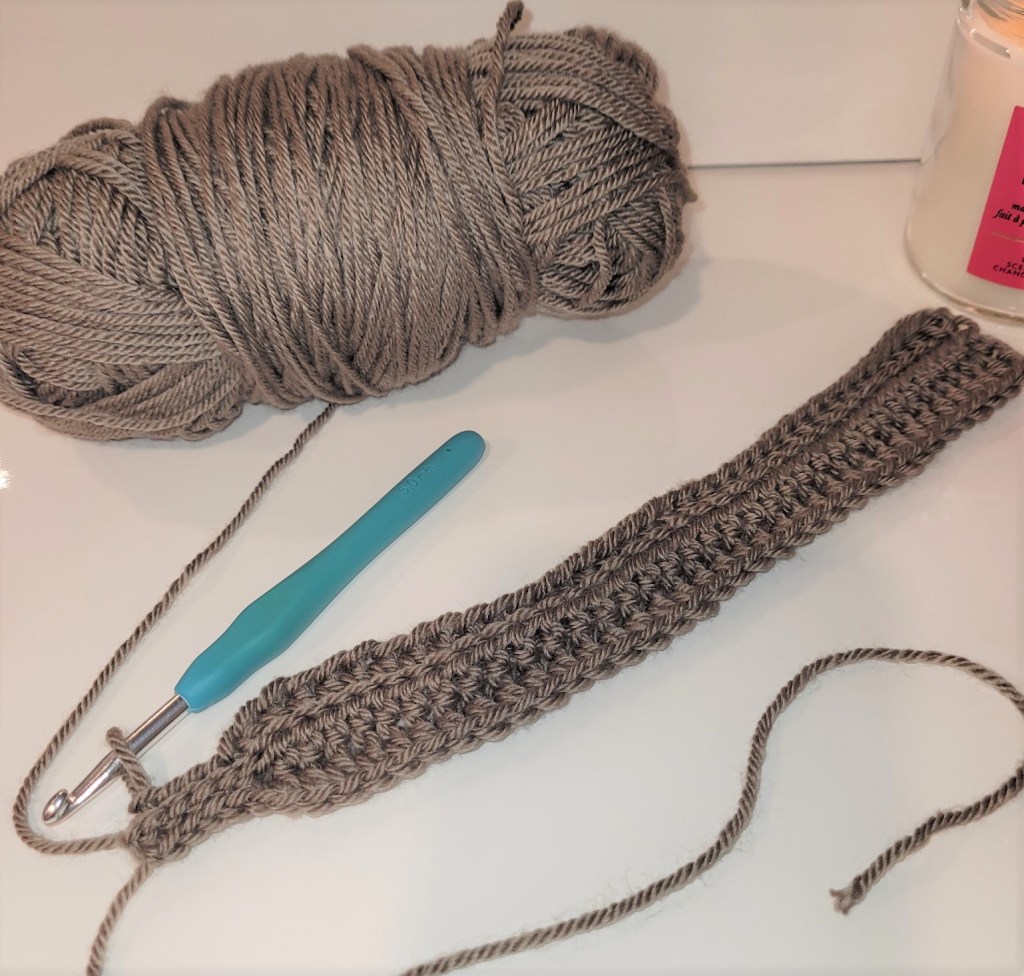
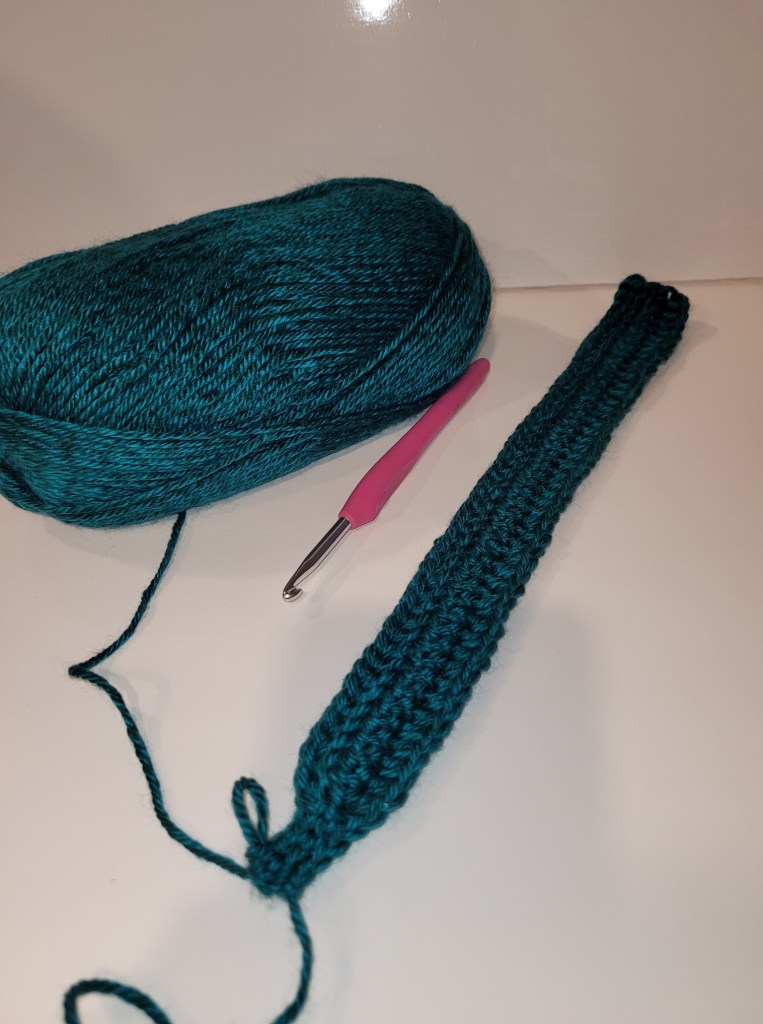
Row 2: SSt into the back loop of 1st 5 stitches, HDC in back loop of next 27 stitches, CHANGE To BLACK, HDC into the back loop of the next 16 black stitches (48 stitches total). Chain 1 turn
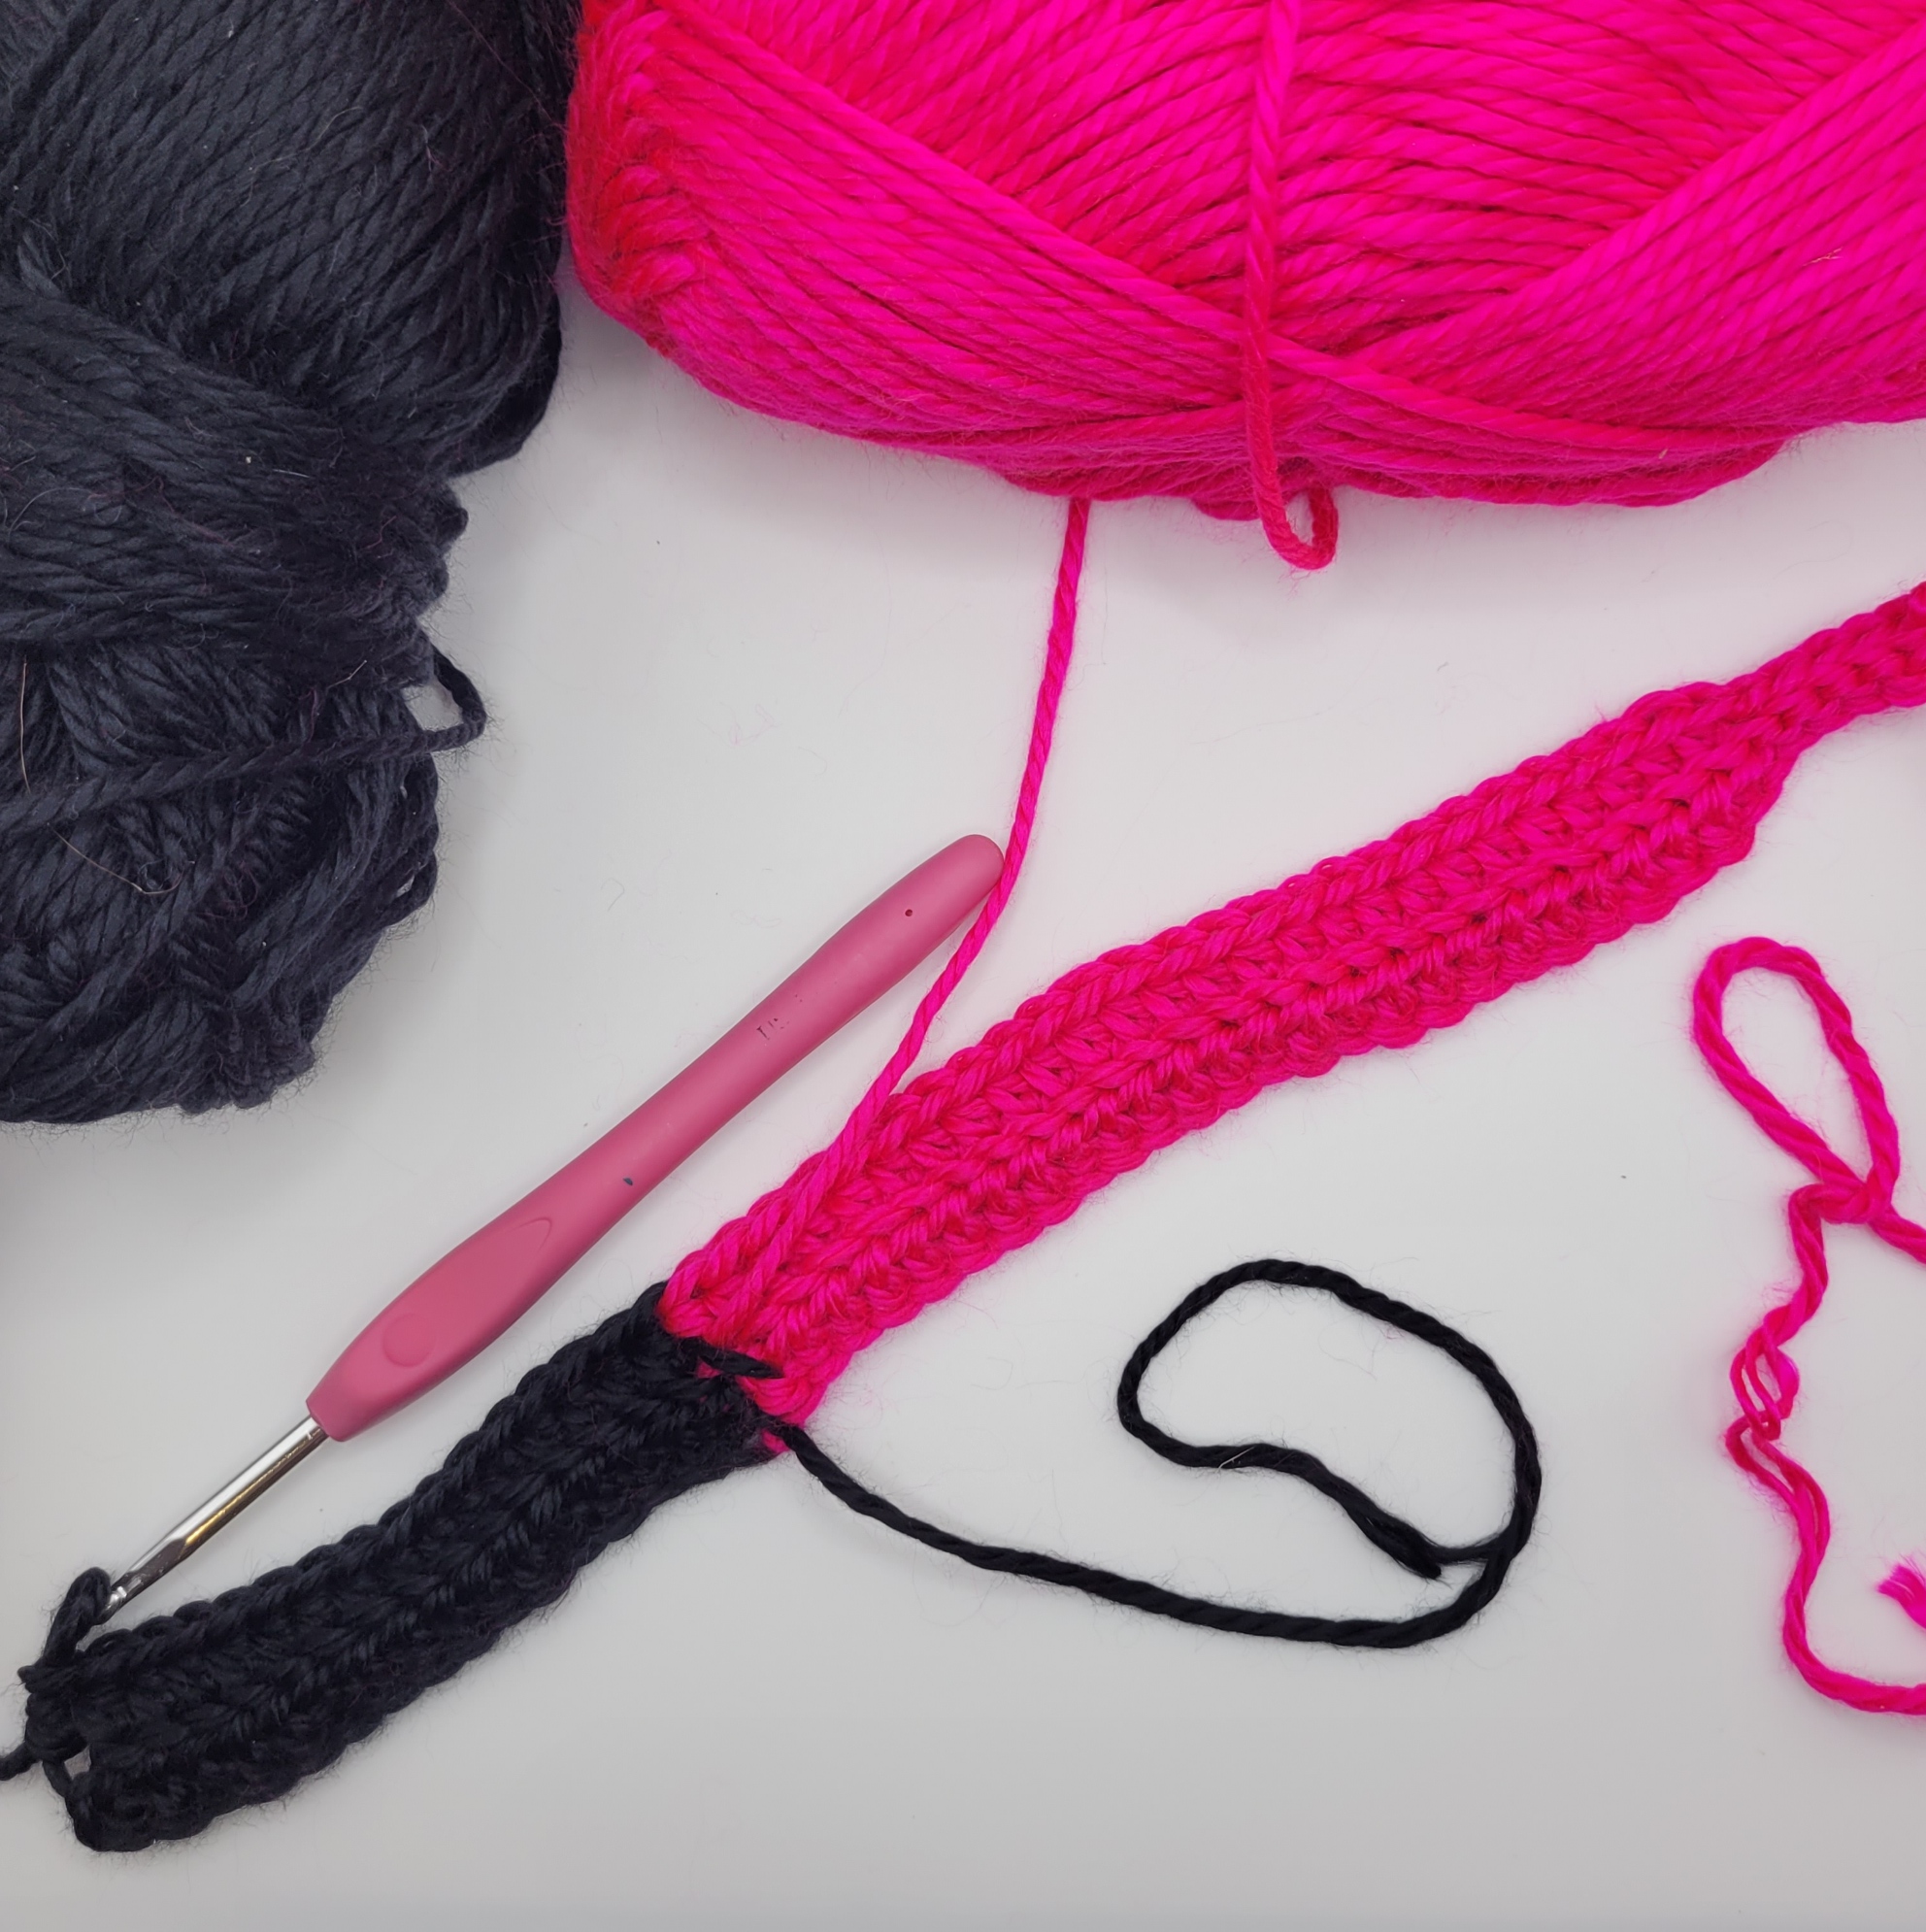
Row 3: HDC into the back loop of the first 16 black stitches, CHANGE to PINK, HDC in the back loop of the next 27 pink stitches, SSt into the back loop of the last 5 pink stitches. (48 stitches total), Chain 1 turn.
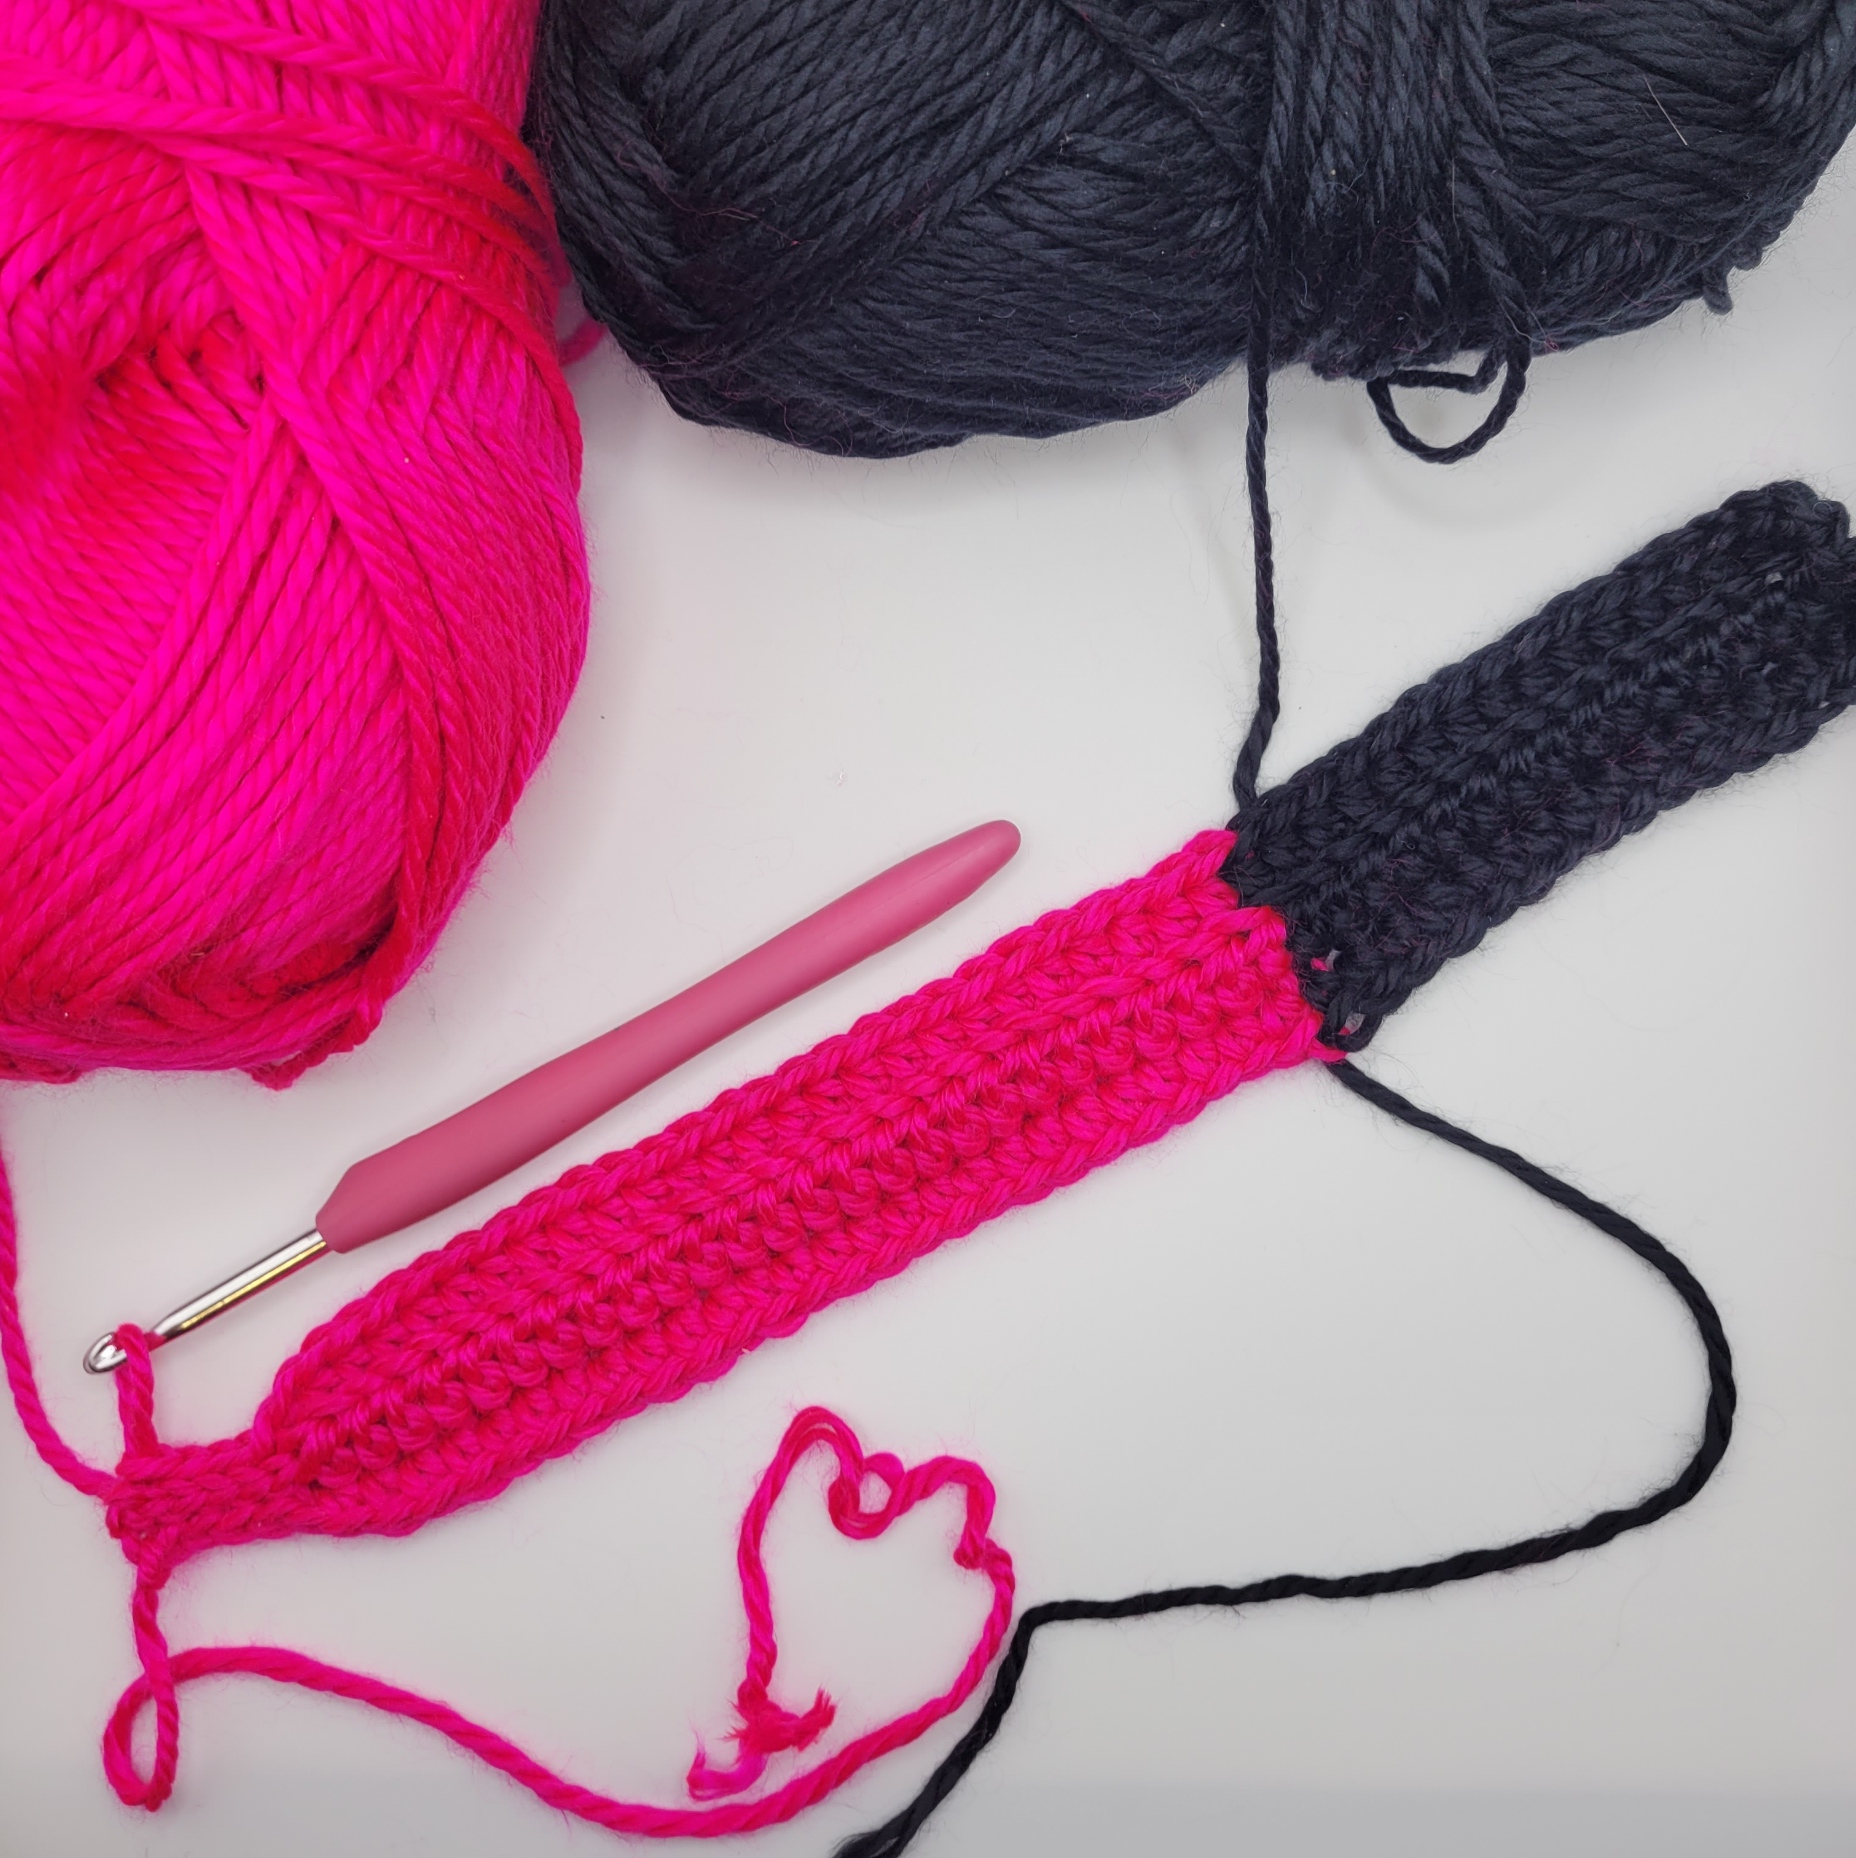
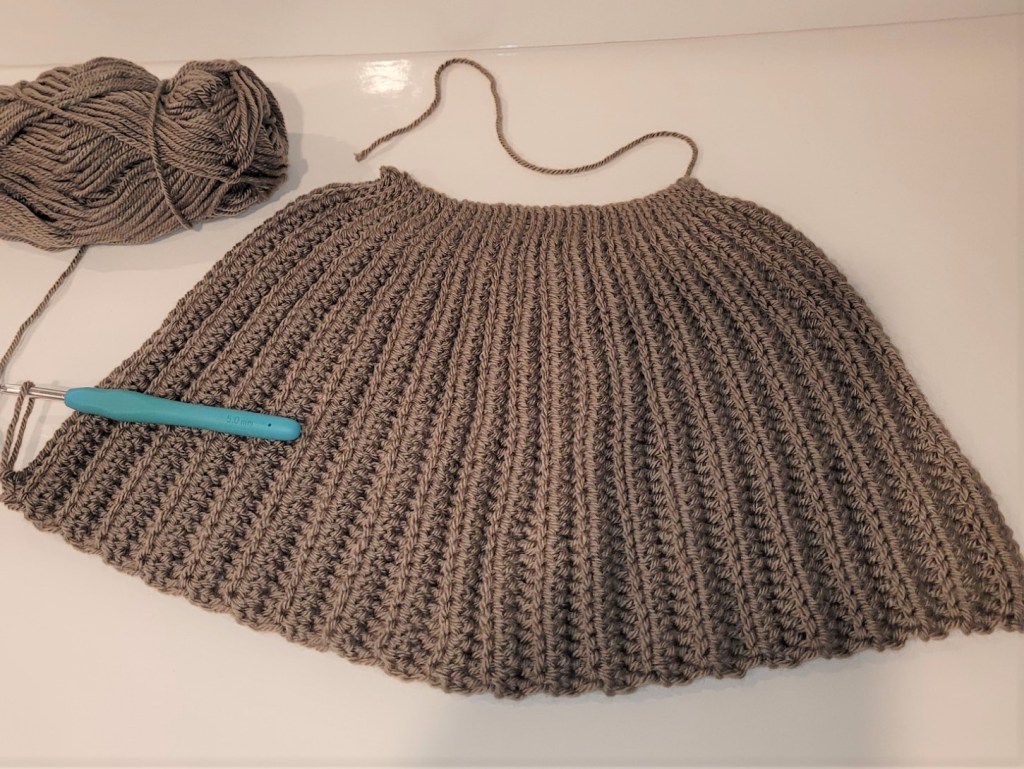
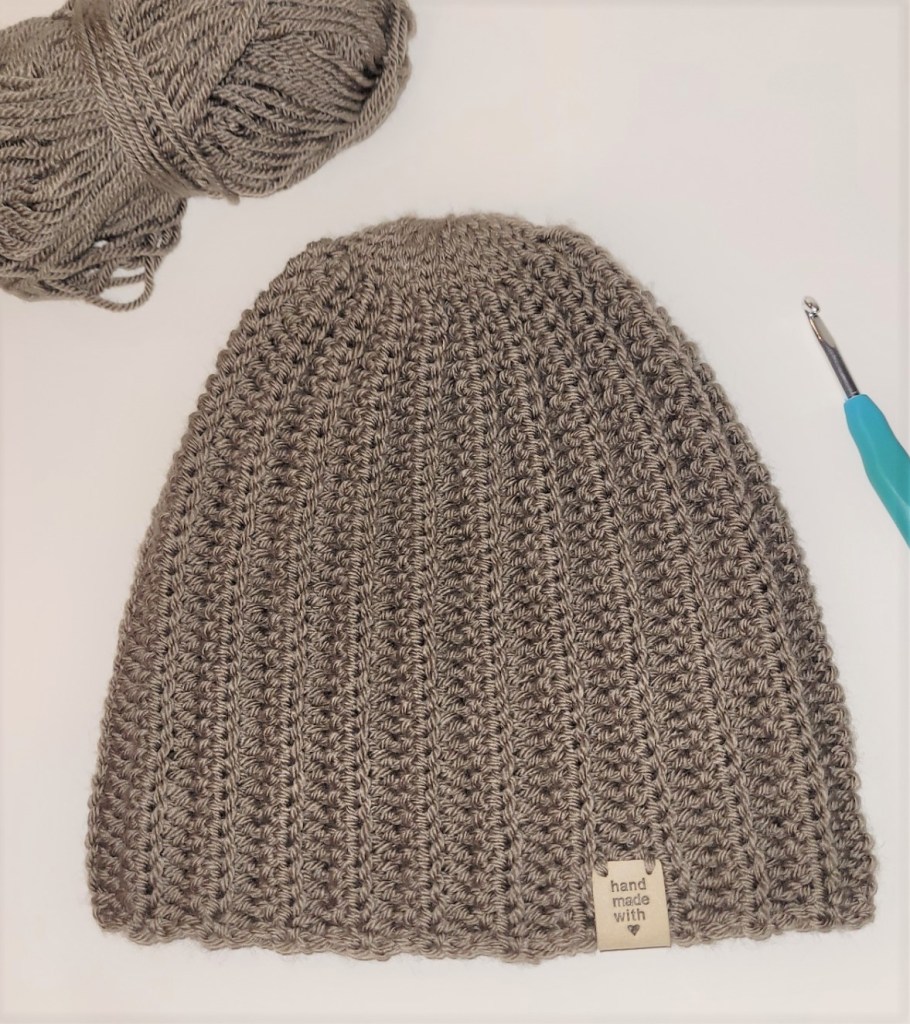
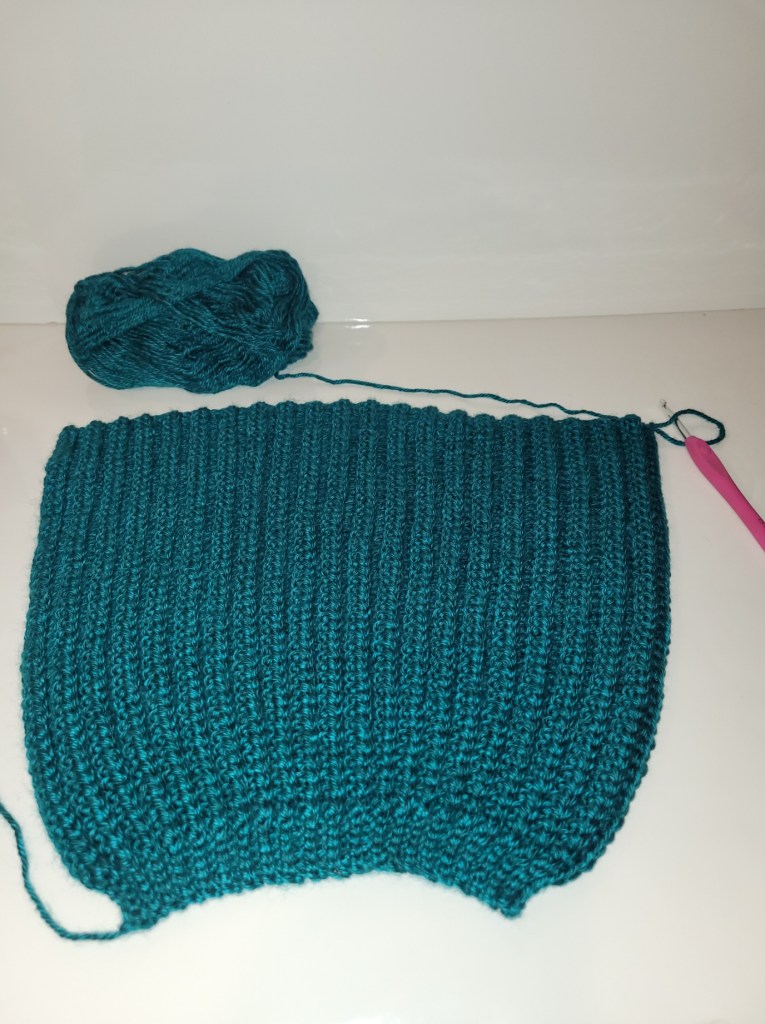
Rows 4 – 44: Repeat rows 2 &3
Cut yarn leaving long tails for seaming.
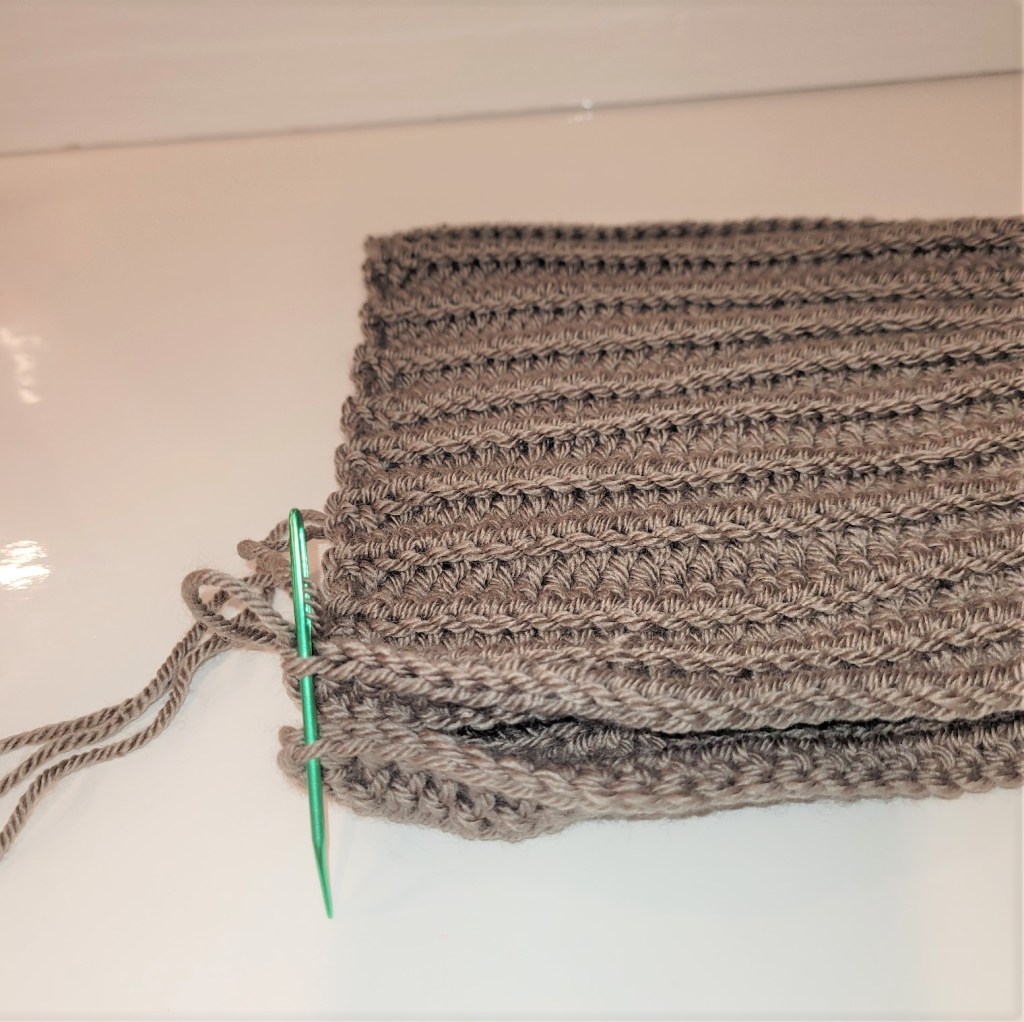
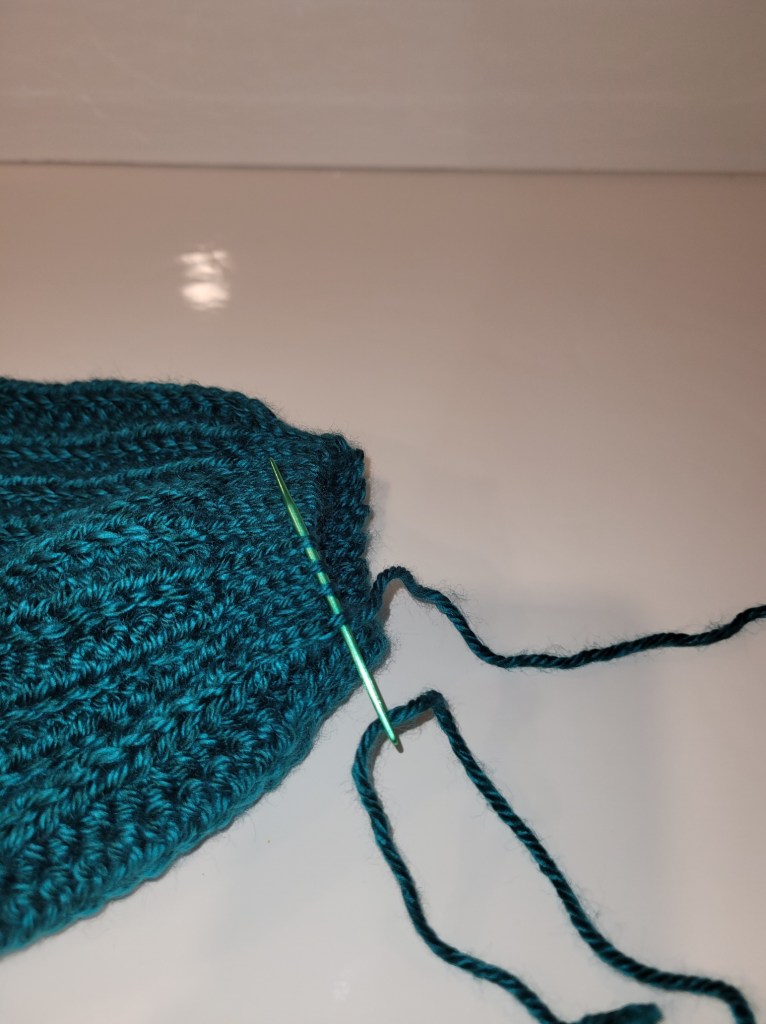
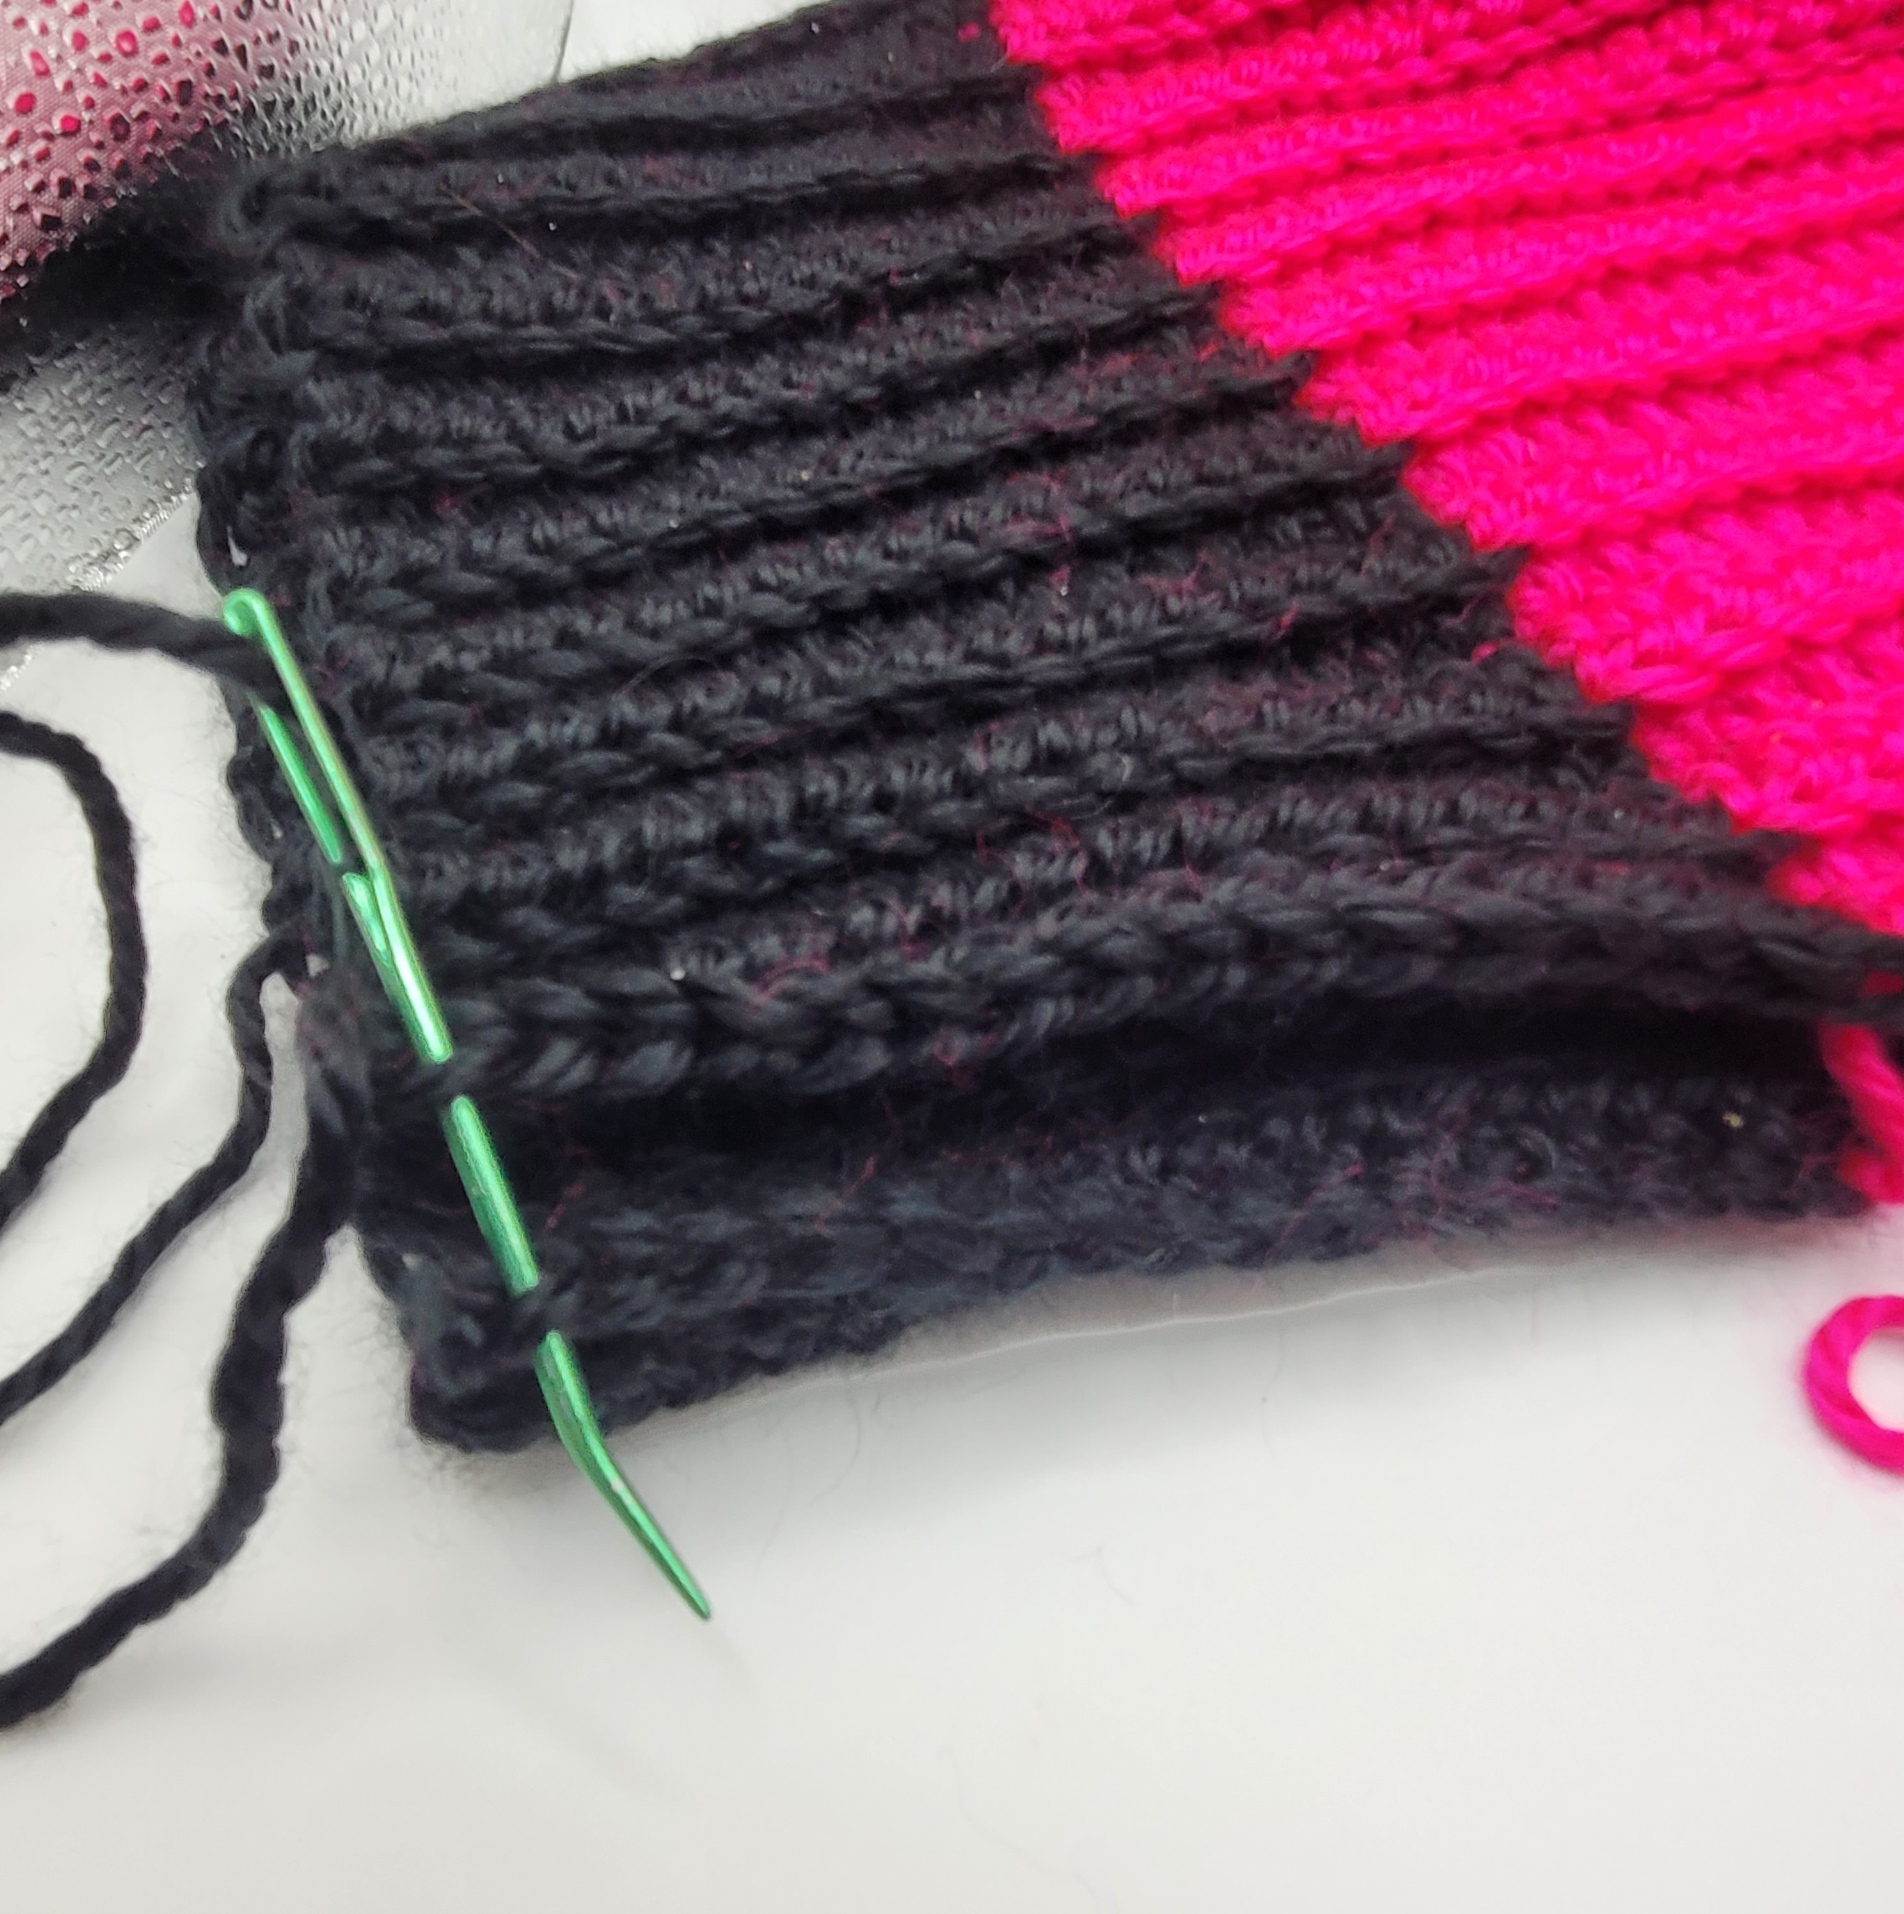
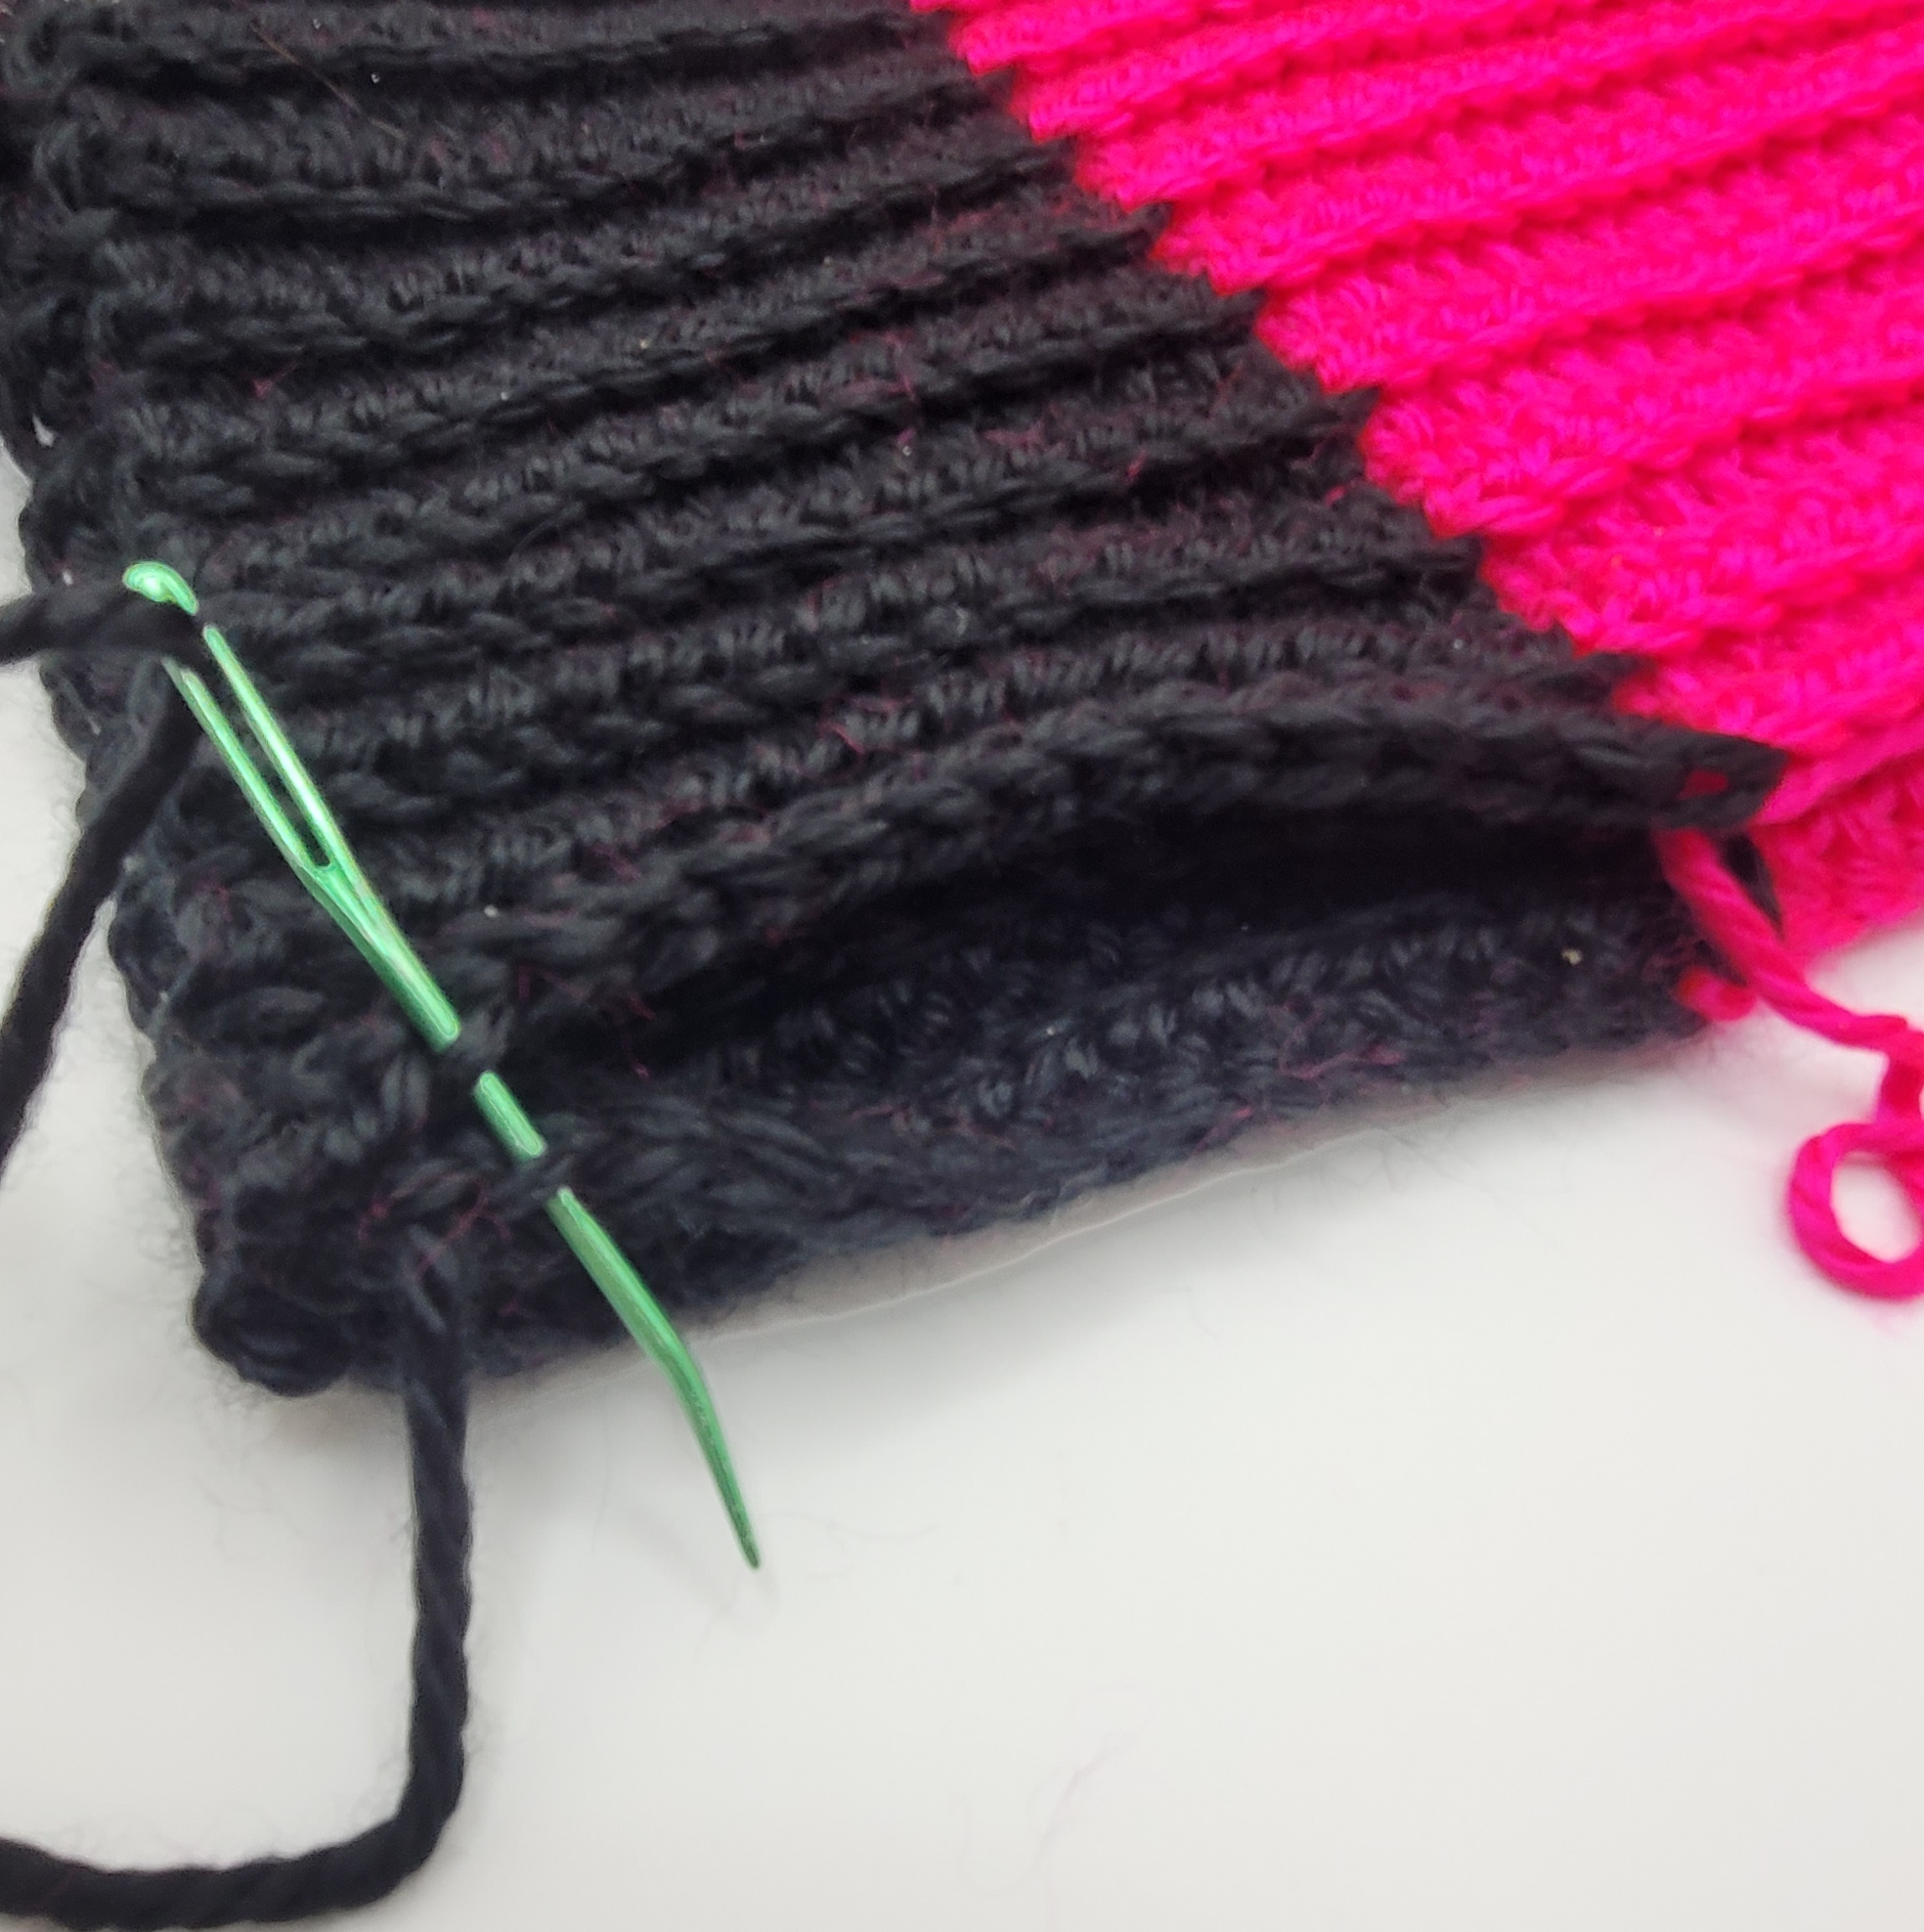
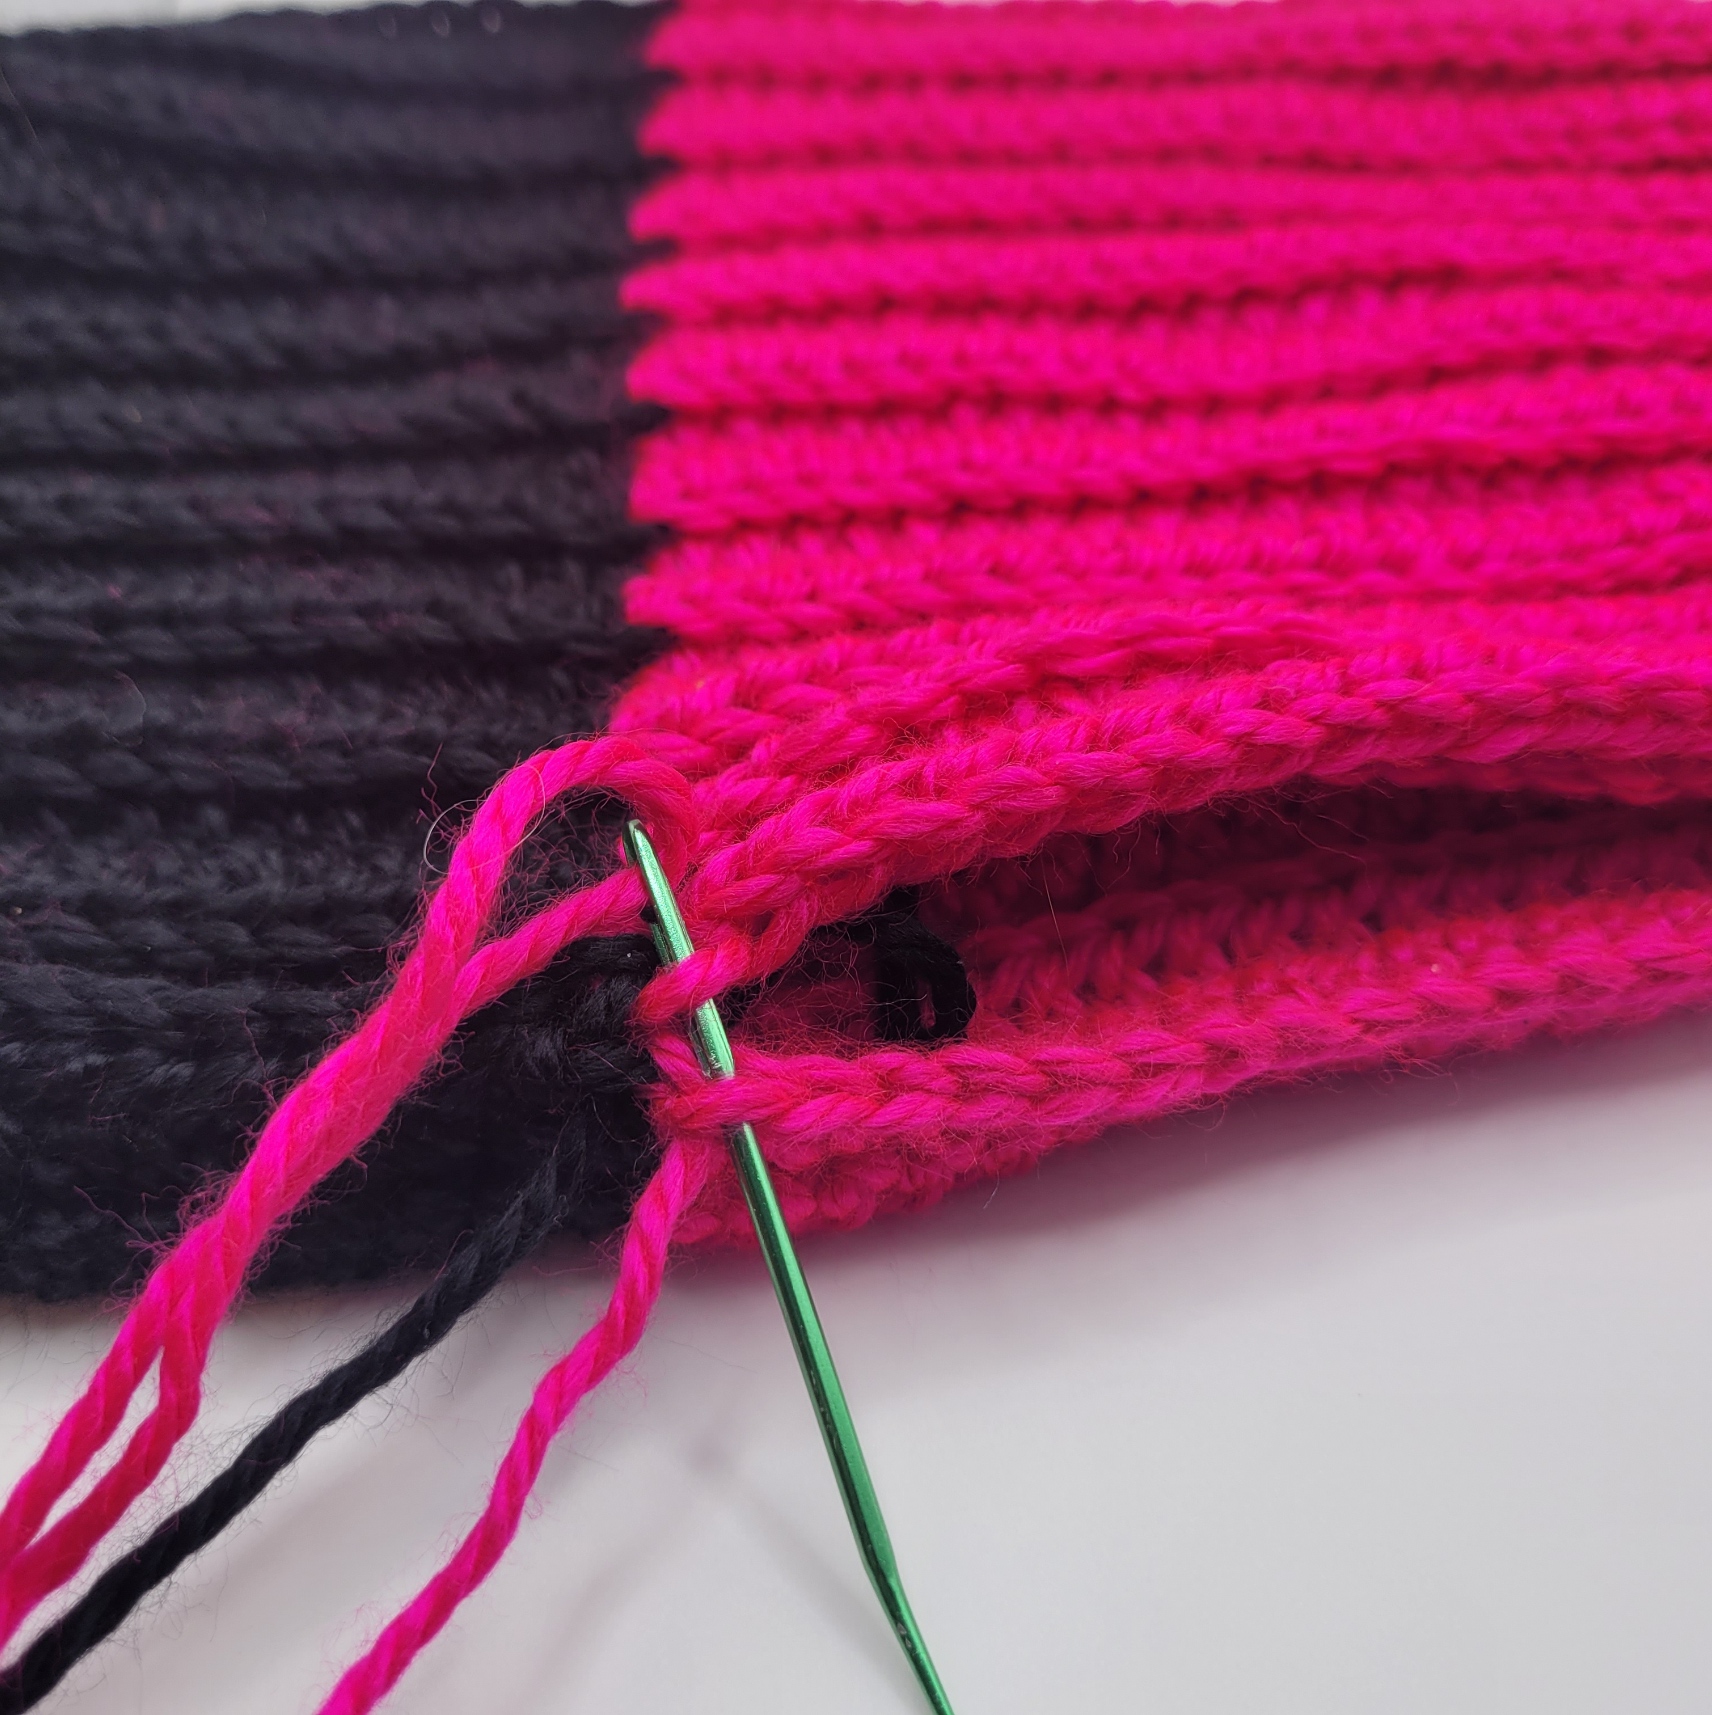
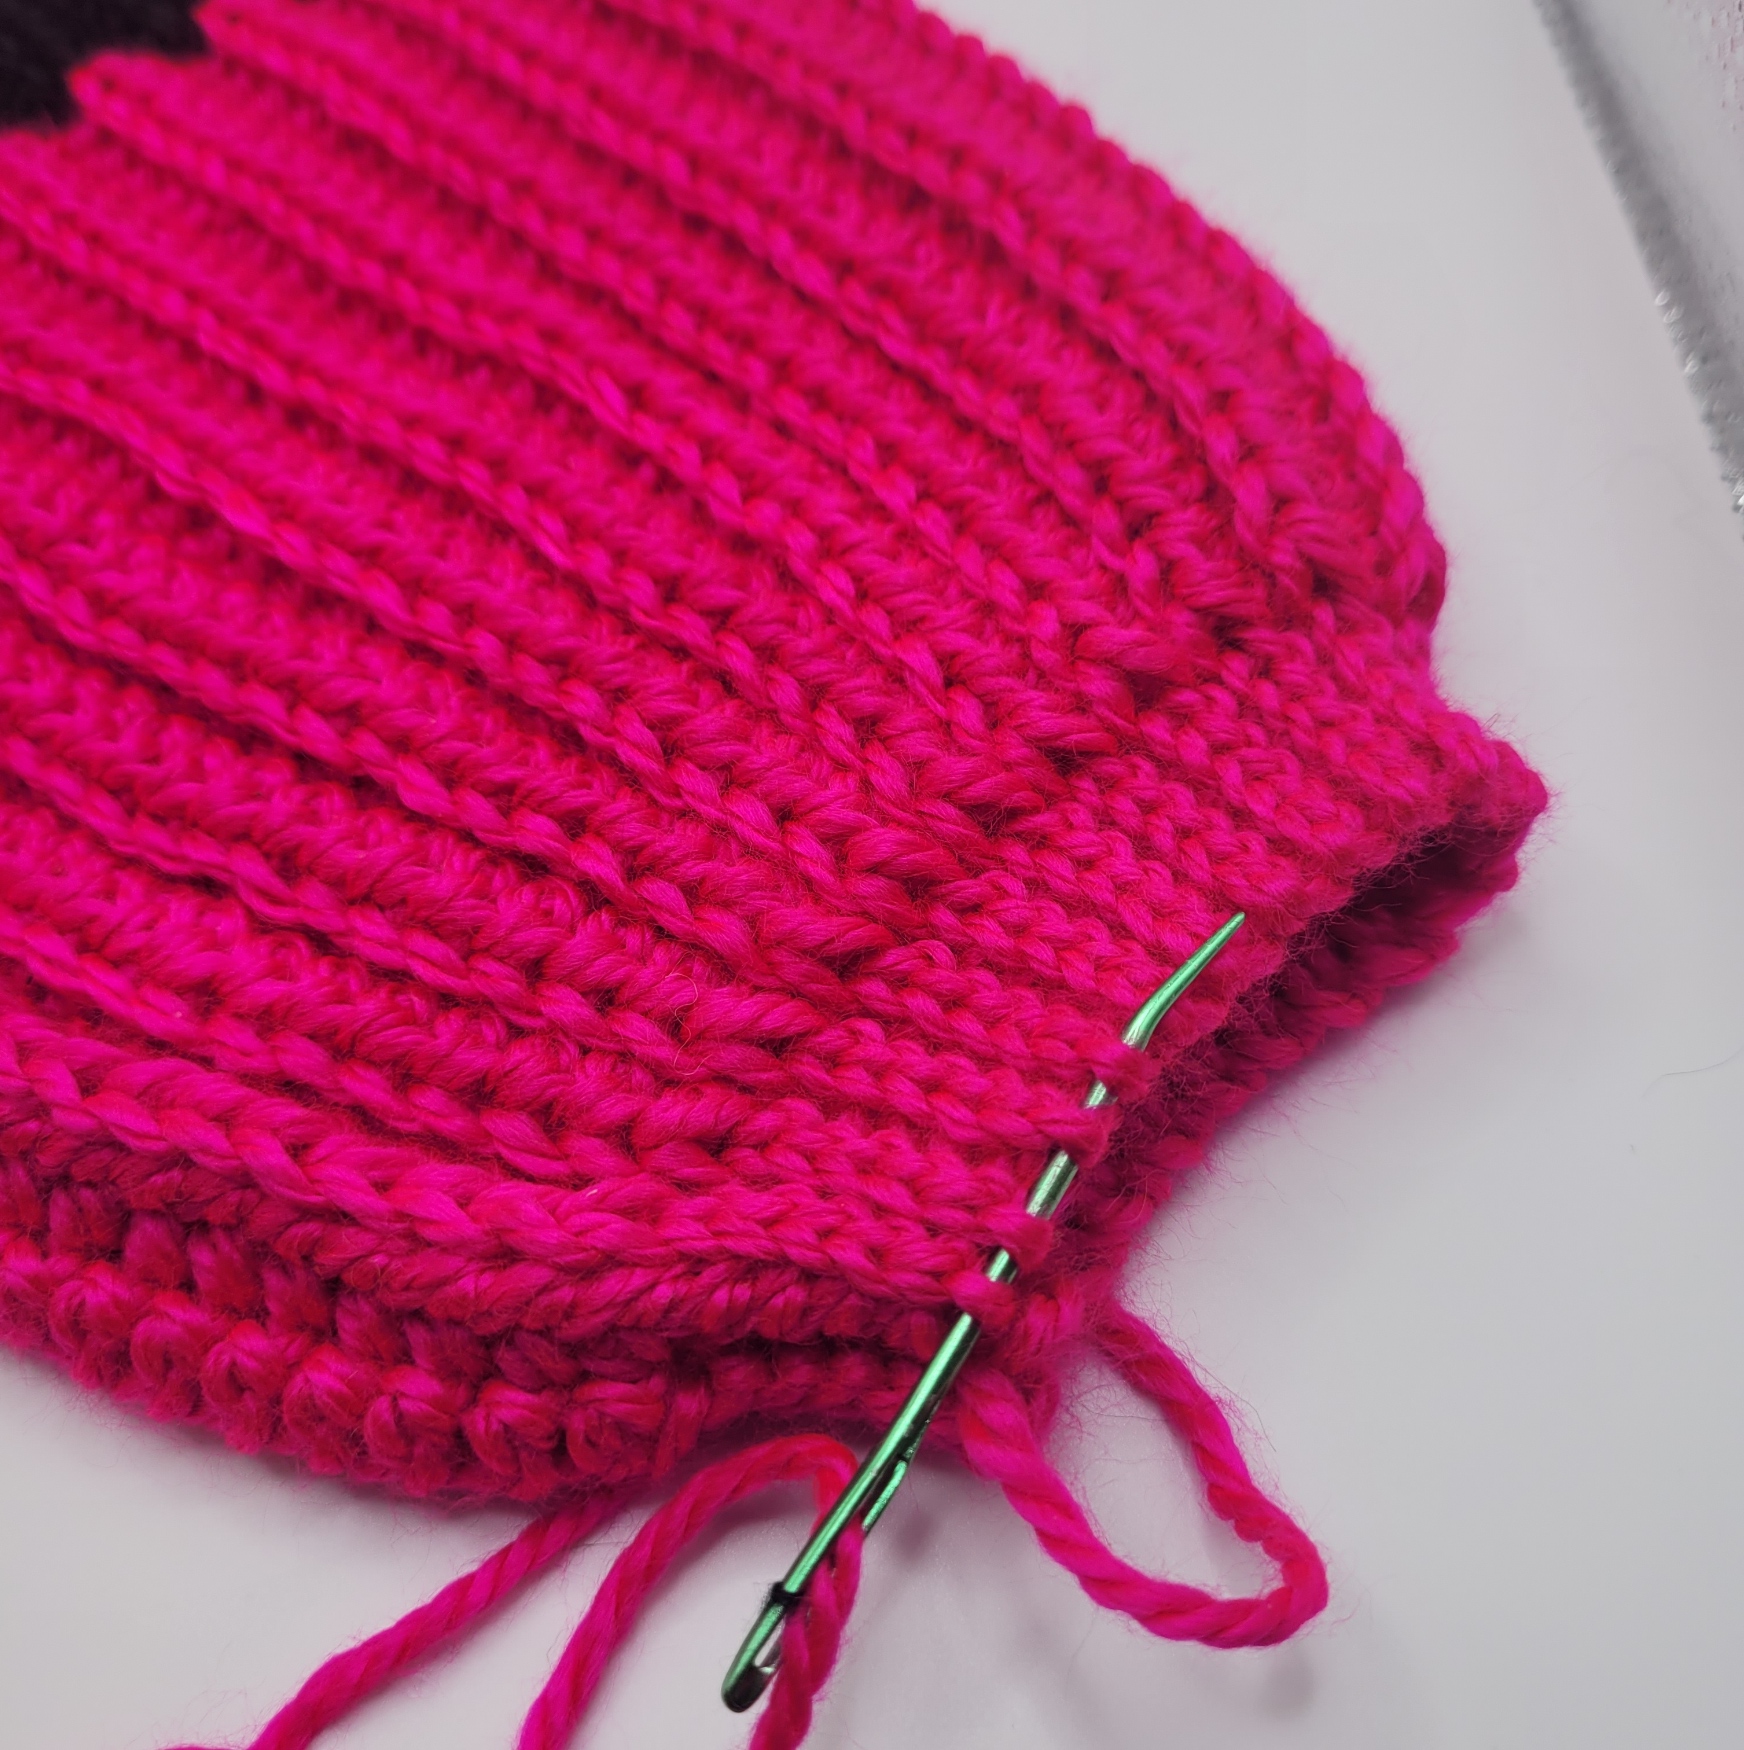
Fold hat in half and seam using black tail for the black portion of the hat, then seam the rest of the hat using the pink tail for the pink portion of the hat. I prefer to use Whip stitch to seam, but you can use whatever method you prefer.
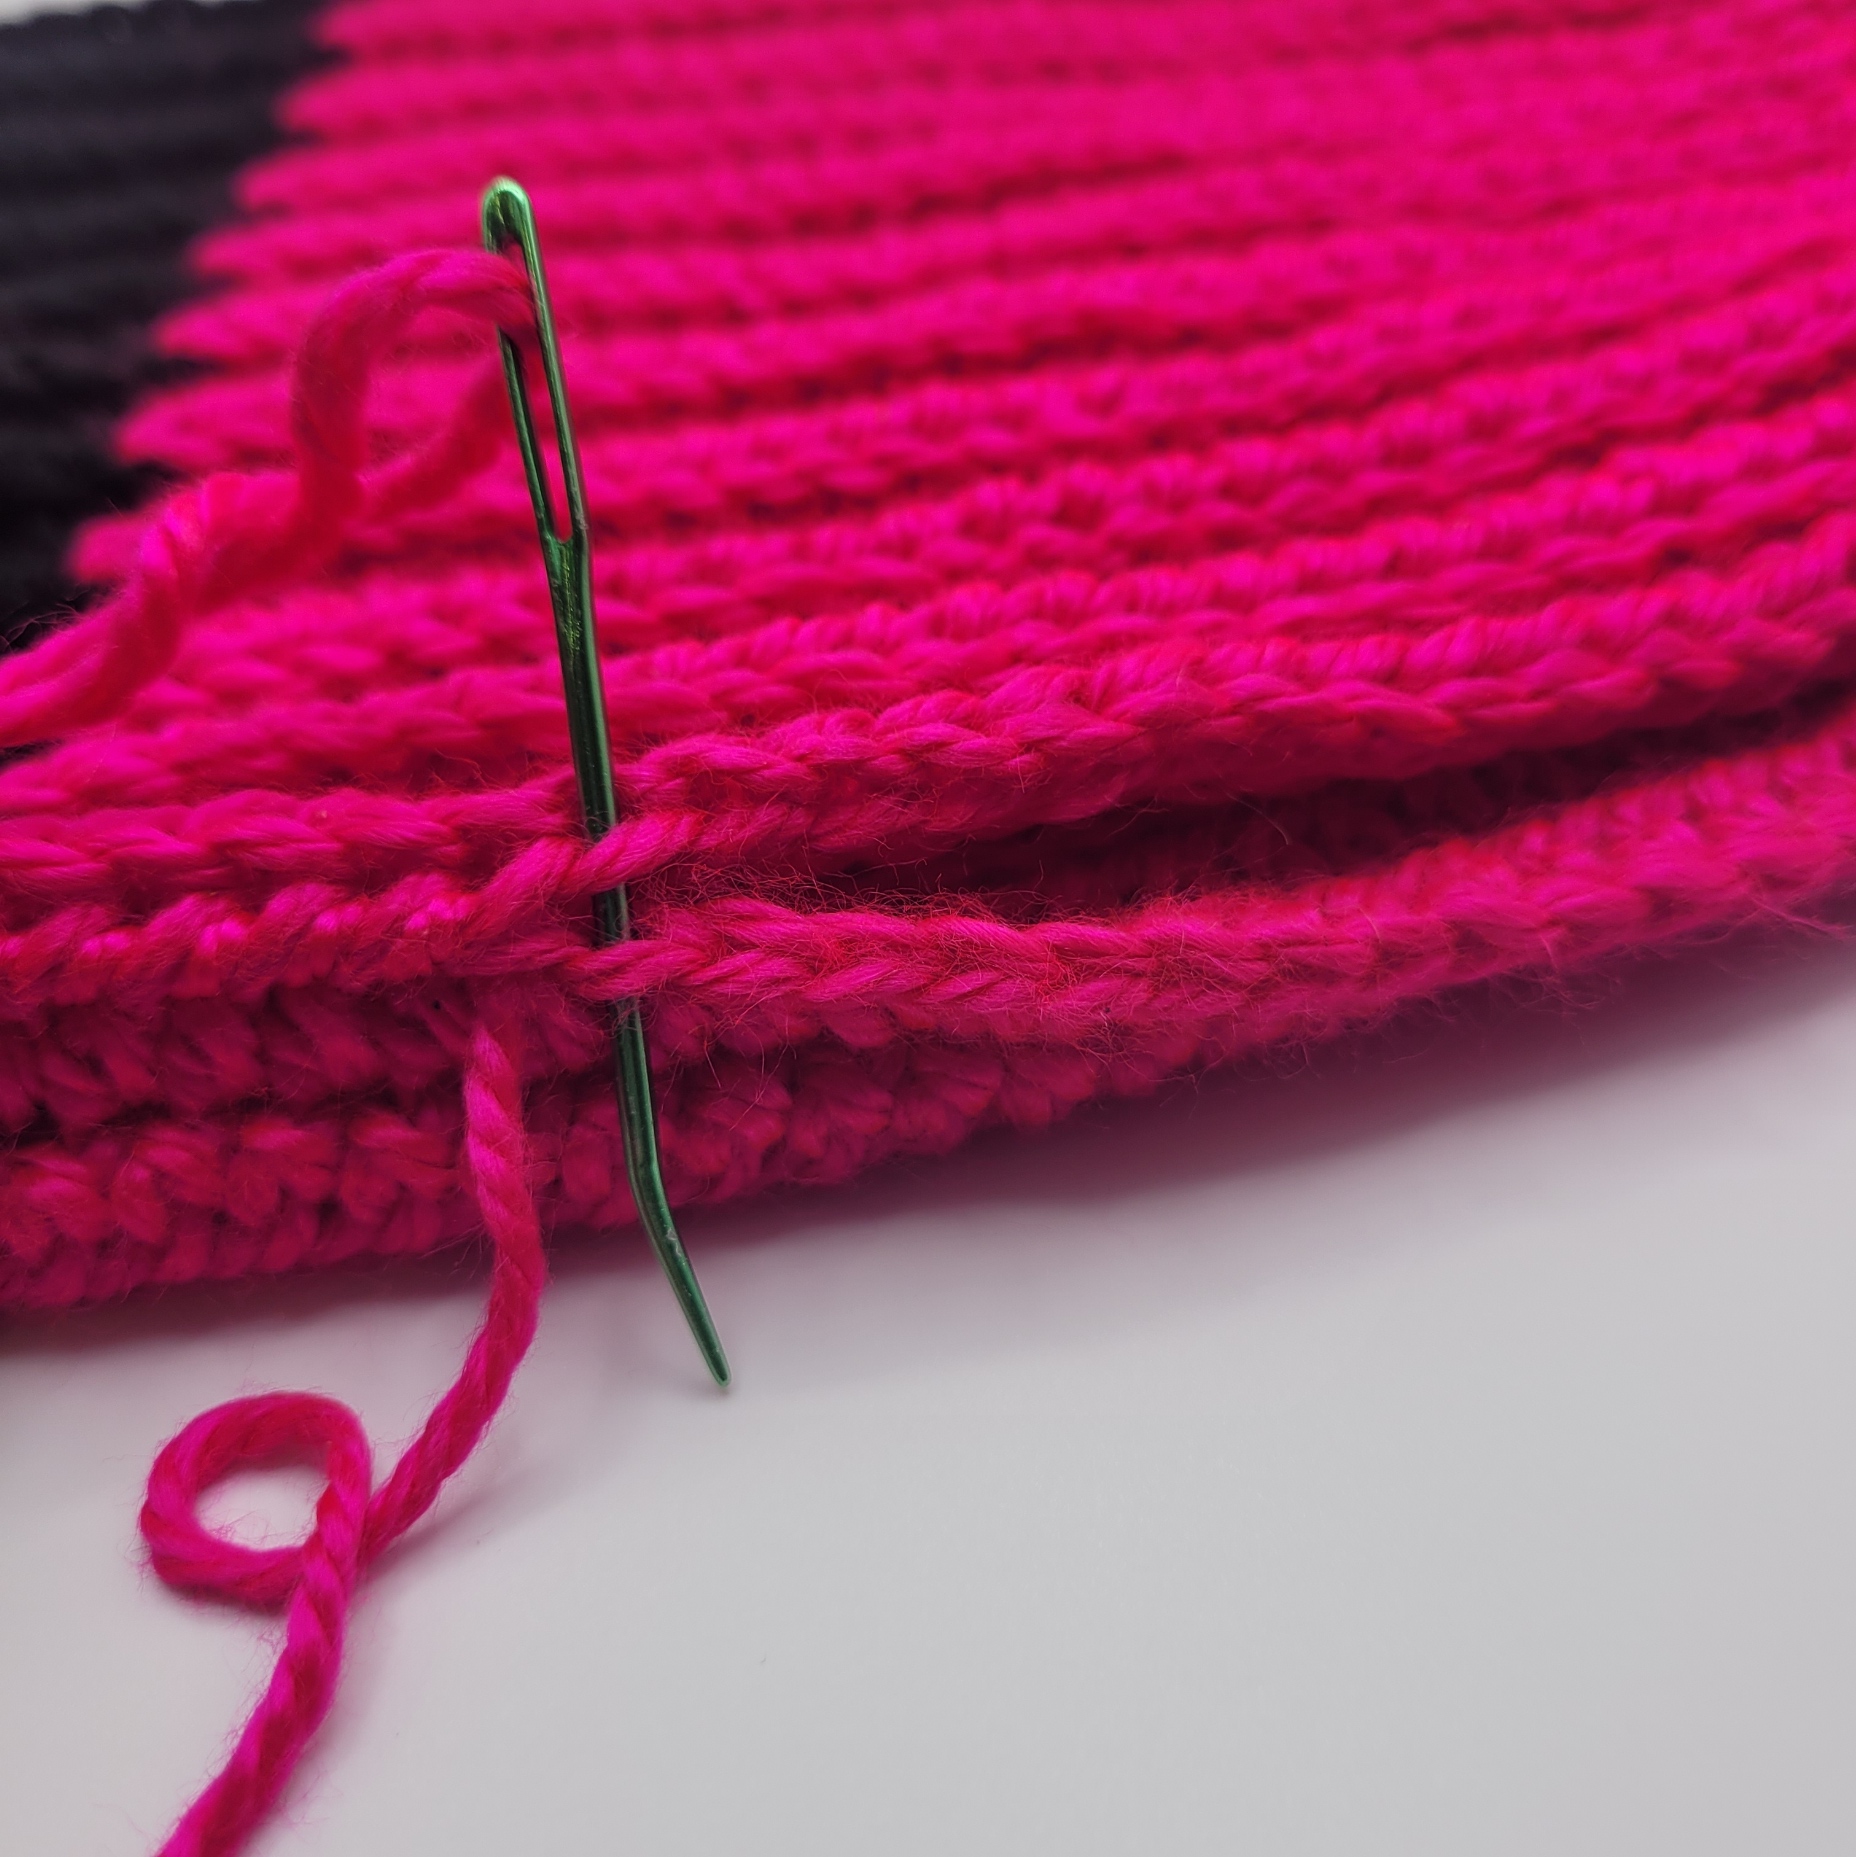
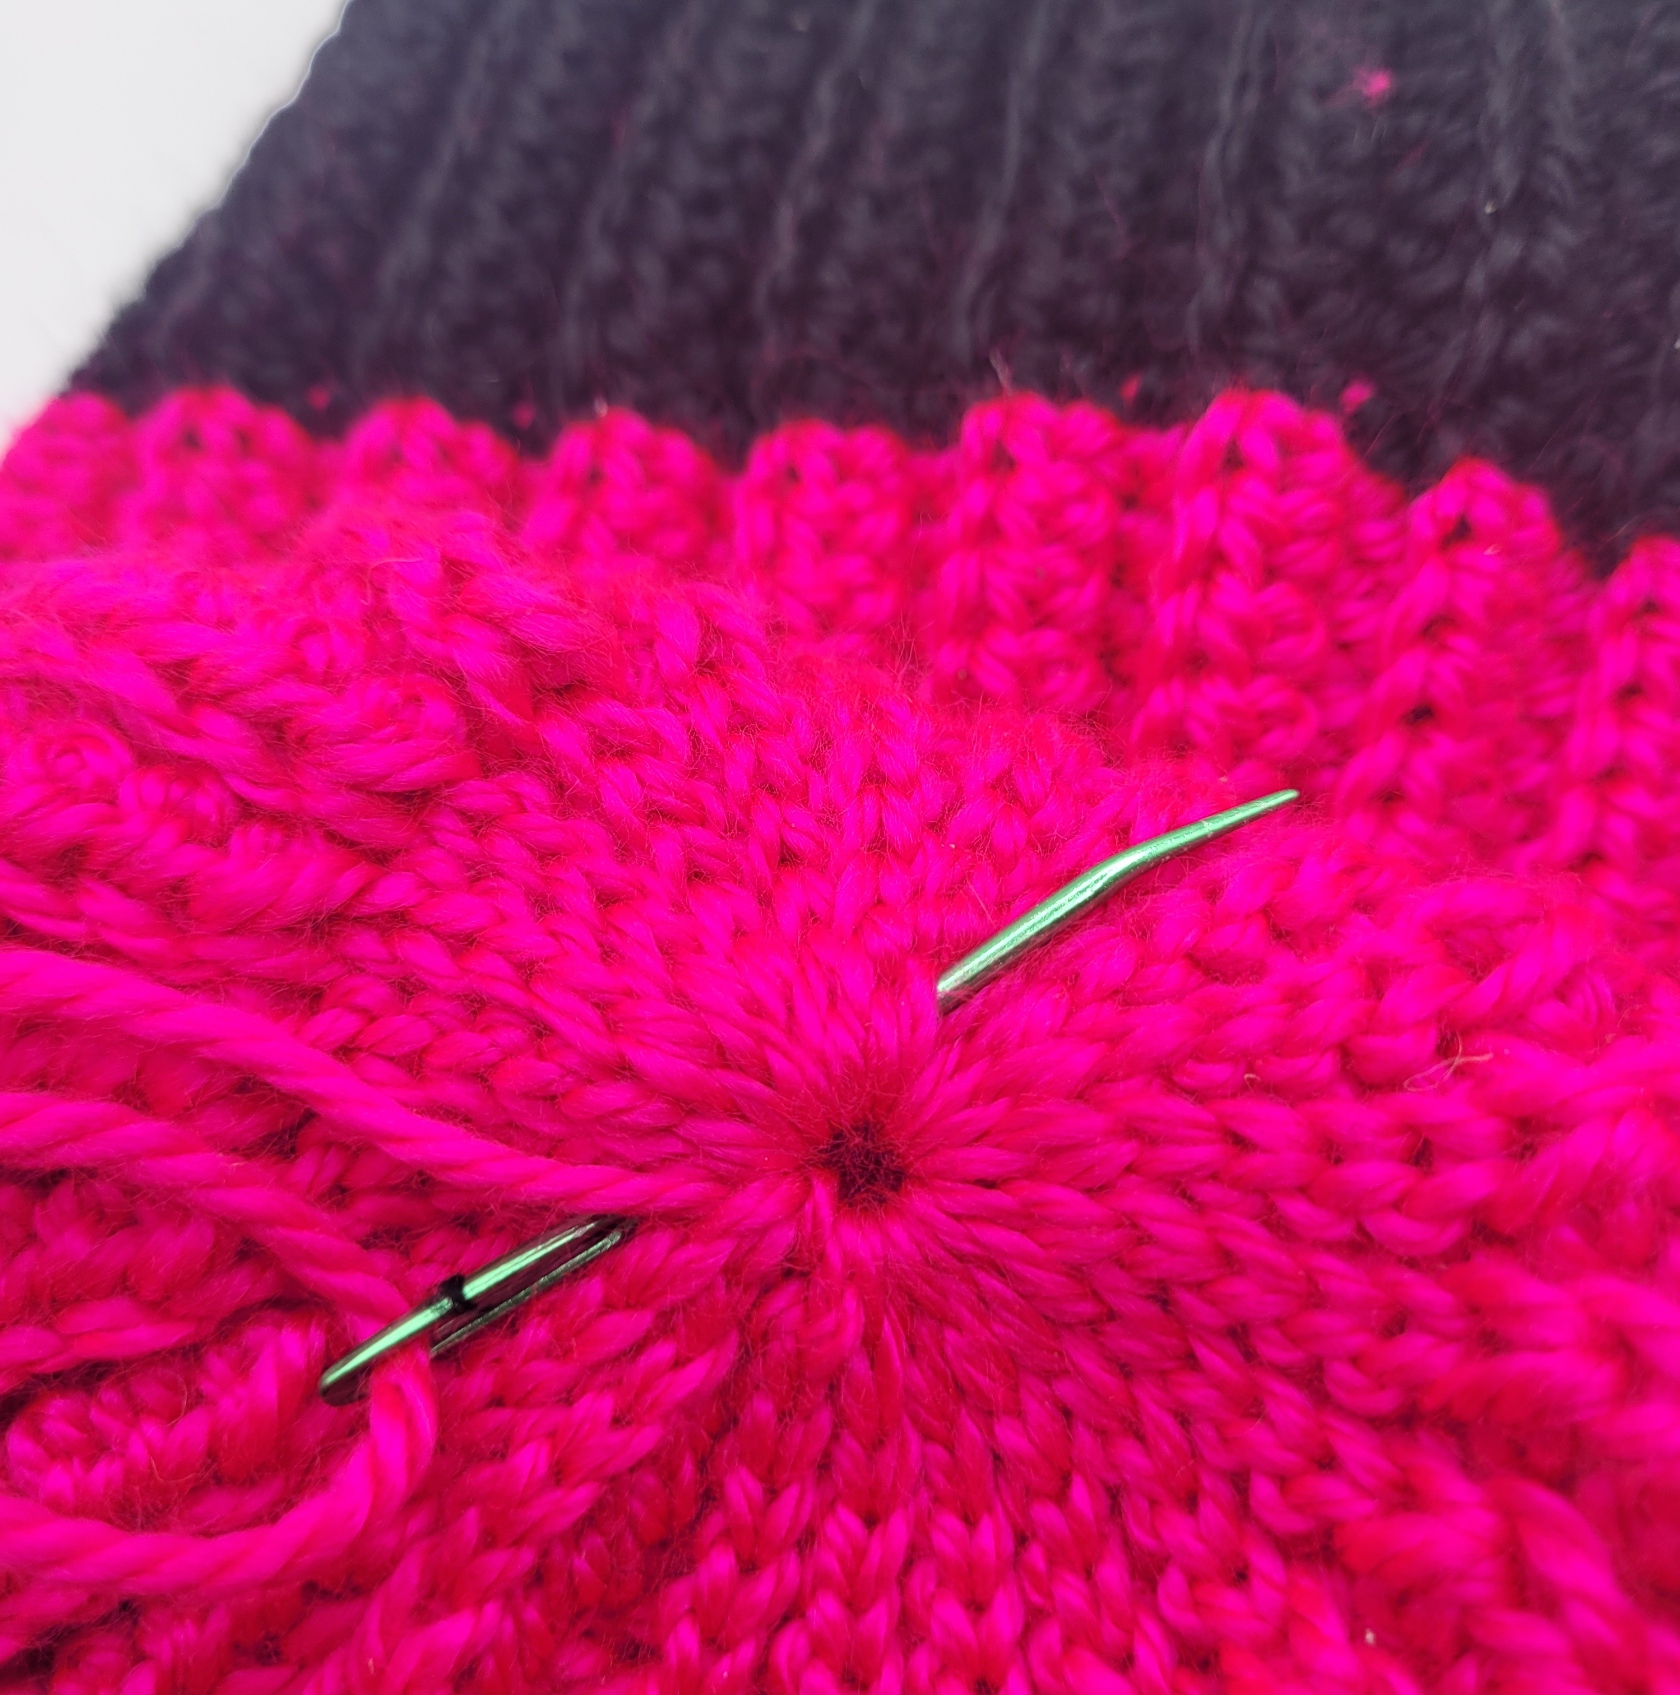
I like to close the top of the hat by weaving the pink tail through the topmost stitch of every other row and pulling tight to close, then run the tail through the stitches around the closed hole a couple more times.
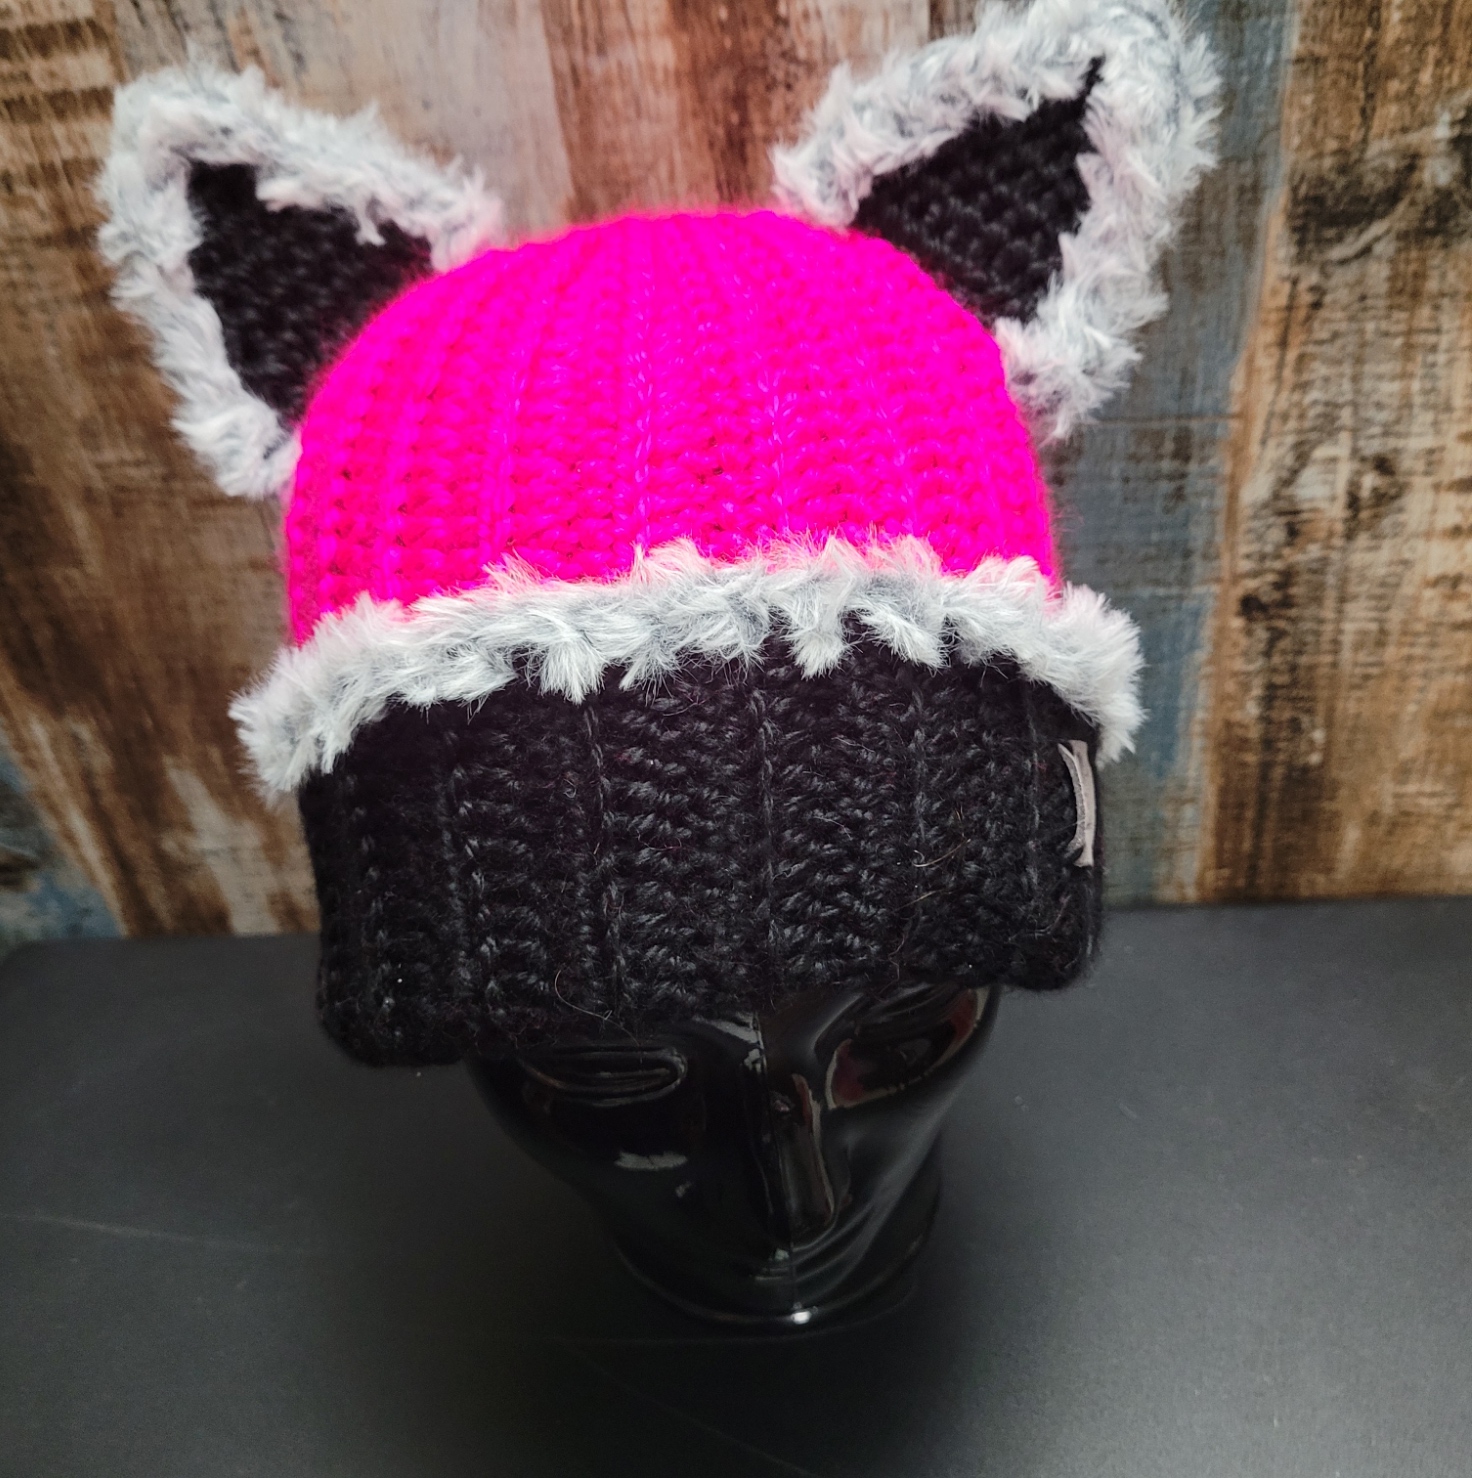
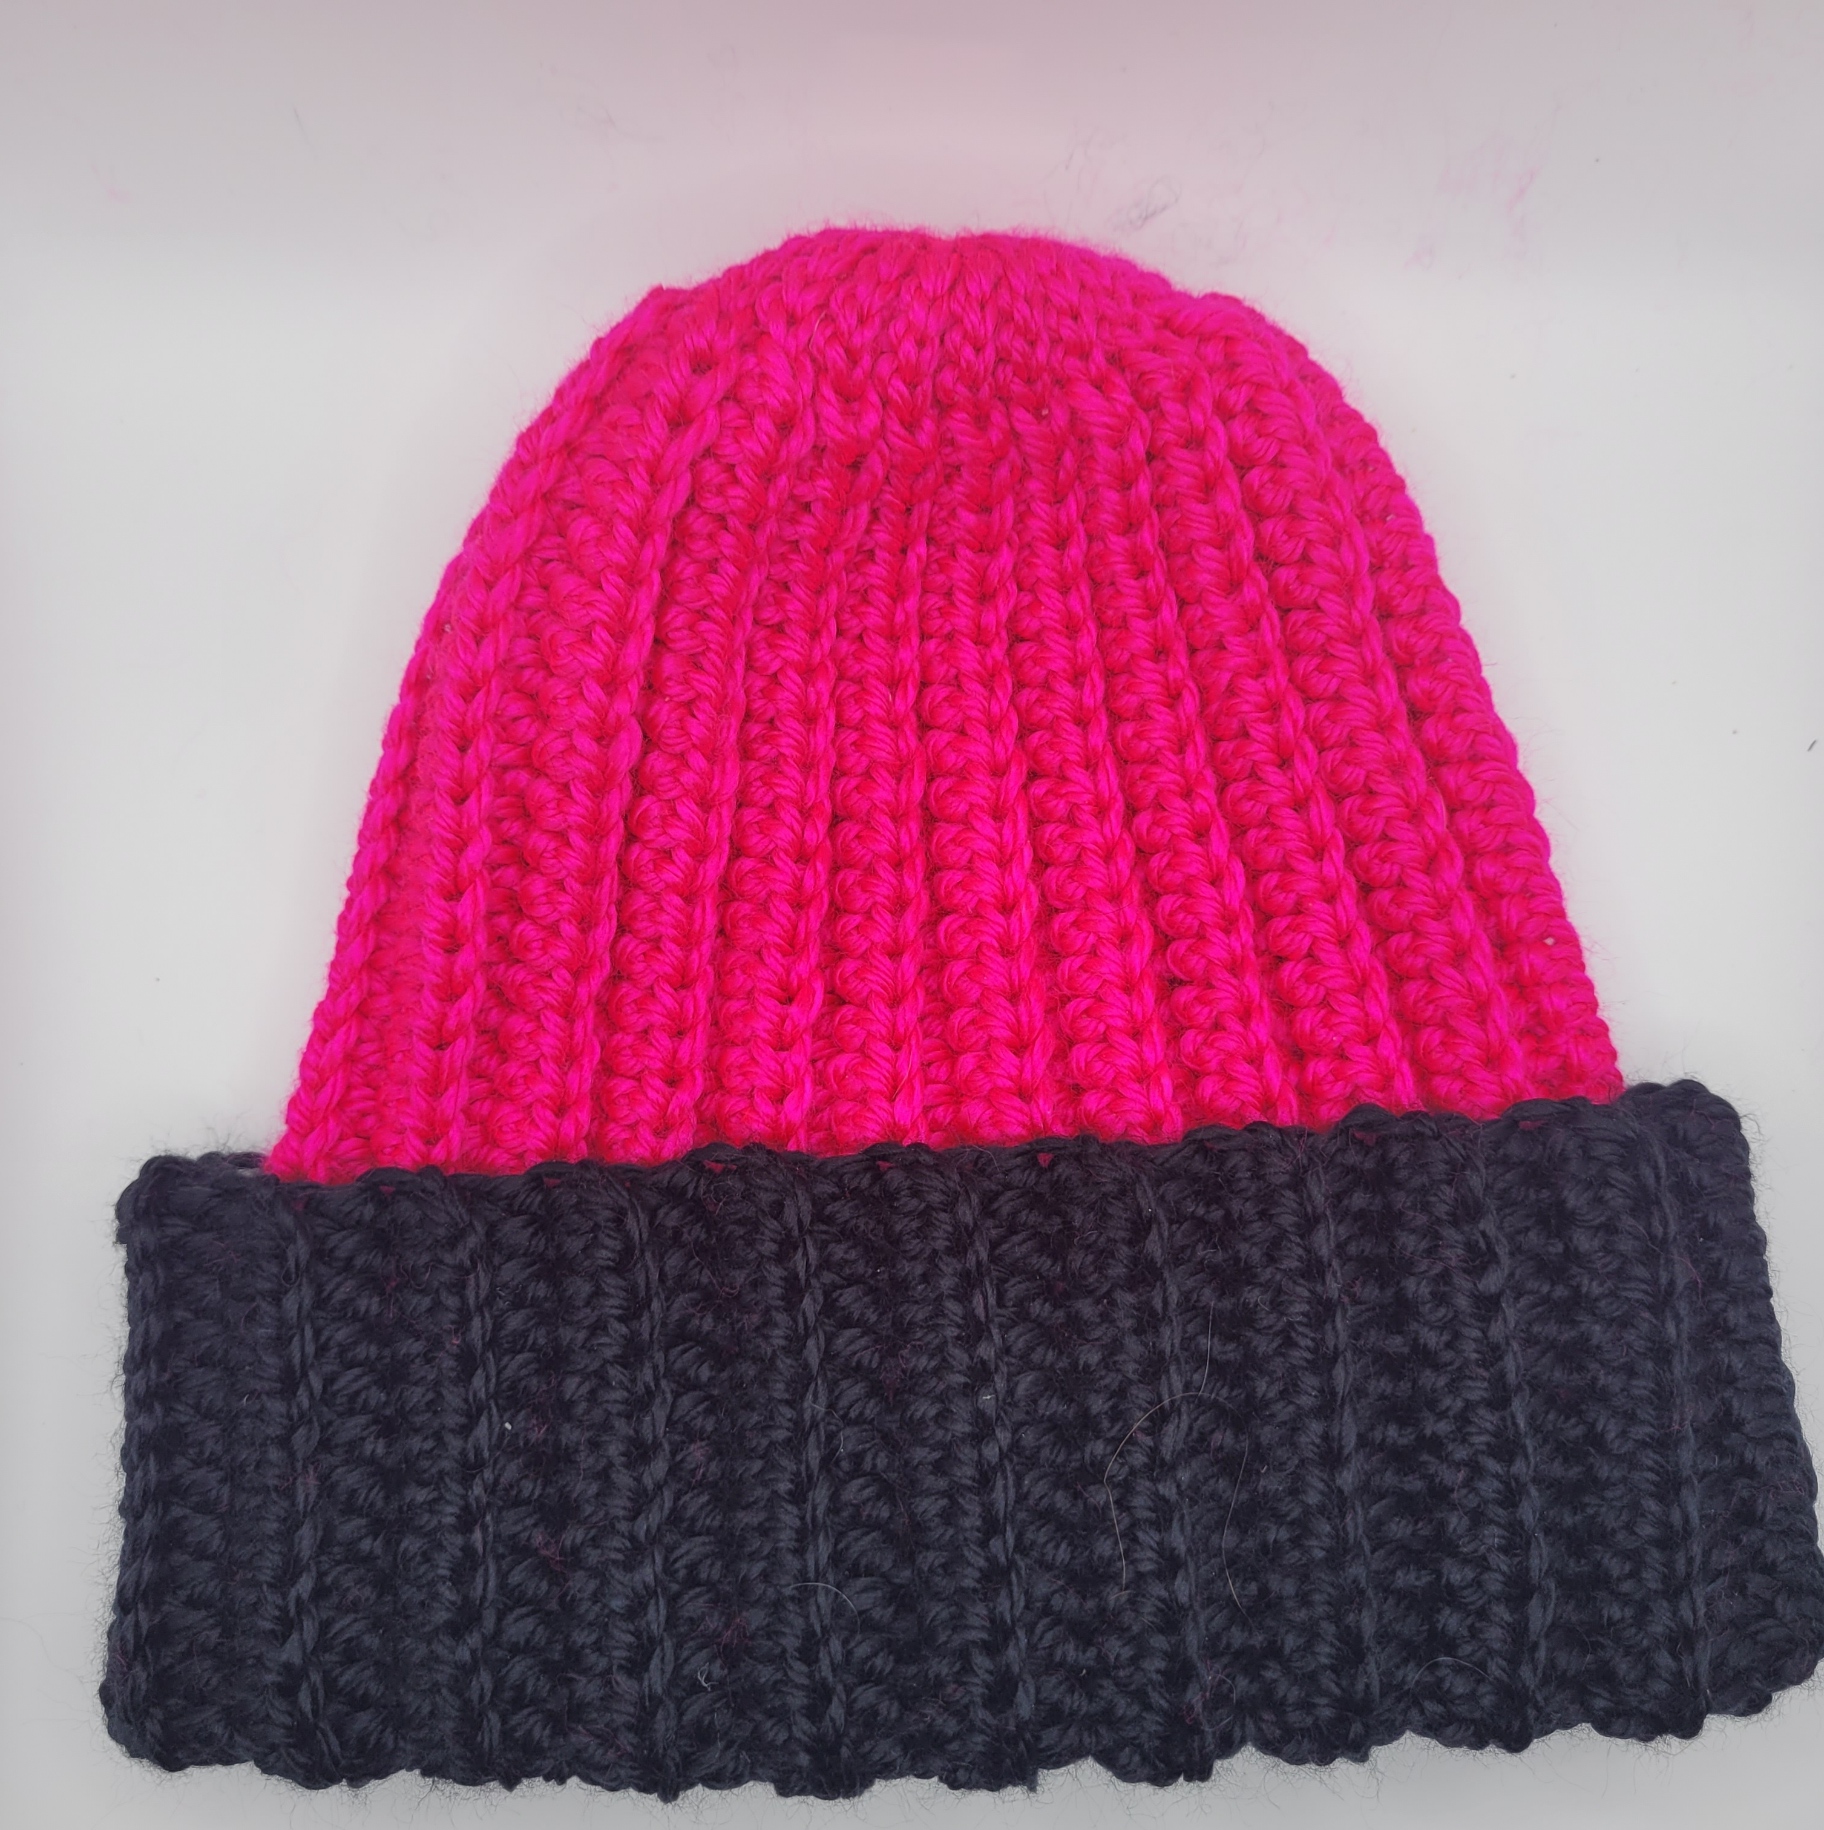
Weave in tails and fold up Brim.
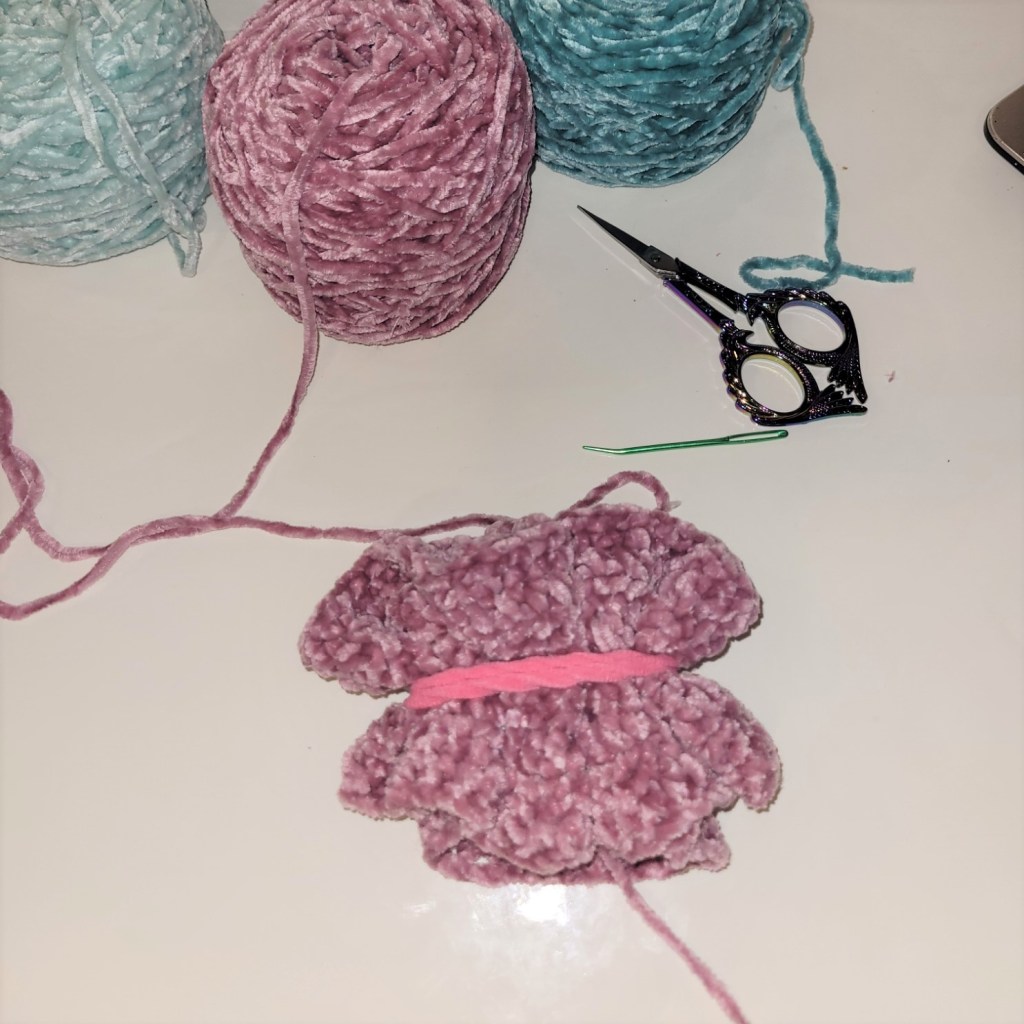
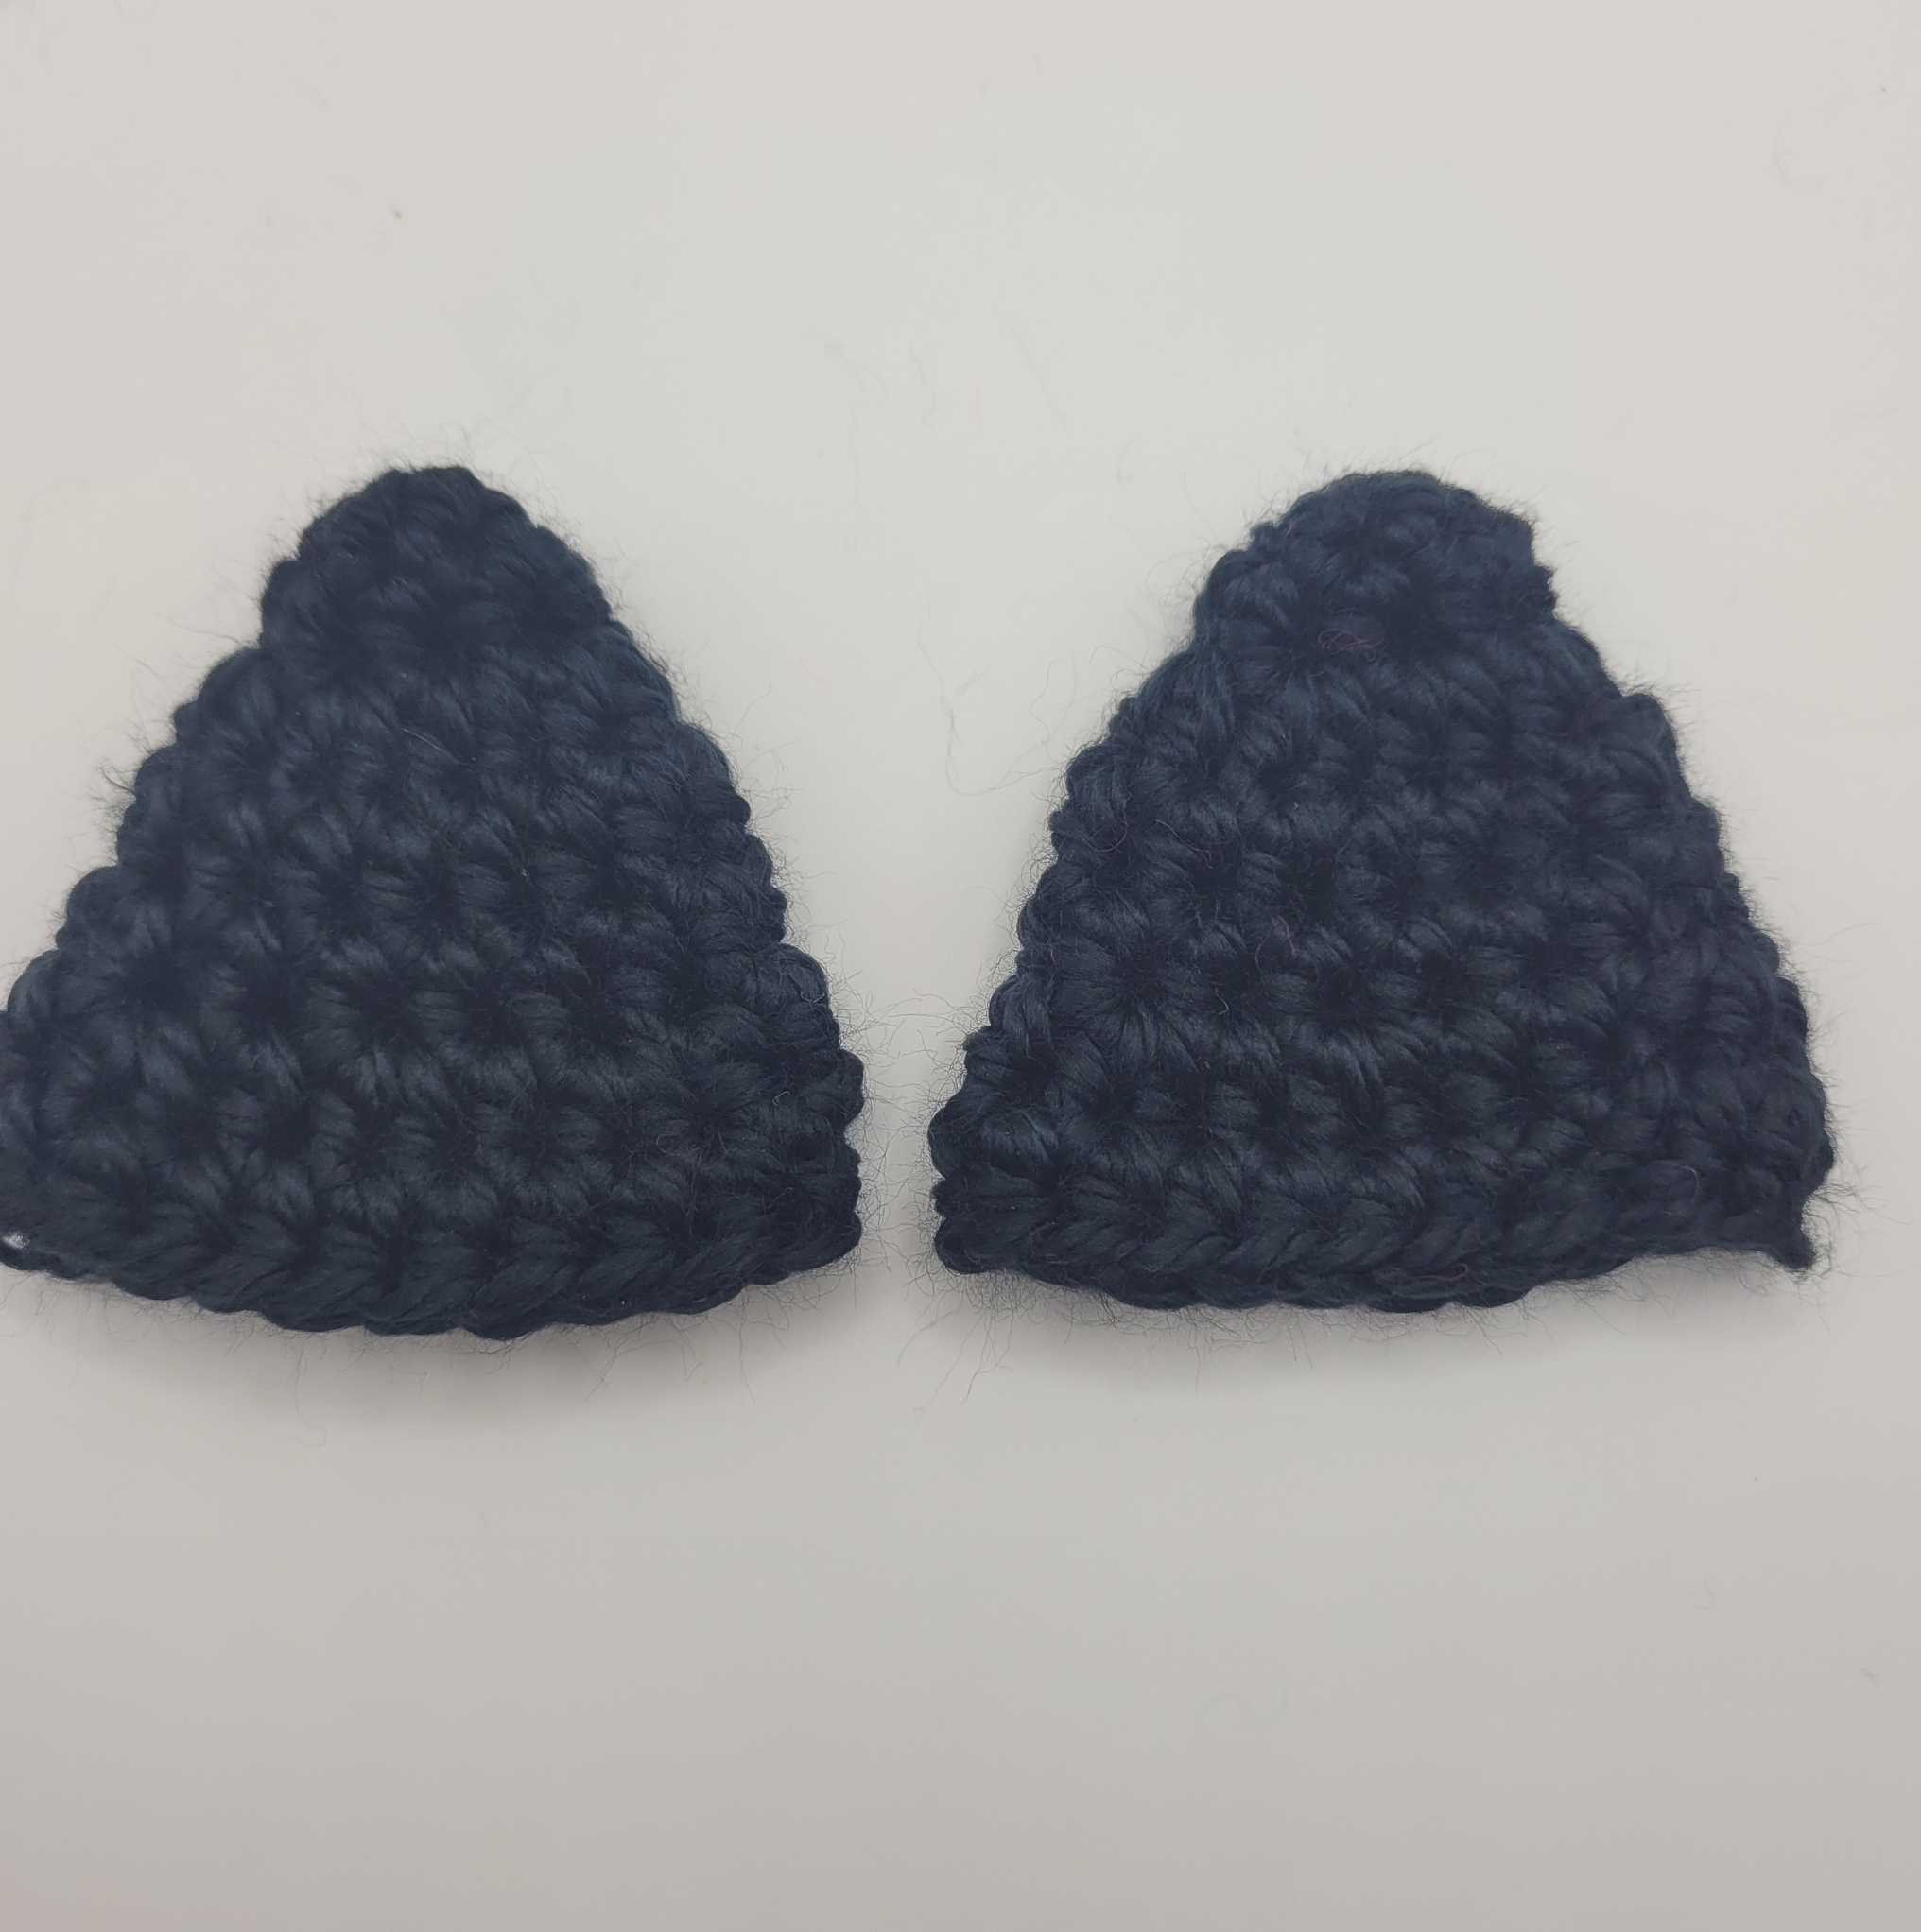
EARS – Make 2
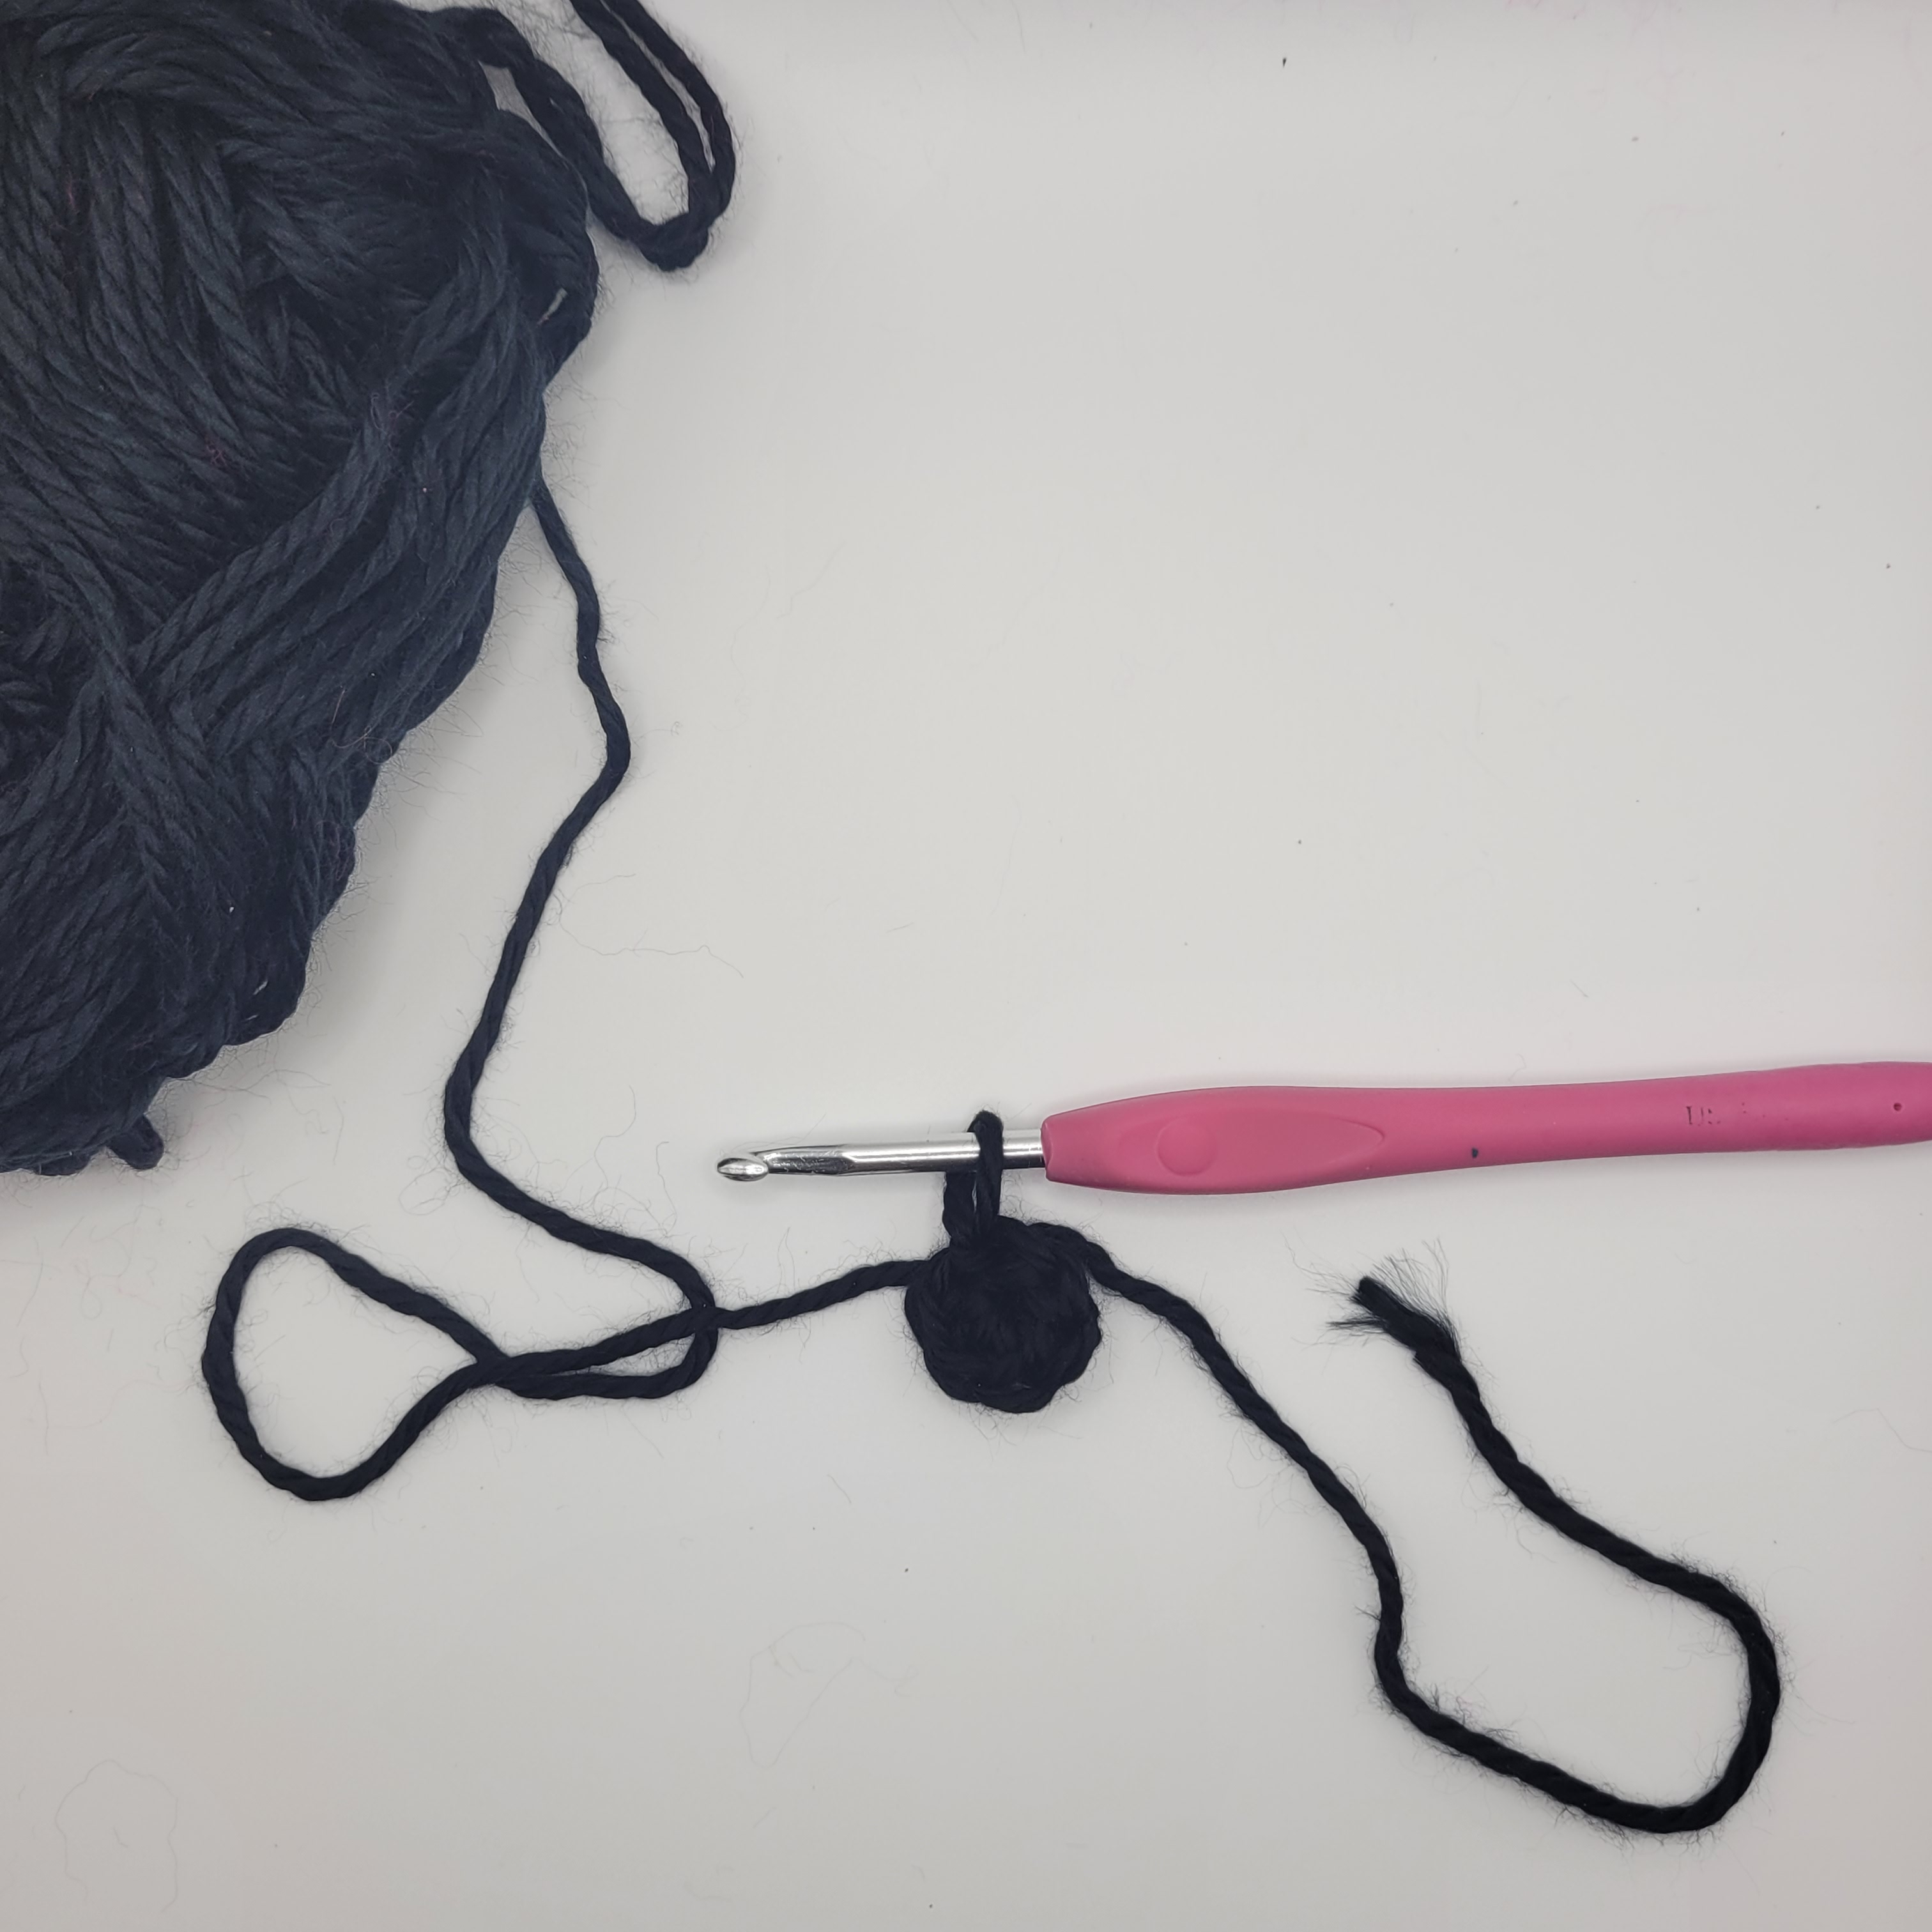
The ears are made in the round but slip stitching to the first stitch at the end of each round.
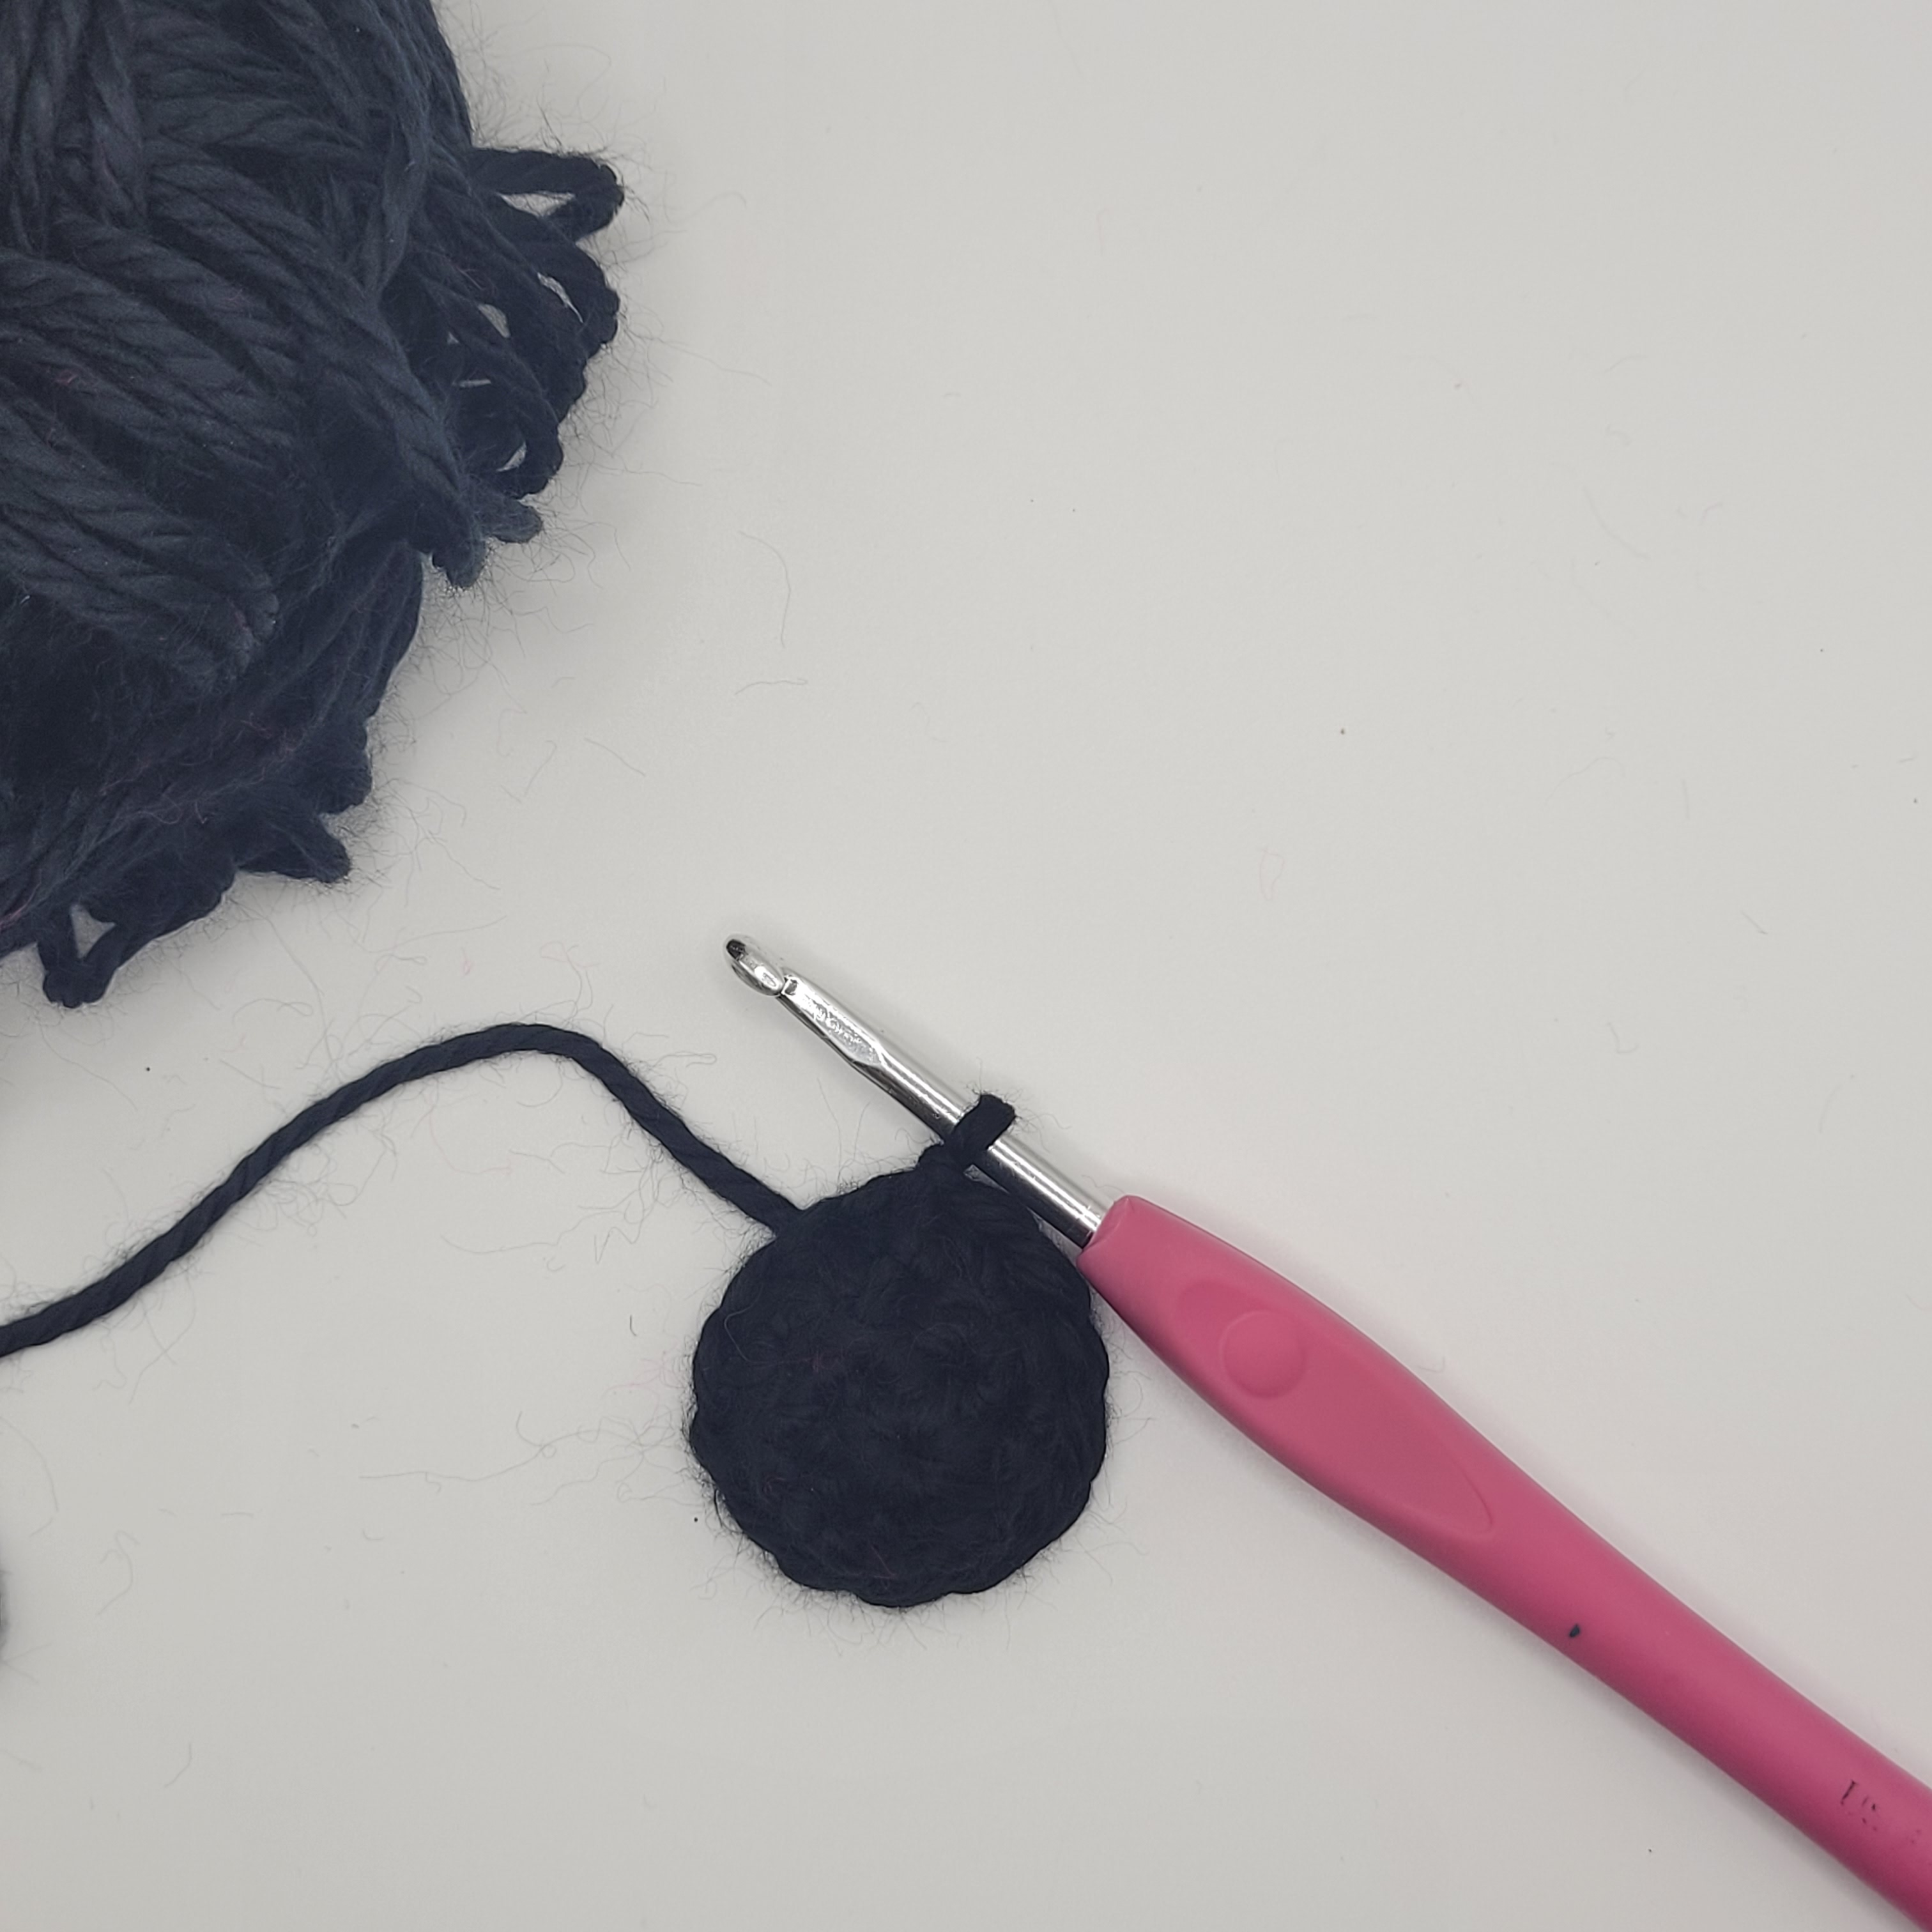
- HDC 7 in magic ring, SSt to 1st HDC (7 stitches),
- Chain 1, HDC each stitch around, slip stich to 1st HDC of round (7 stiches)
- Chain 1, 2 HDC in each stitch around, slip stich to 1st HDC of round (14 stiches)
- Chain 1, HDC in each stitch around, slip stitch to 1st HDC of round (14 stitches)
- Chain 1, HDC in each stitch around, slip stitch to 1st HC of round (14 stitches)
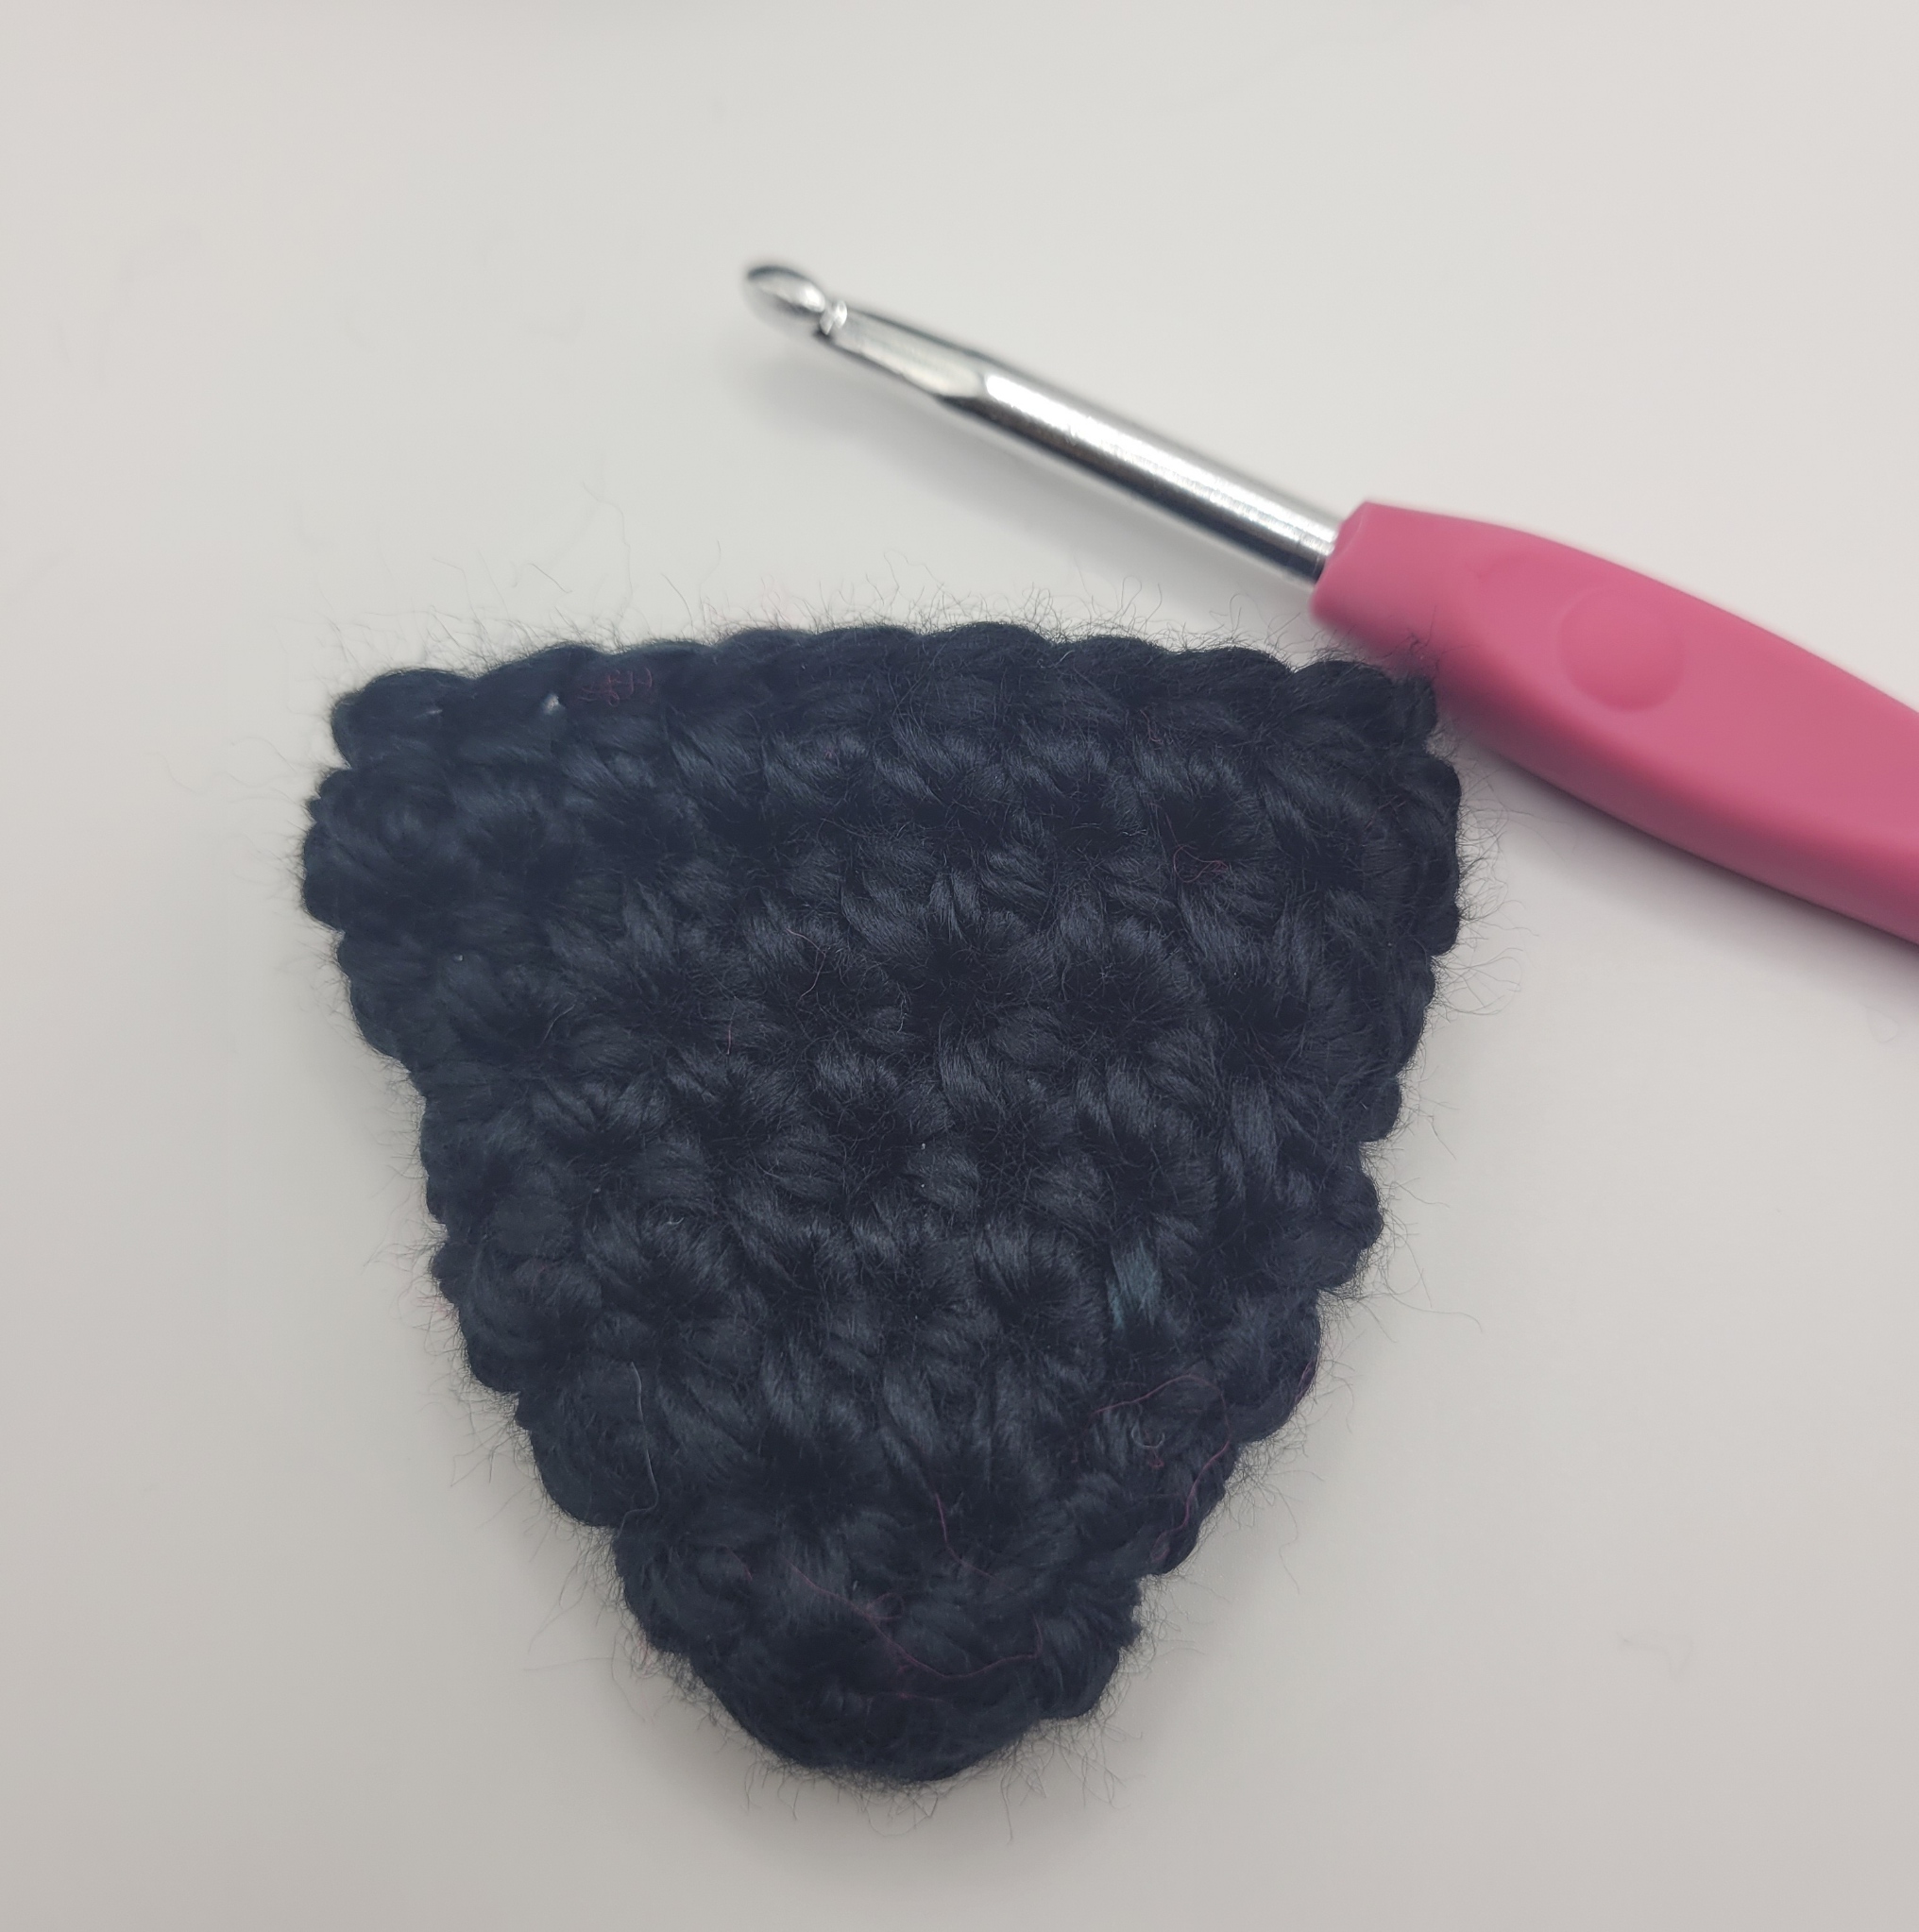
- Chain 1, (HDC in 1st stitch, 2 HDC in next stitch) X 6, HDC in last 2 stitches, slip stitch to 1st HDC of round, (20 stitches)
- Chain 1 HDC in each stitch around (20 stitches). Cut yarn and use tail for invisible join. Weave in tails. Flatten ears so that there are 10 bottom stitches on each side of the ear.
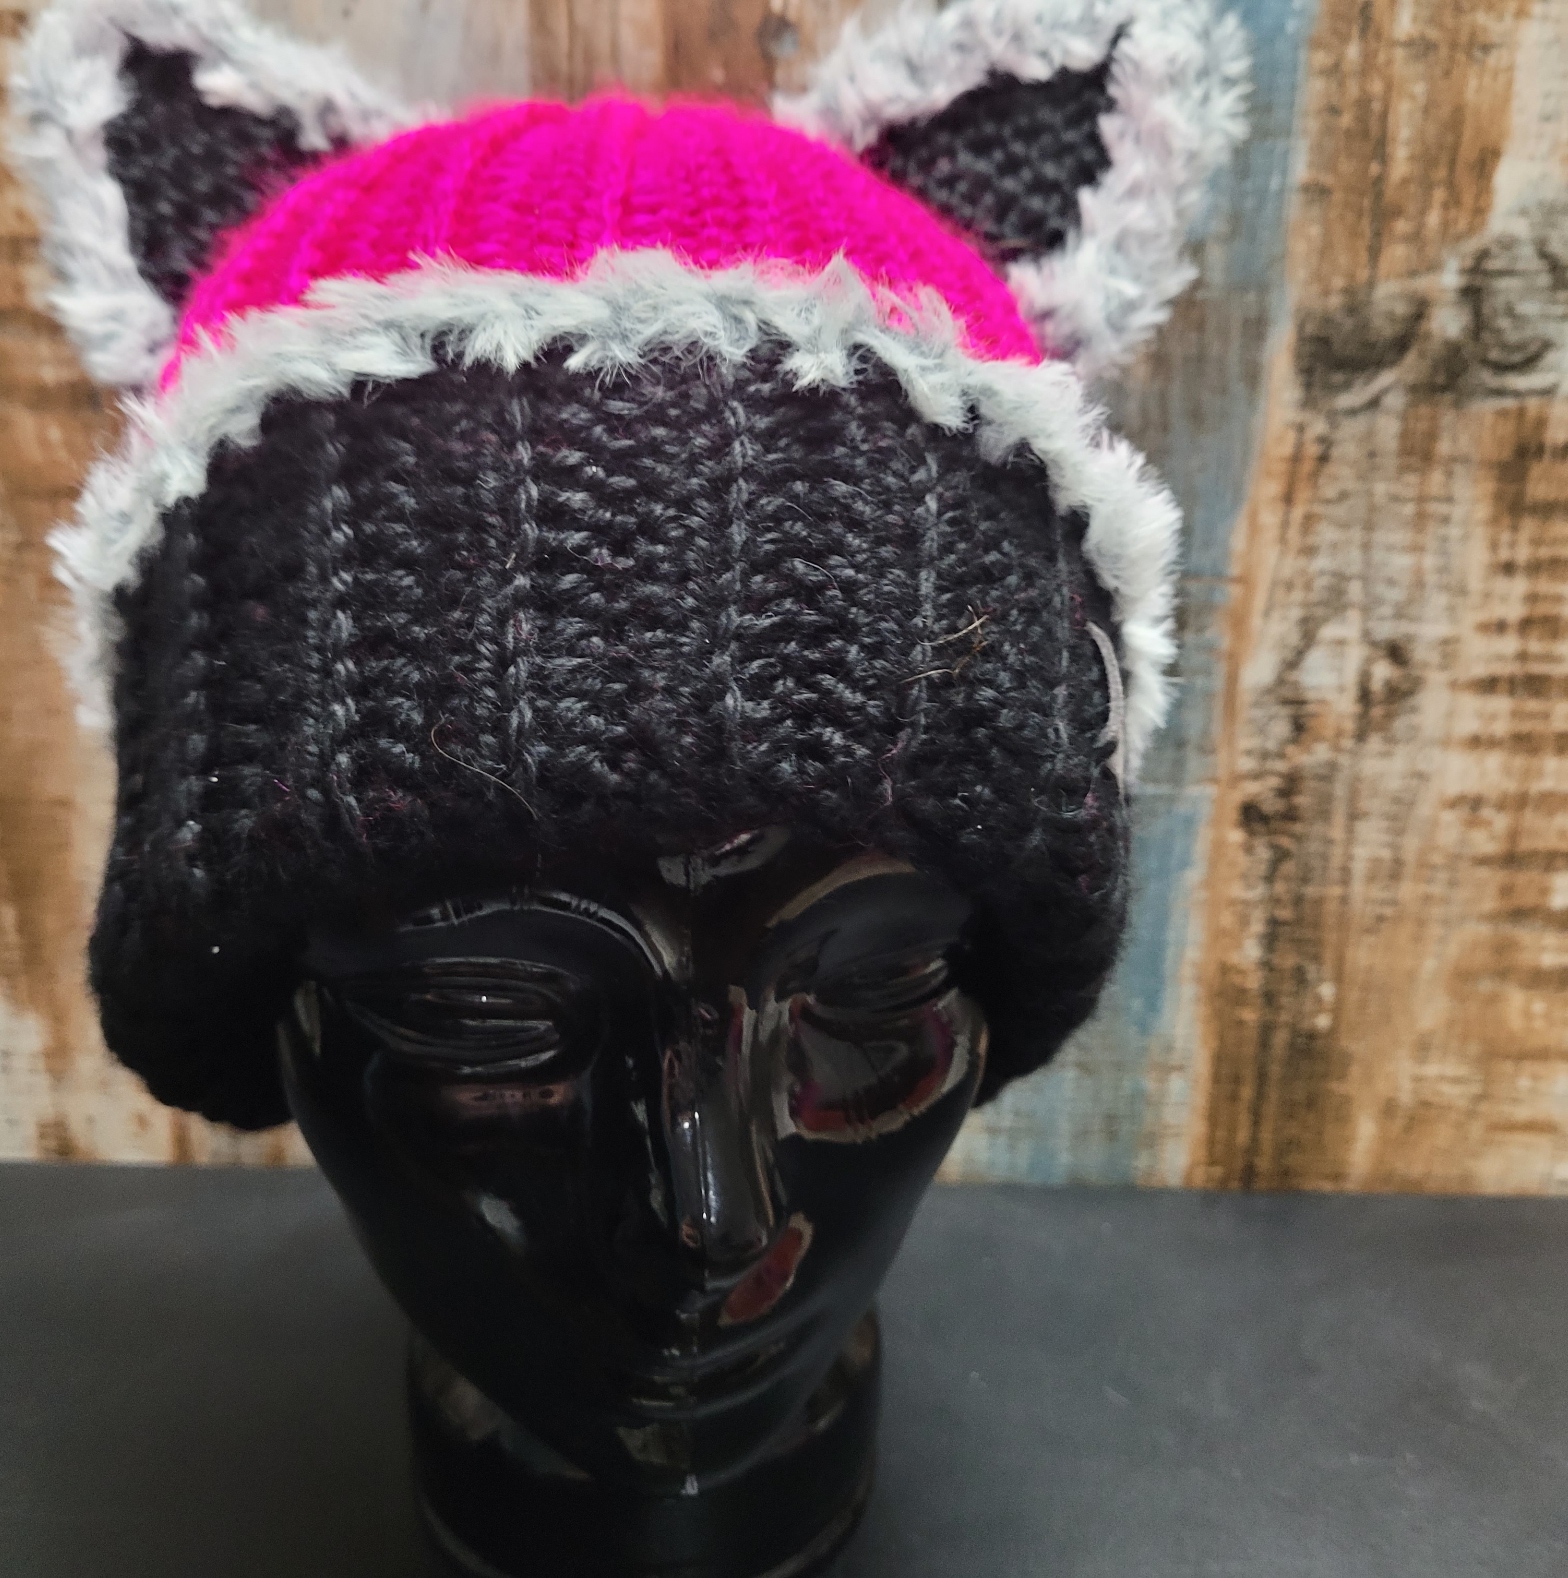
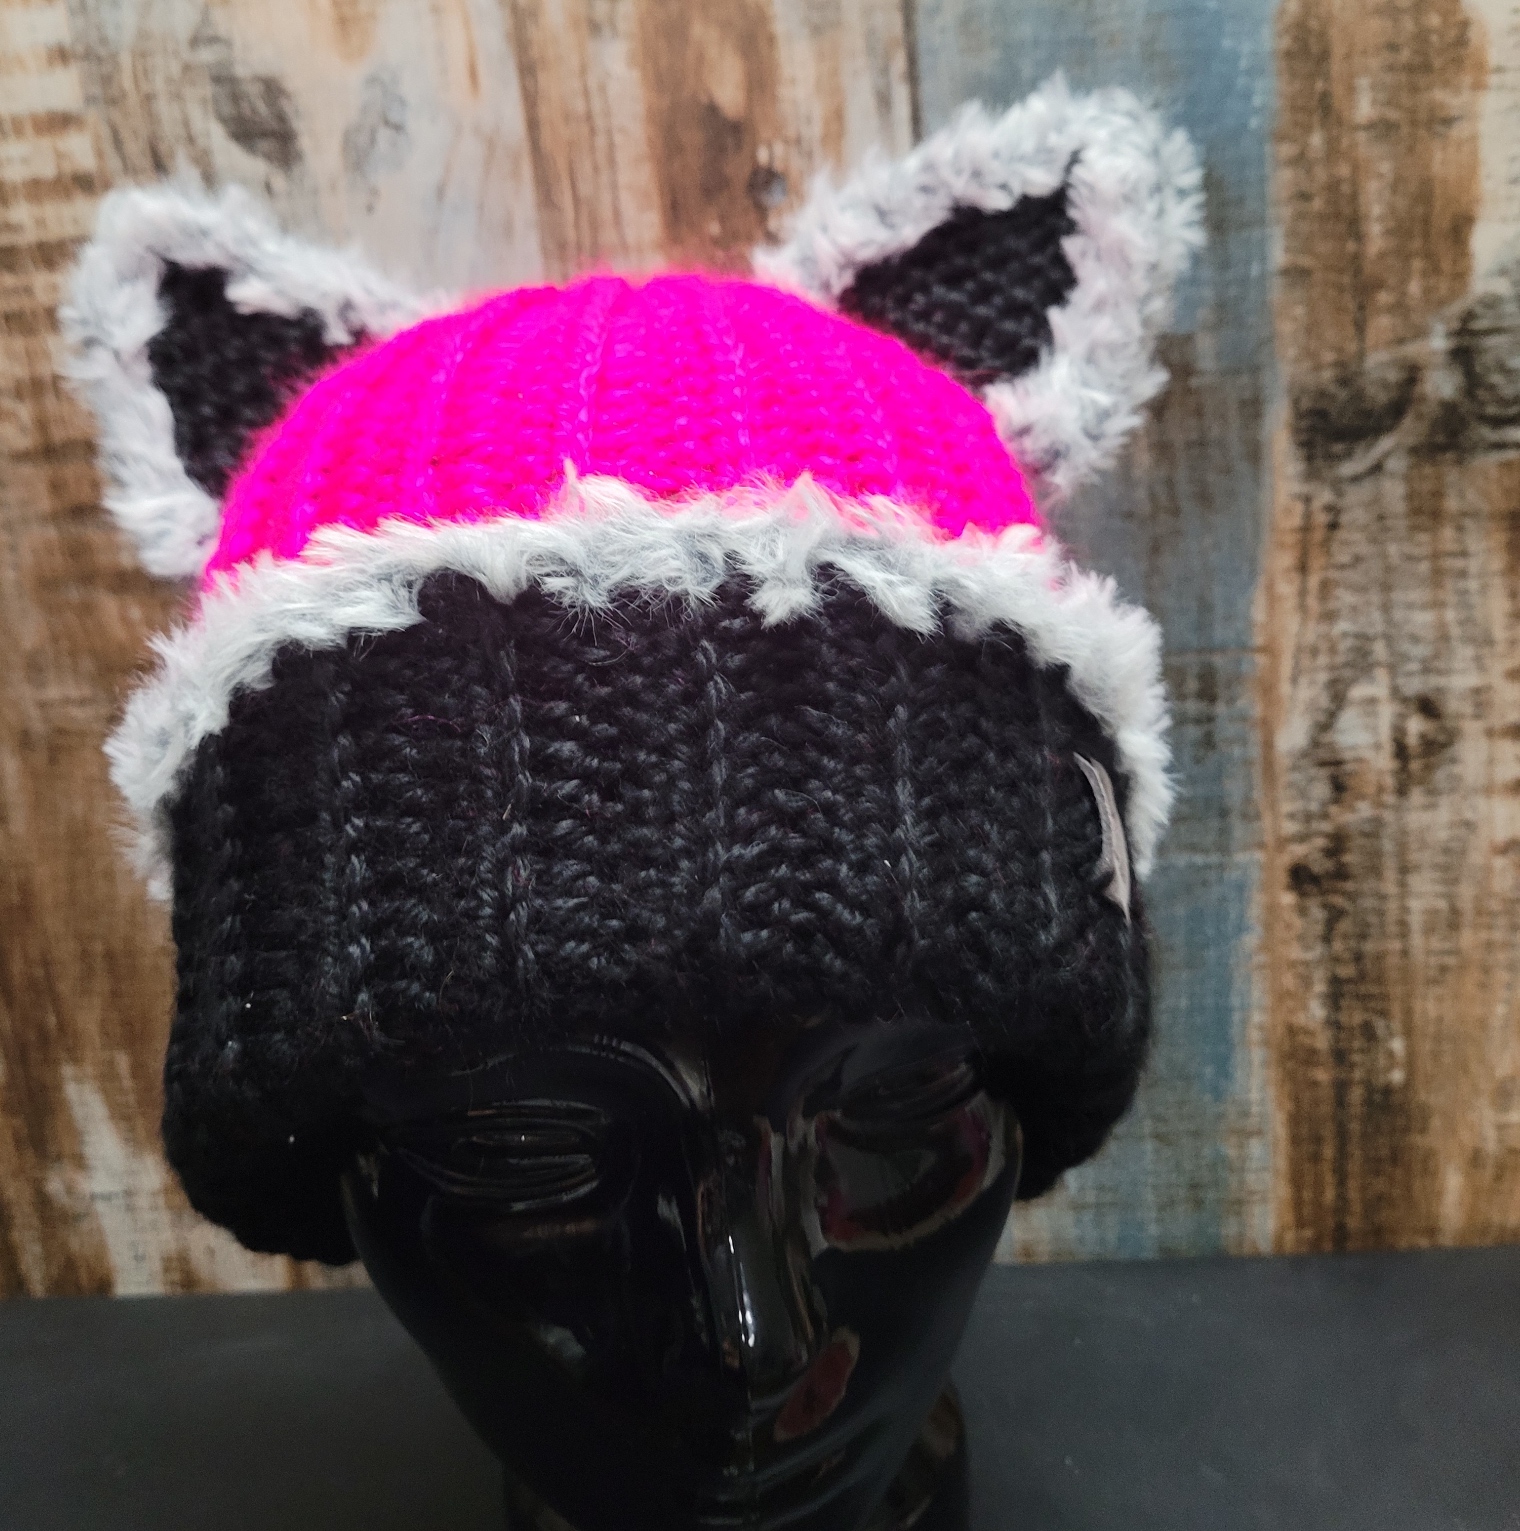
Attaching the ears:
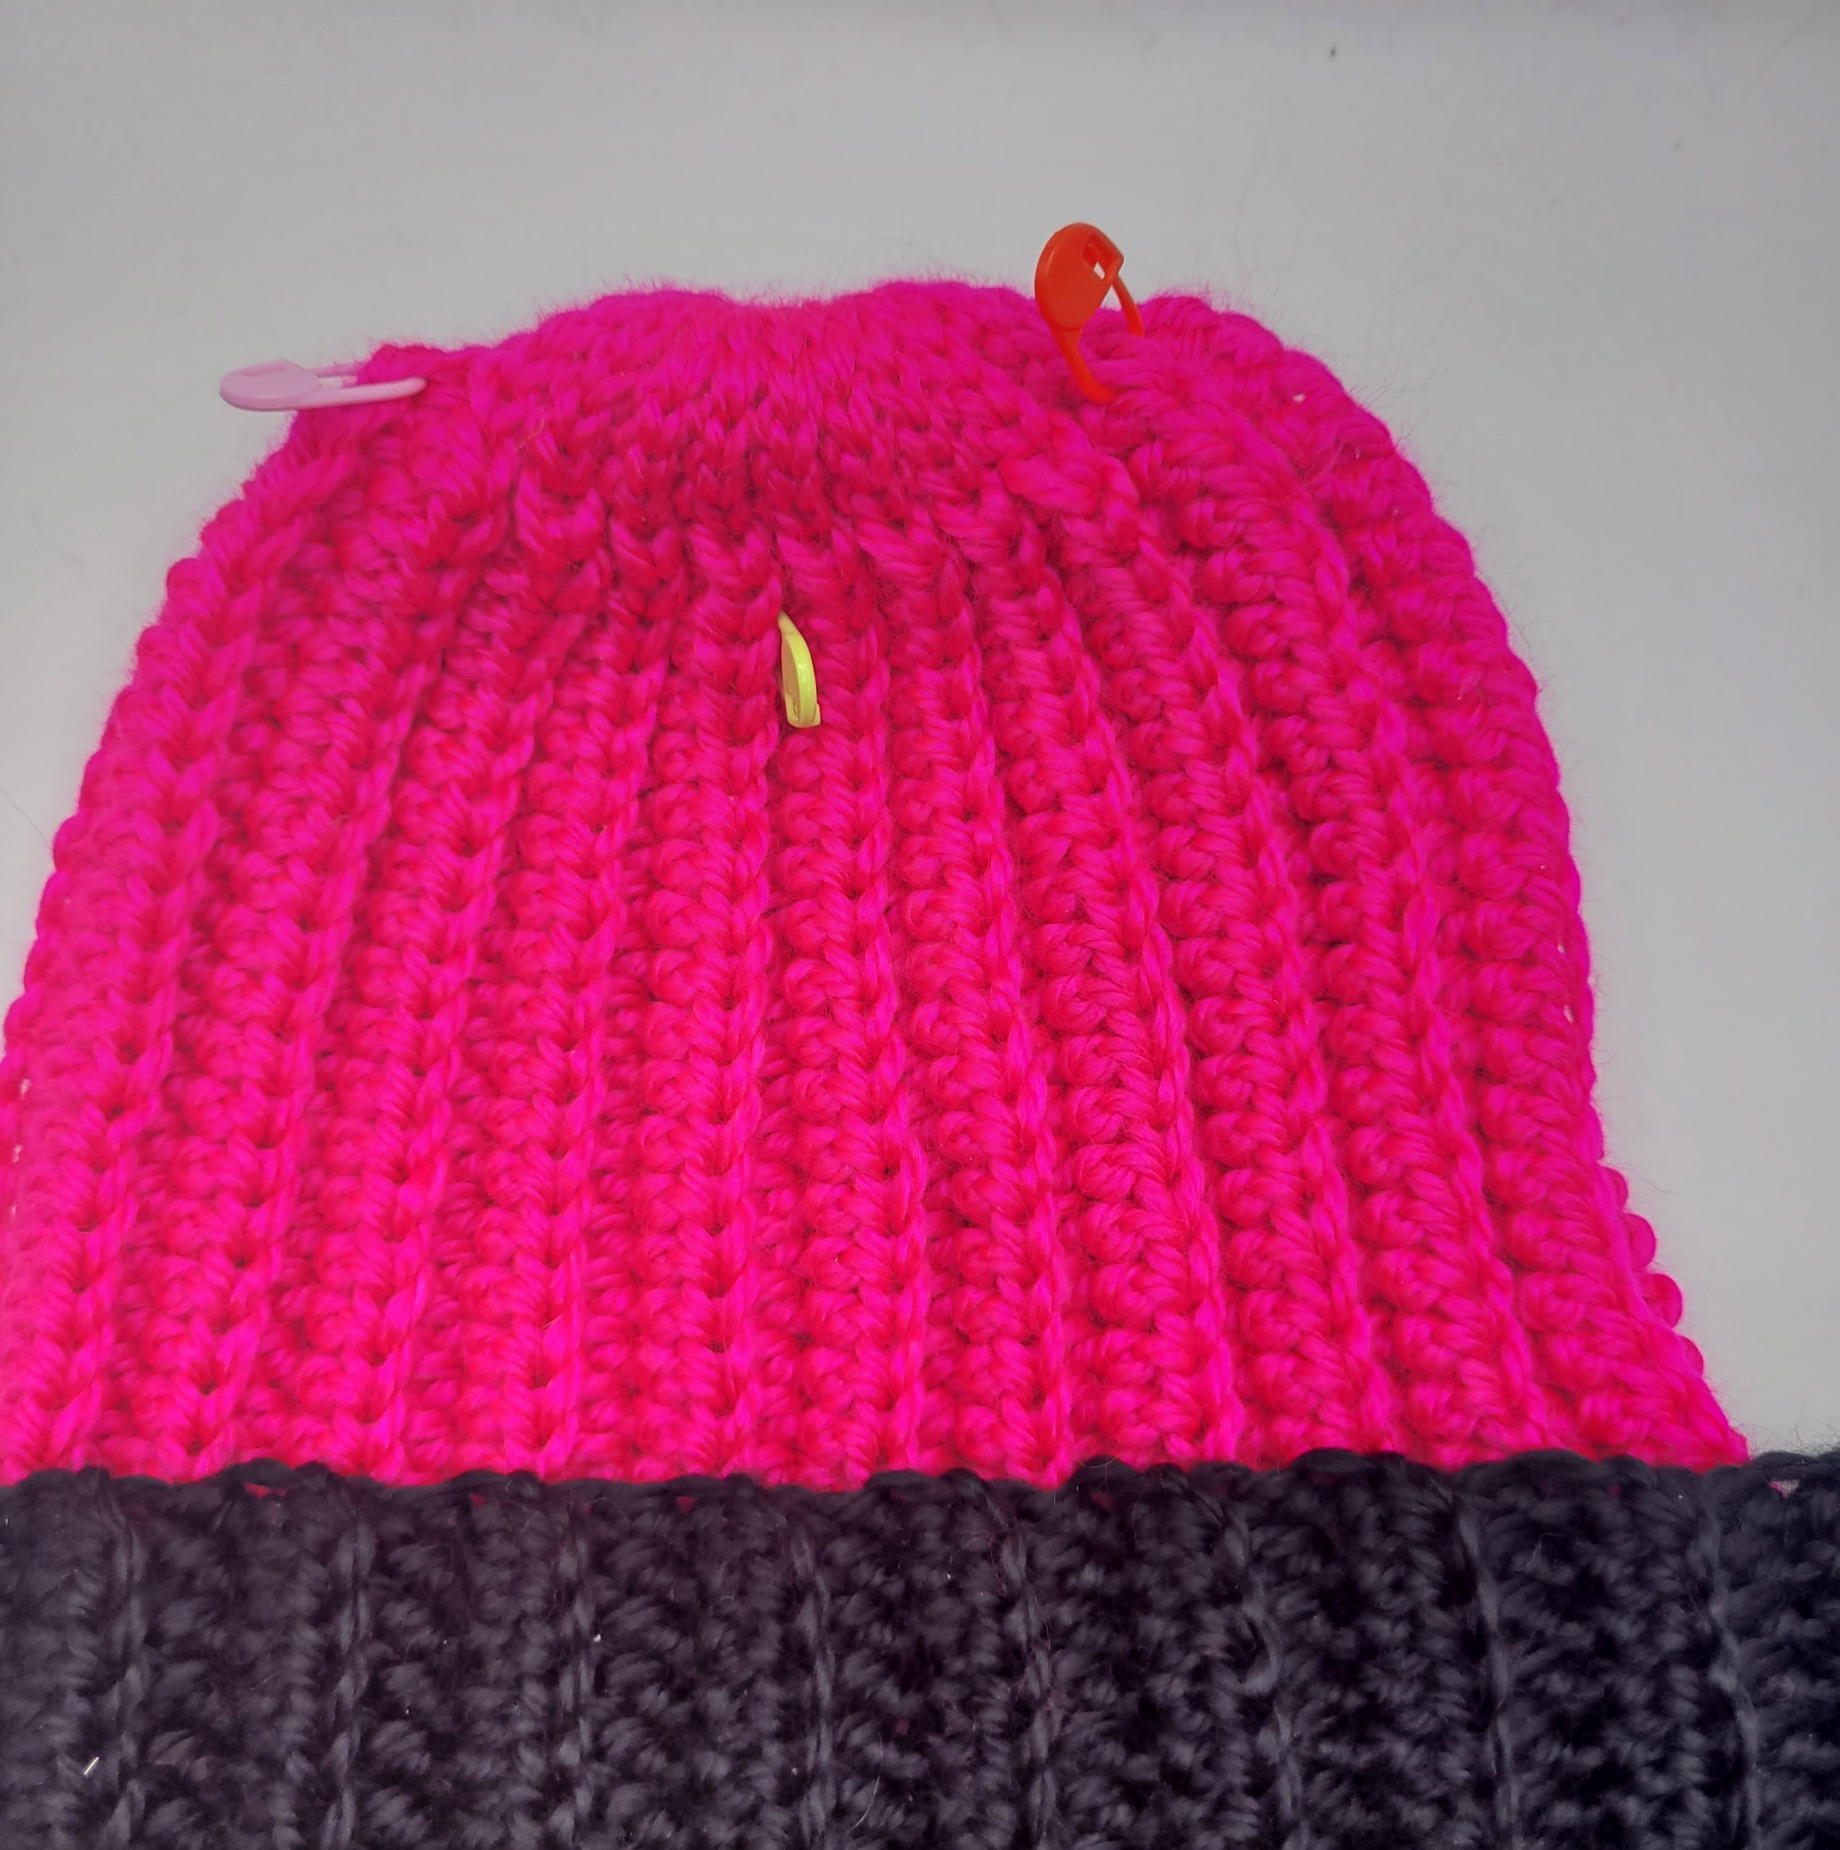
This hat has is ribbed and for the sake of description, I will call the bumpy parts of the hat the hill and the dips in-between the bumps the valleys.
Find the centre of the hat (in a valley between 2 hills) and put a stitch marker in the valley.
Count 5 hills to the left of the centre valley and put a stitch marker in the 1st HDC stitch of that row
Count 5 hills to the right of the centre of the valley and put a stitch marker the 1st HDC stitch of that row.
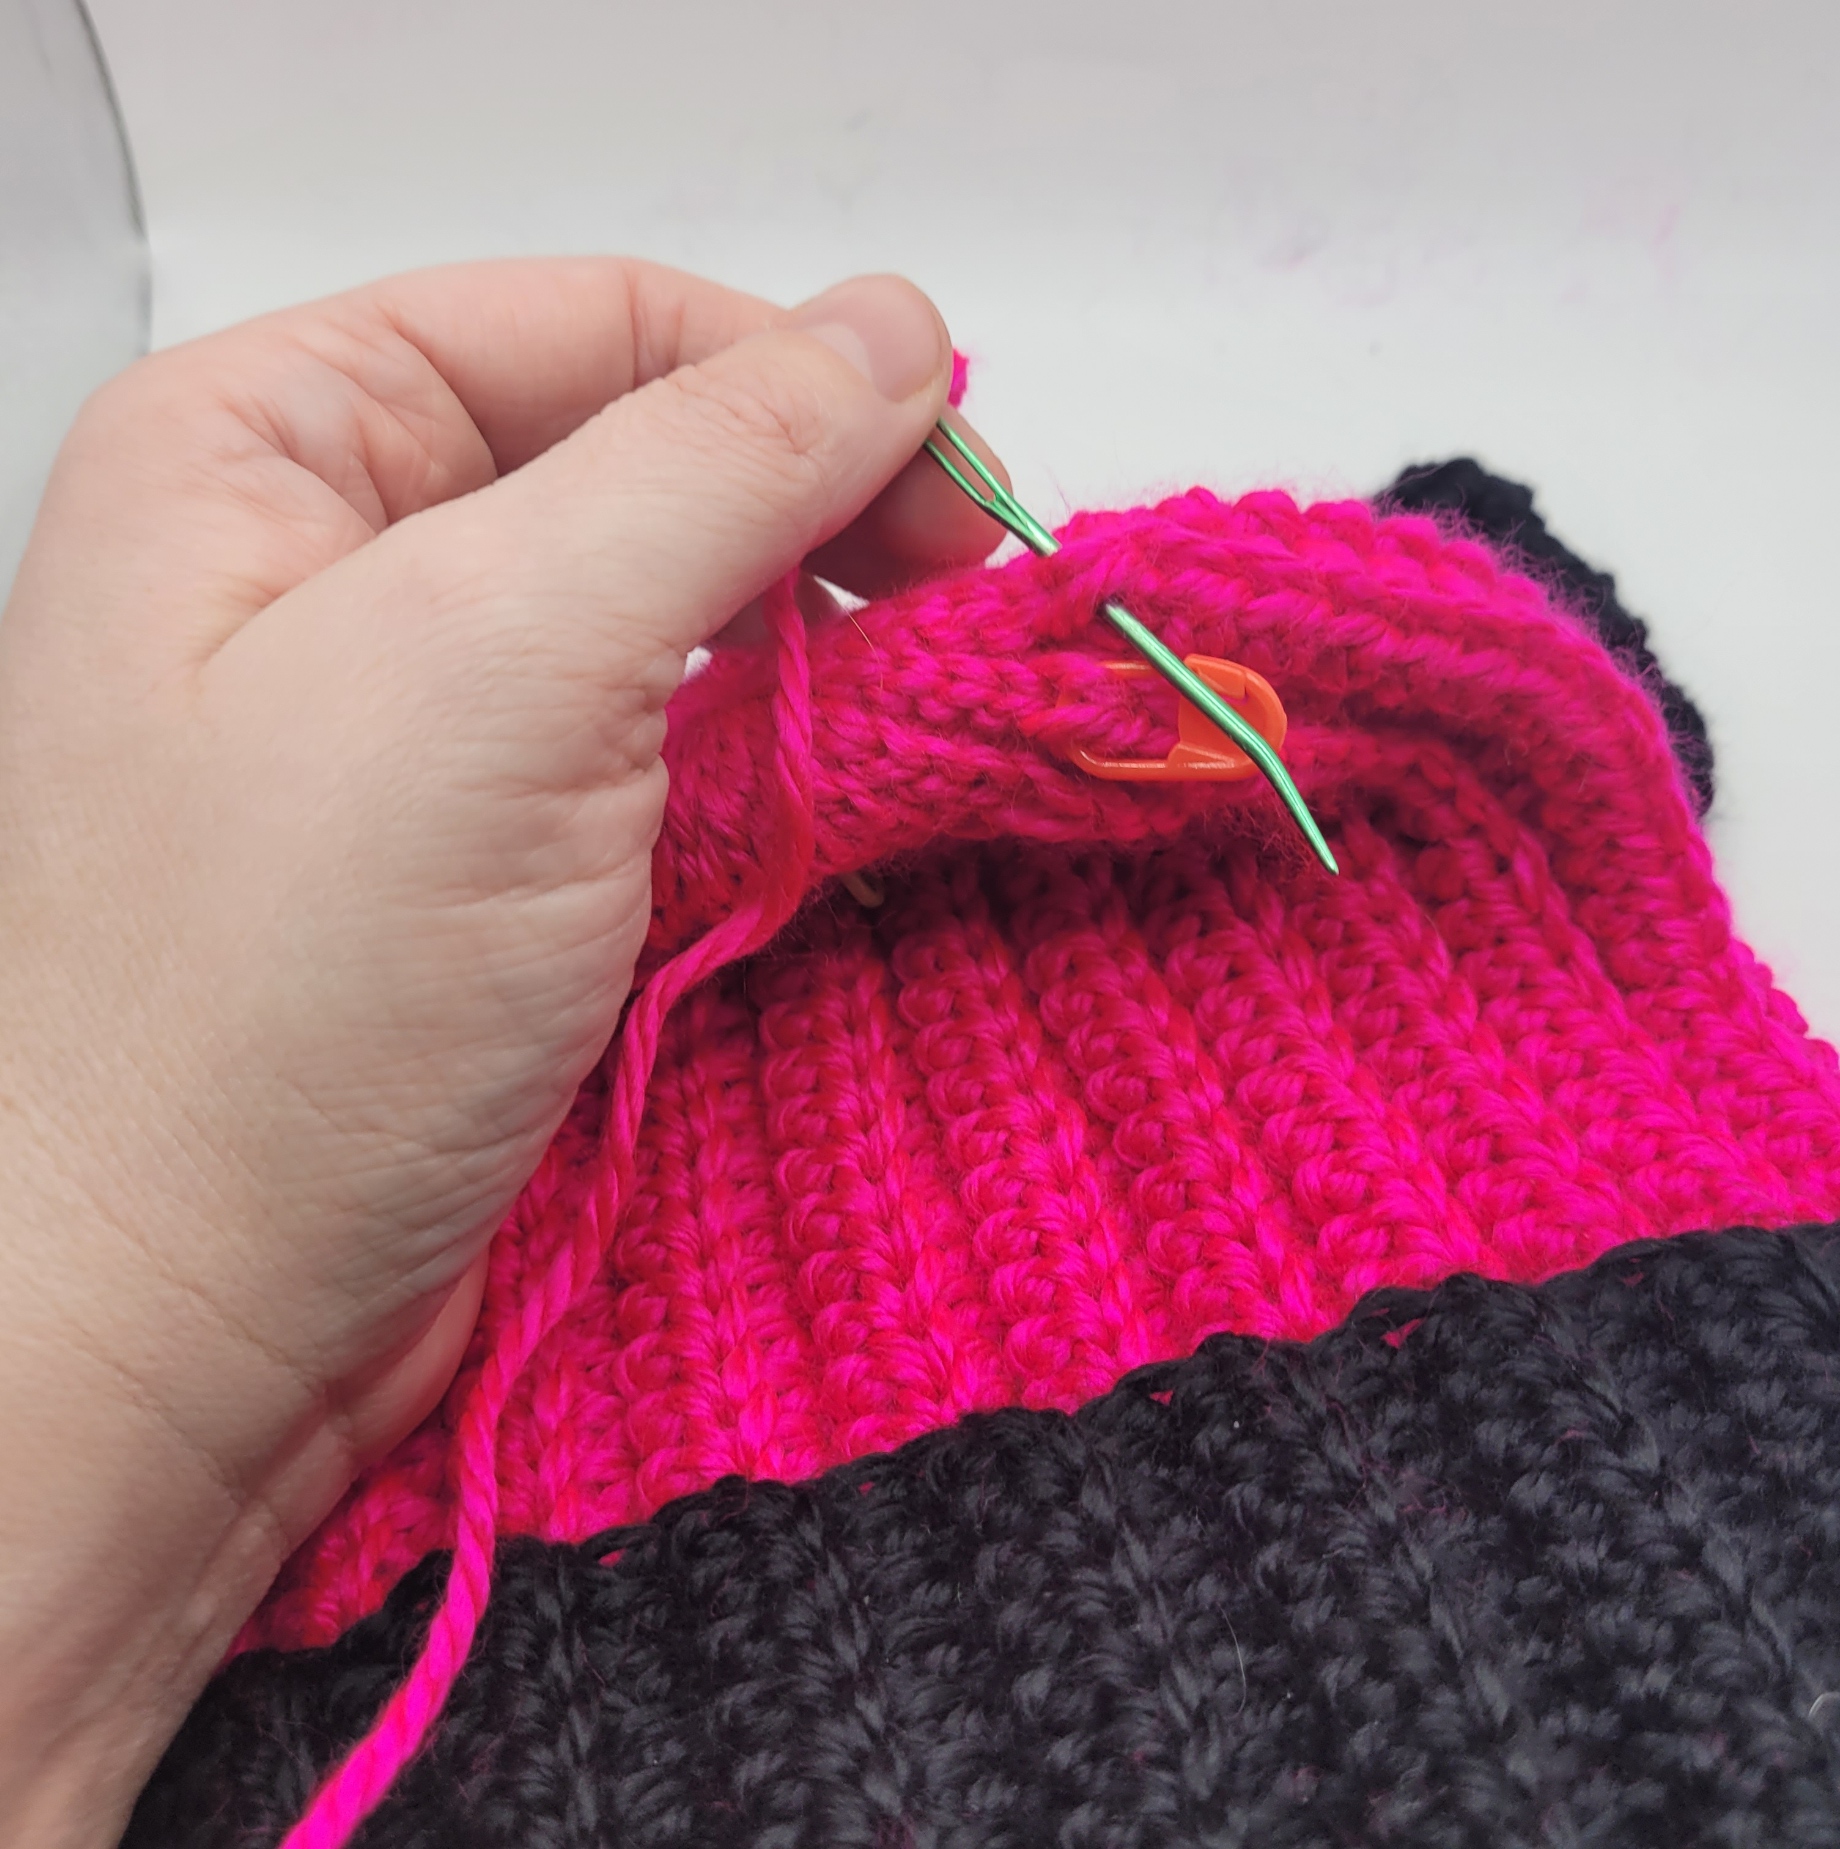
We want set the ears in the valley between the 5th and 6th hills and sew them in place by passing the yarn through the 1st HDC on 6th hill, the 1st stitch on the back of the ear, the 1st stitch on the front of the ears (which is directly across from the 1st stitch on the back of ear), then through the 1st HDC (marked stitch) of the 5th hill. This will sandwich the ear in-between the 2 hills and help the ears to stand up.
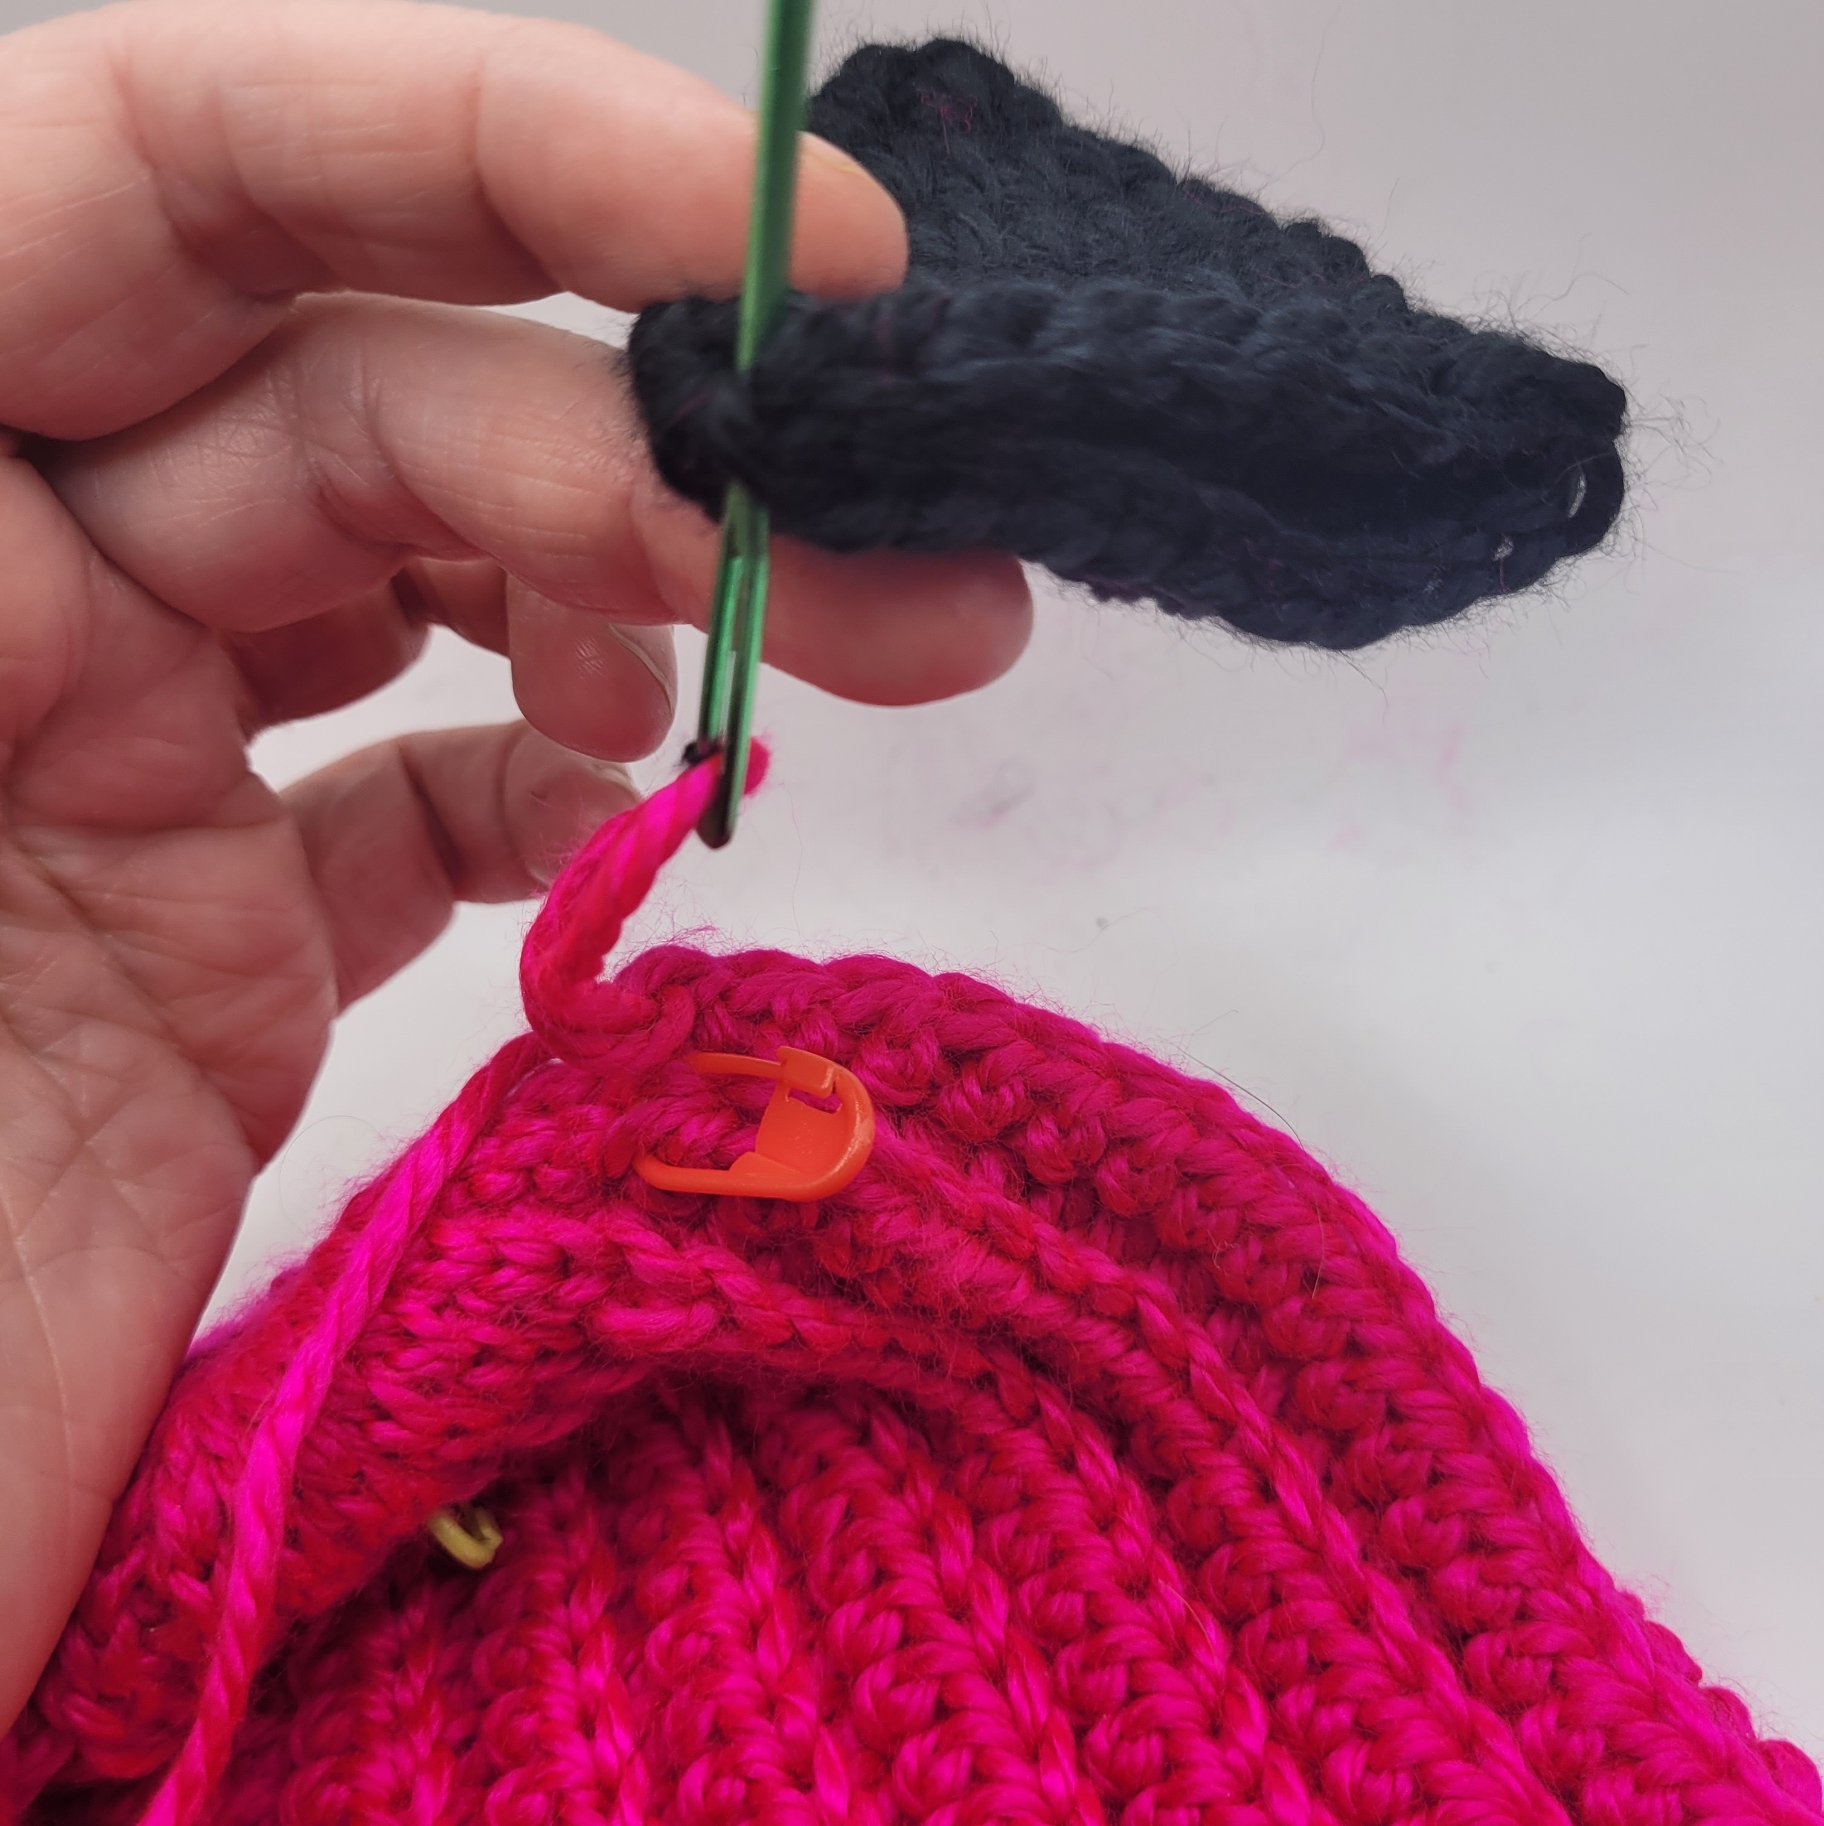
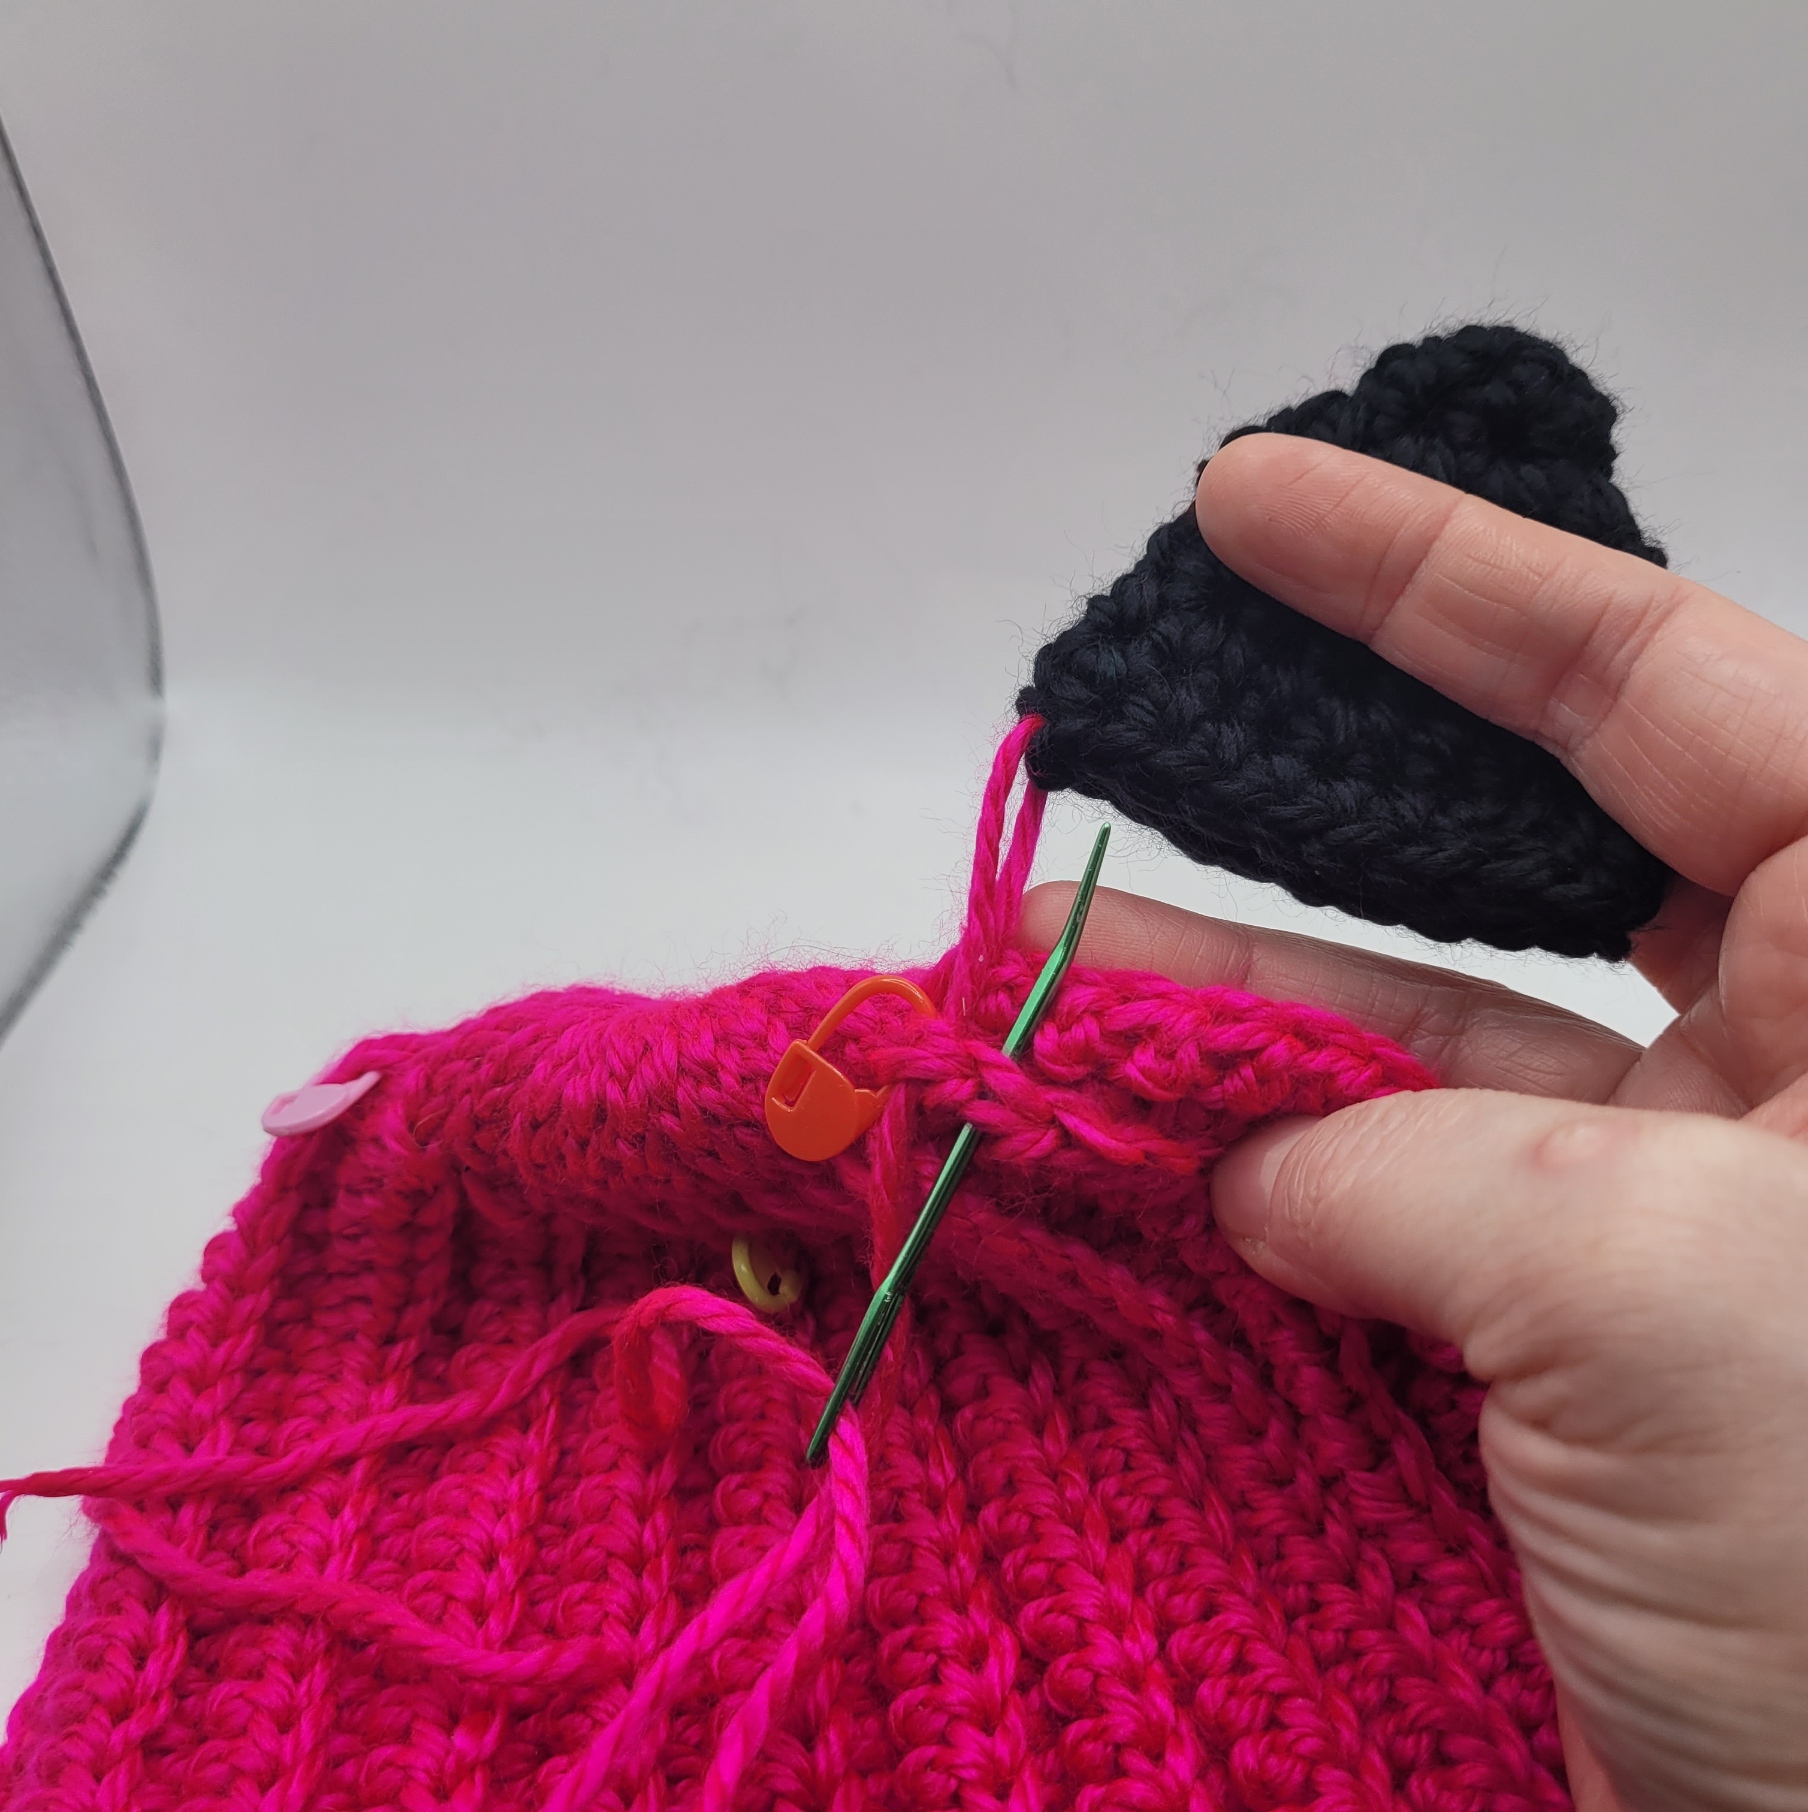
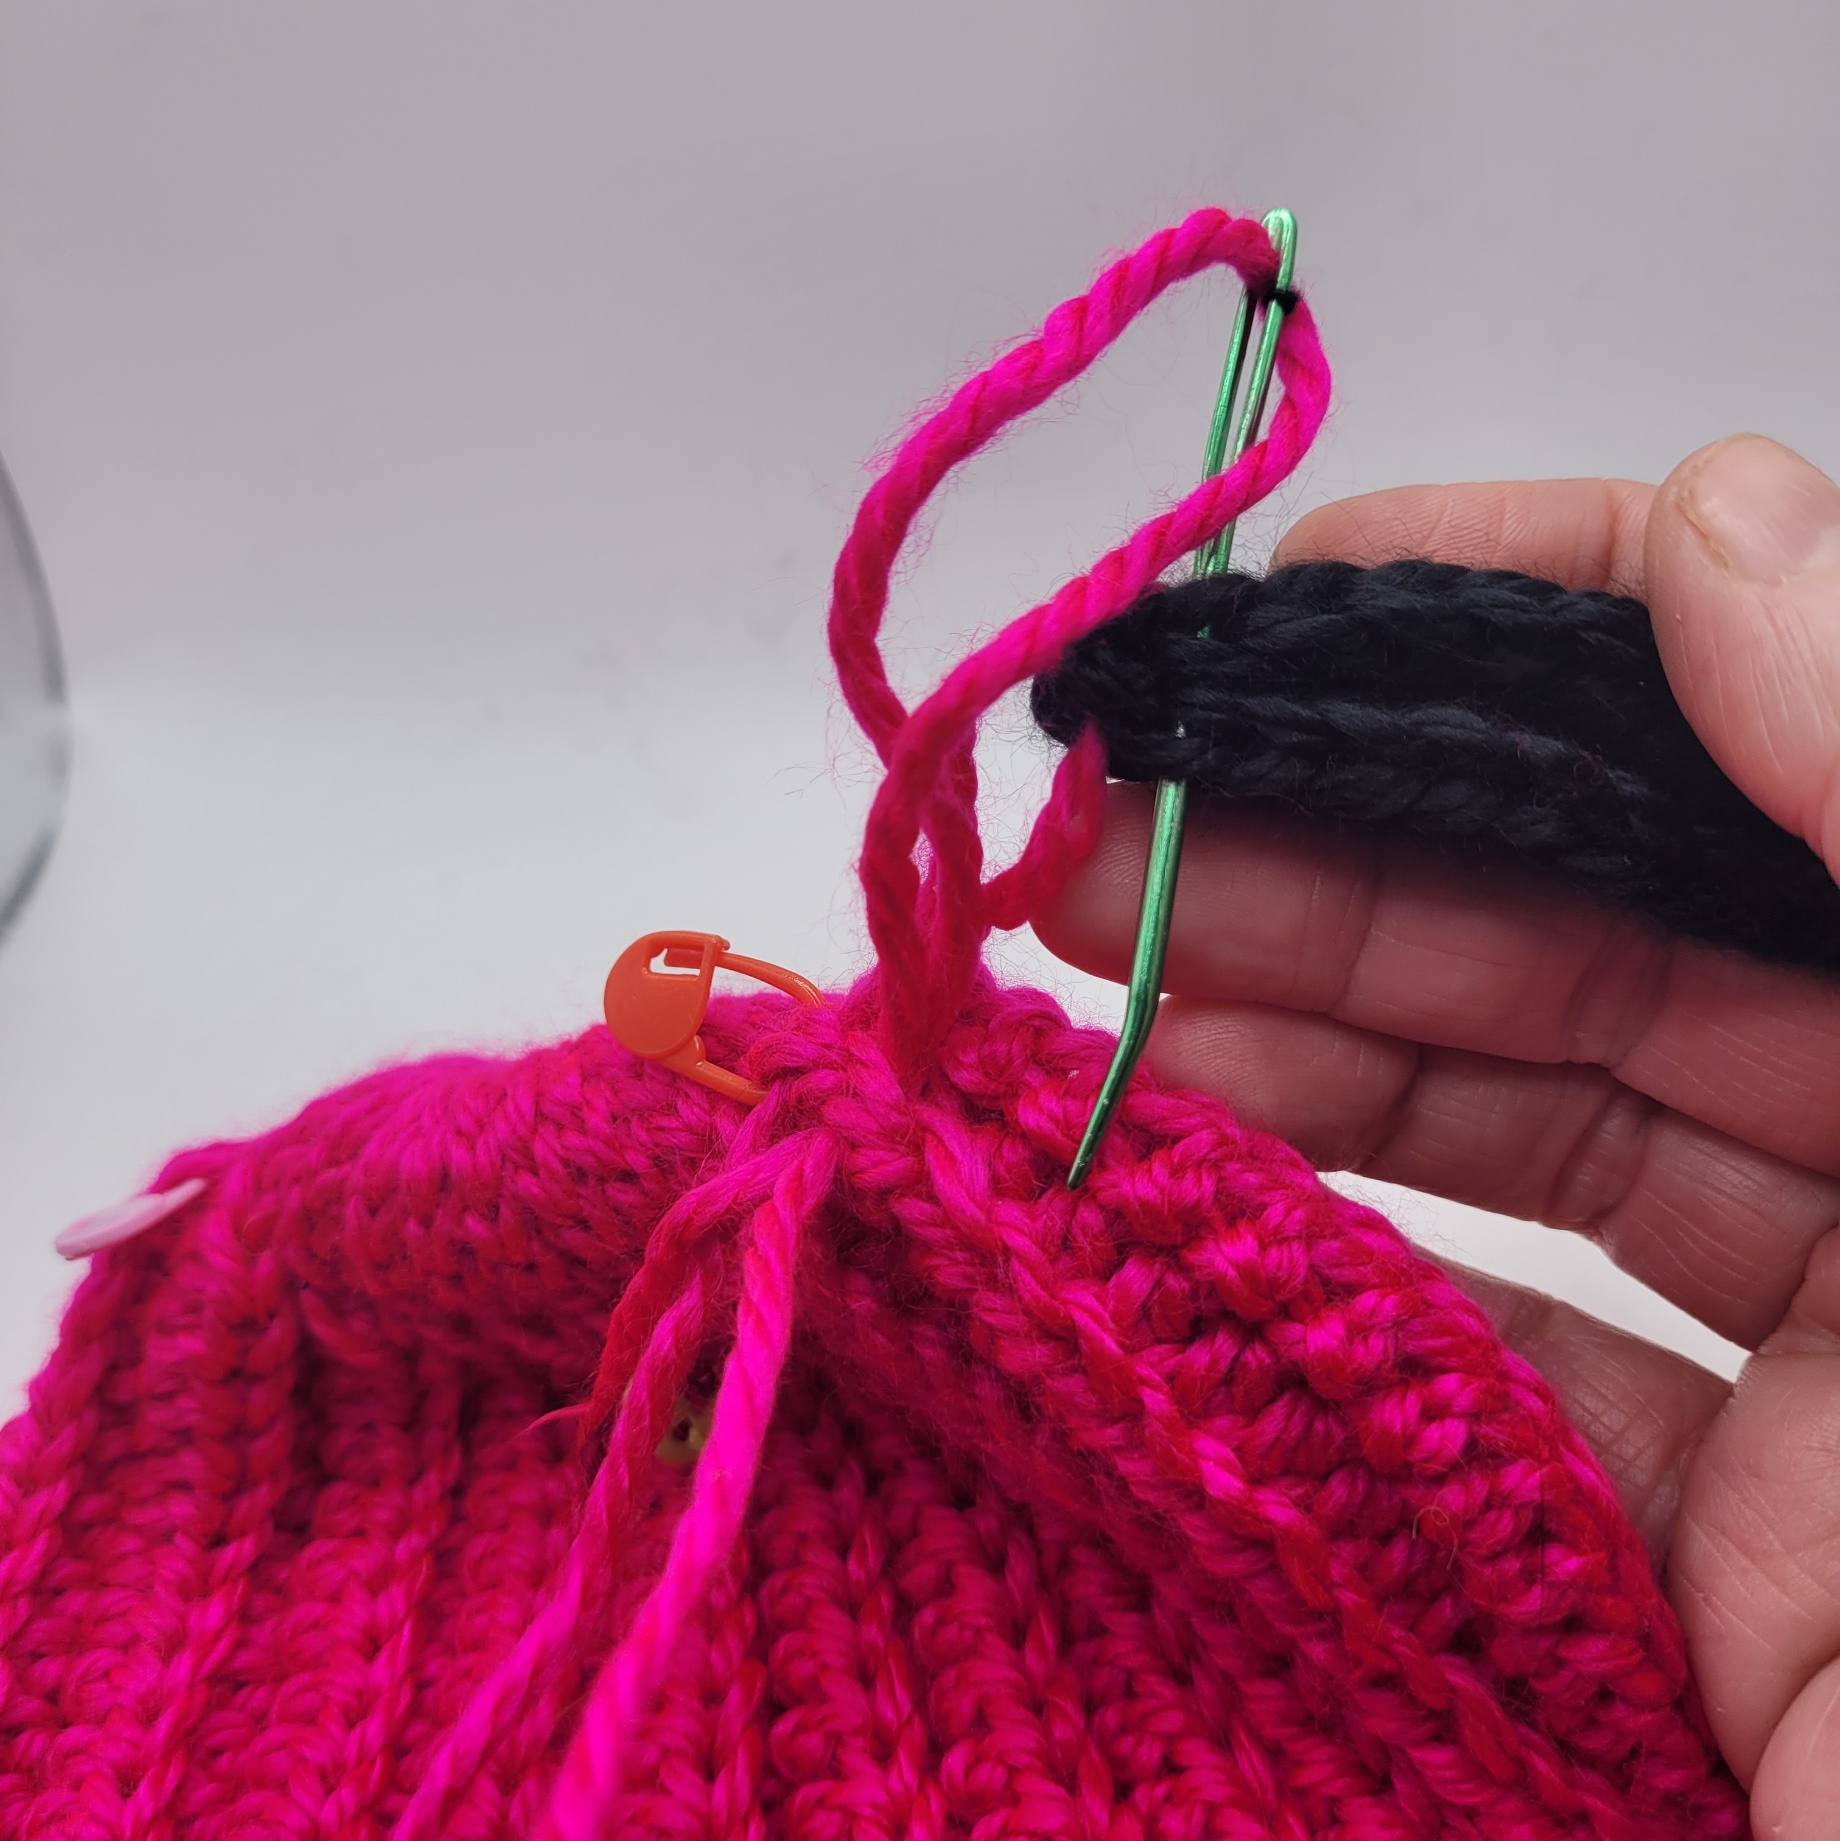
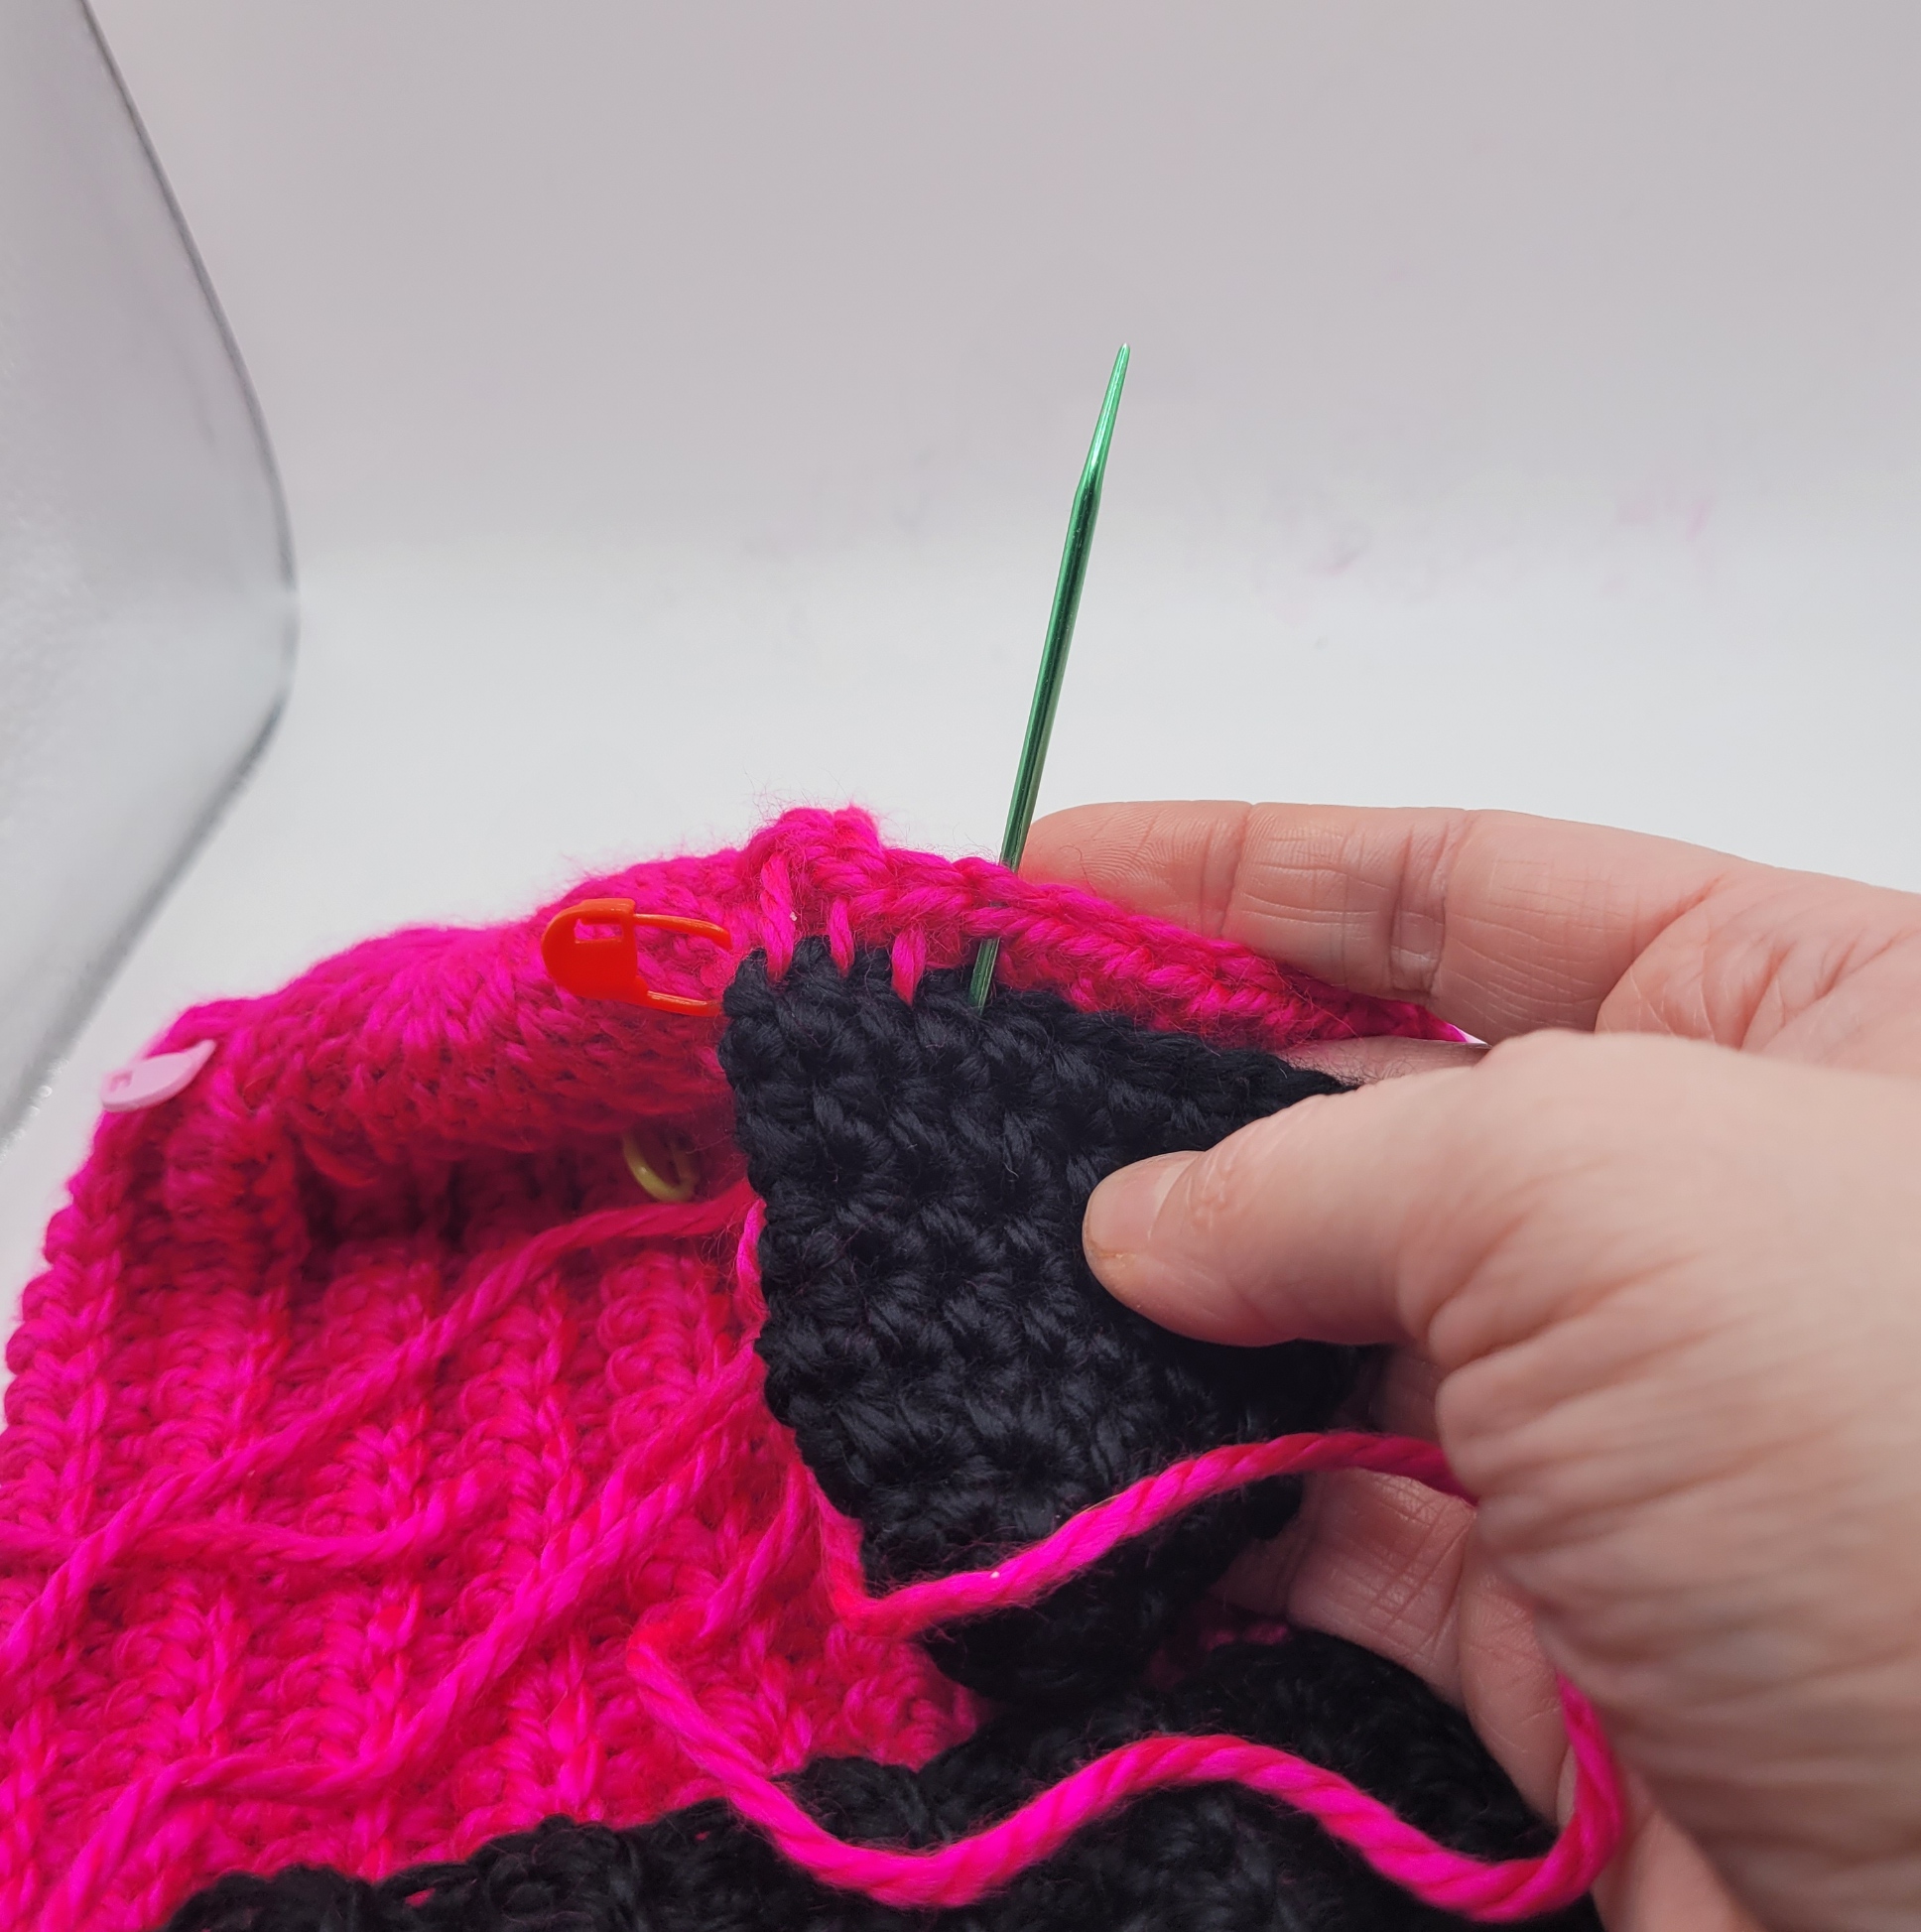
Pass the yarn needle through the 2nd HDC of the 5th row (below the marked stitch), then through the next stitch on the front of the ear, then the next stich on the back of the ear, then through the 2nd HDC of the 6th row.
Continue in this manner until the ear is completely stitched to the hat, then weave in ends.
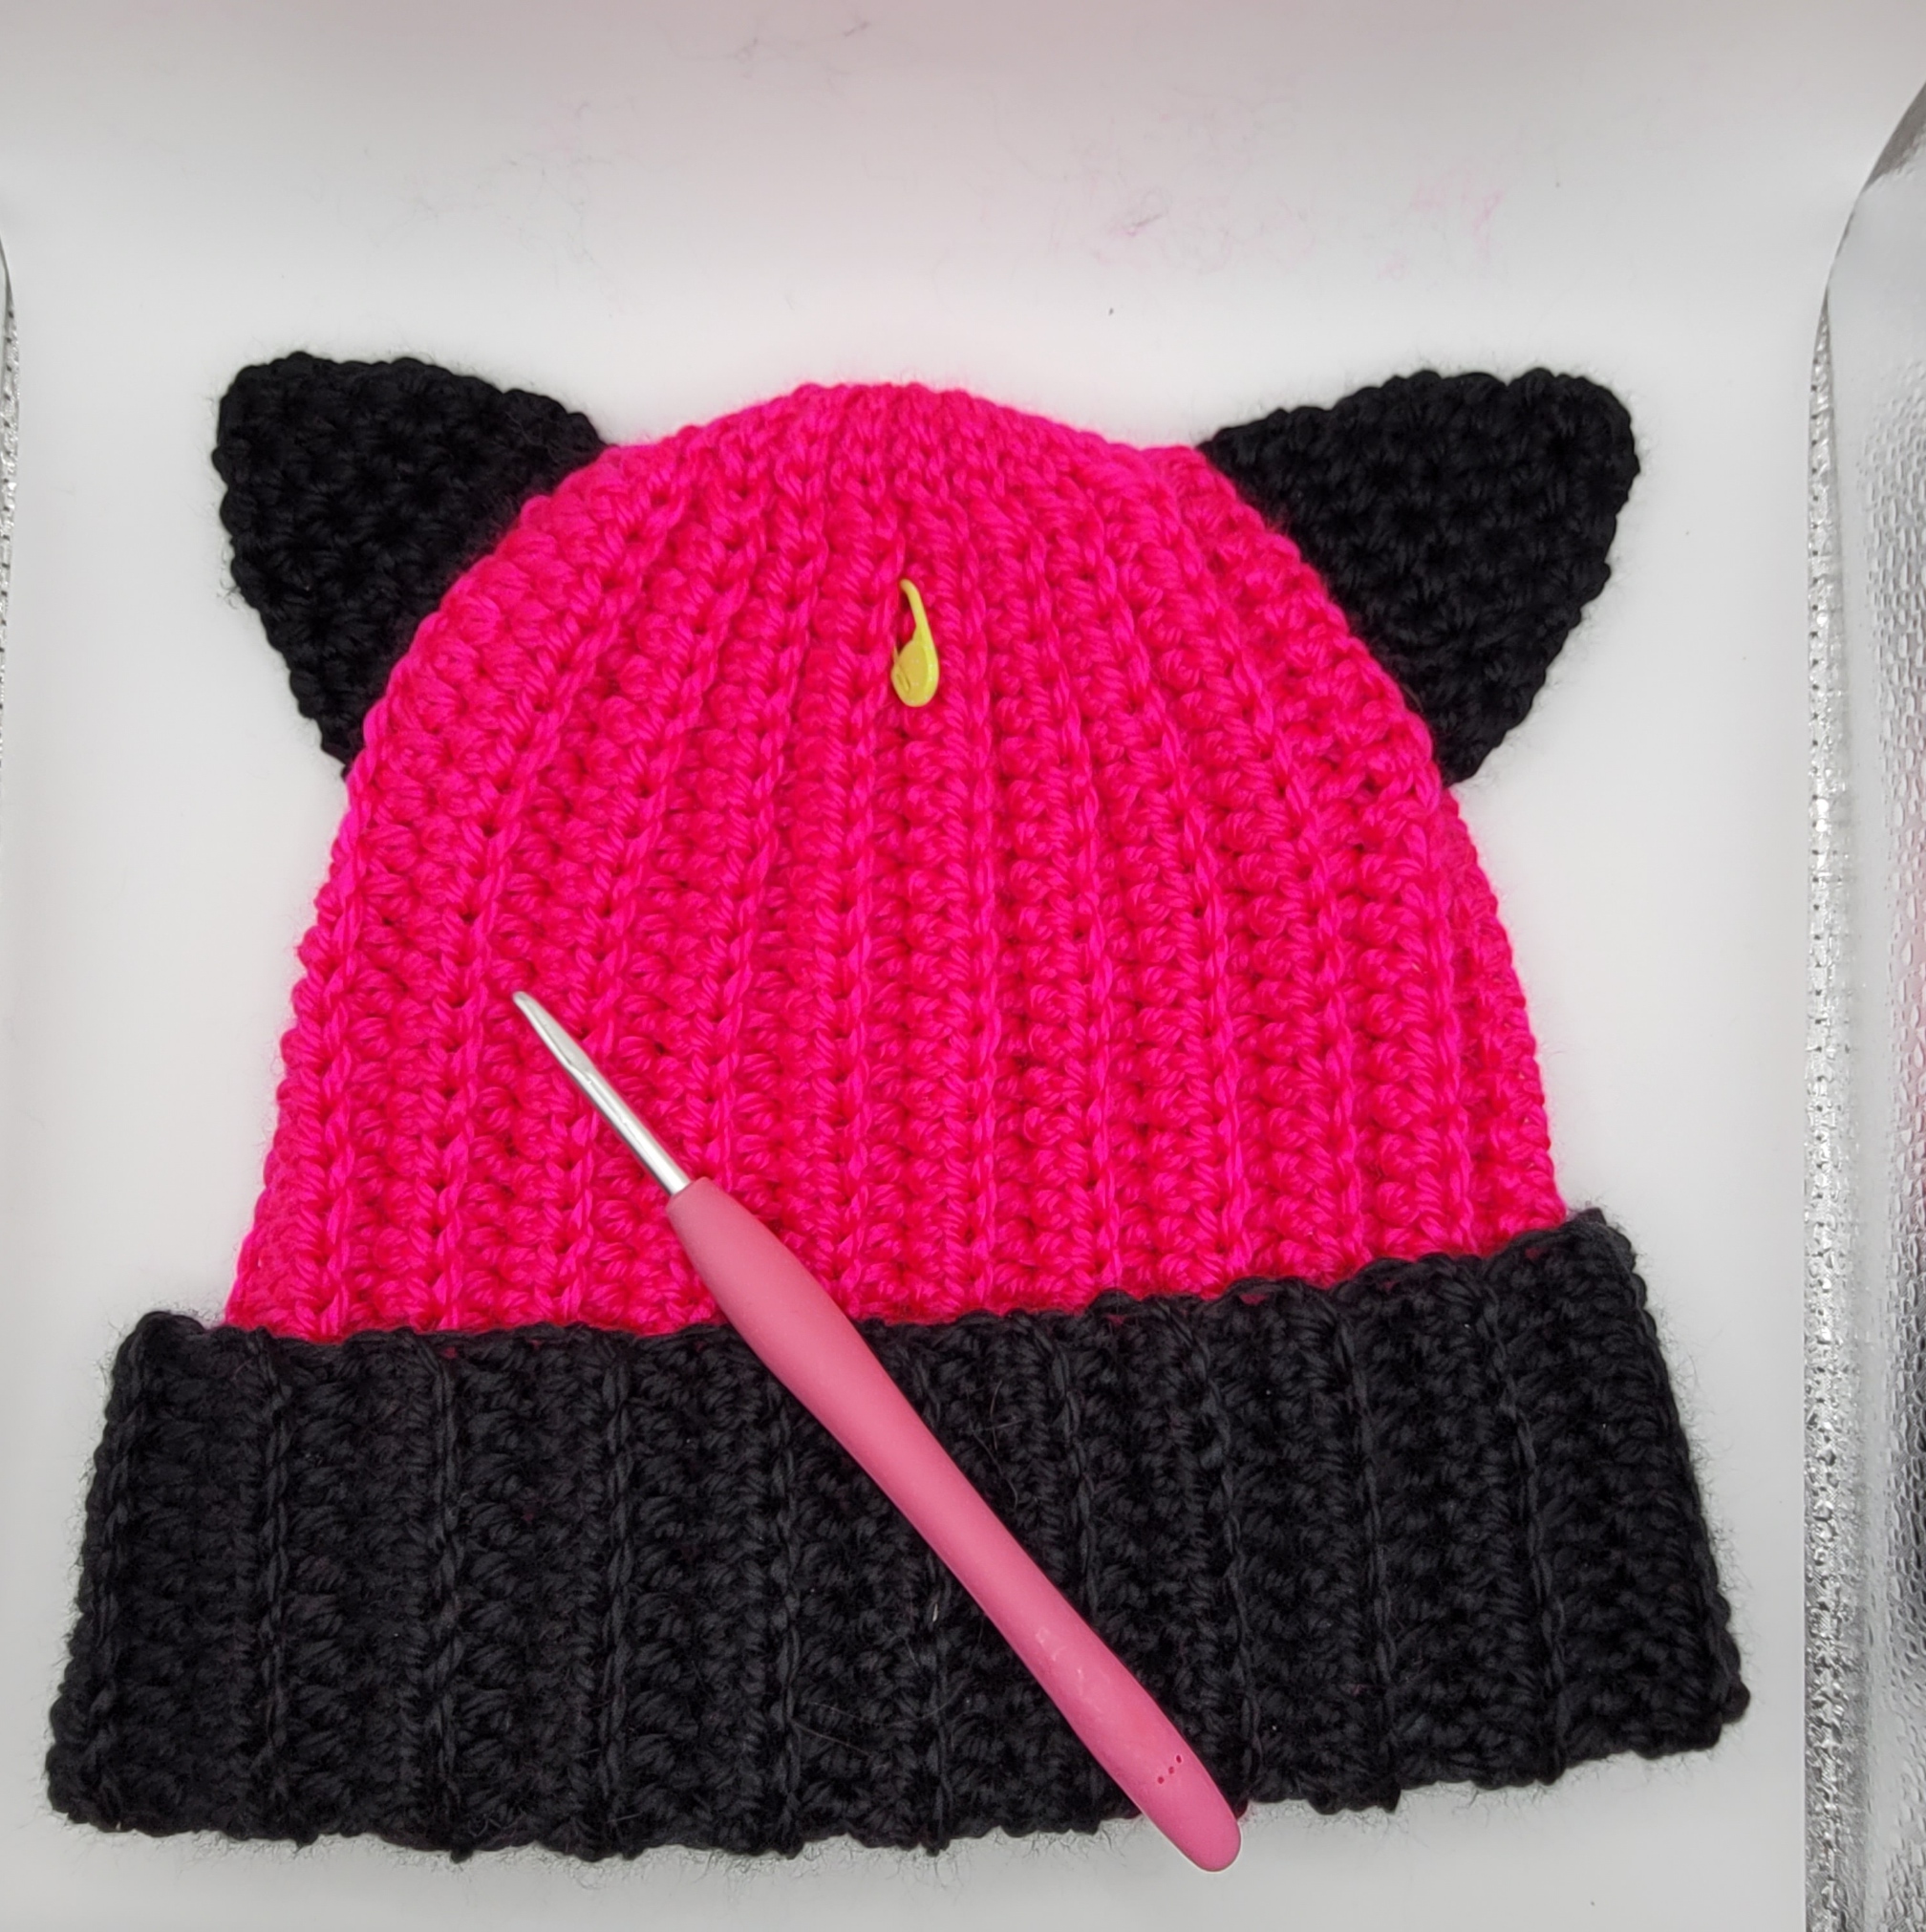
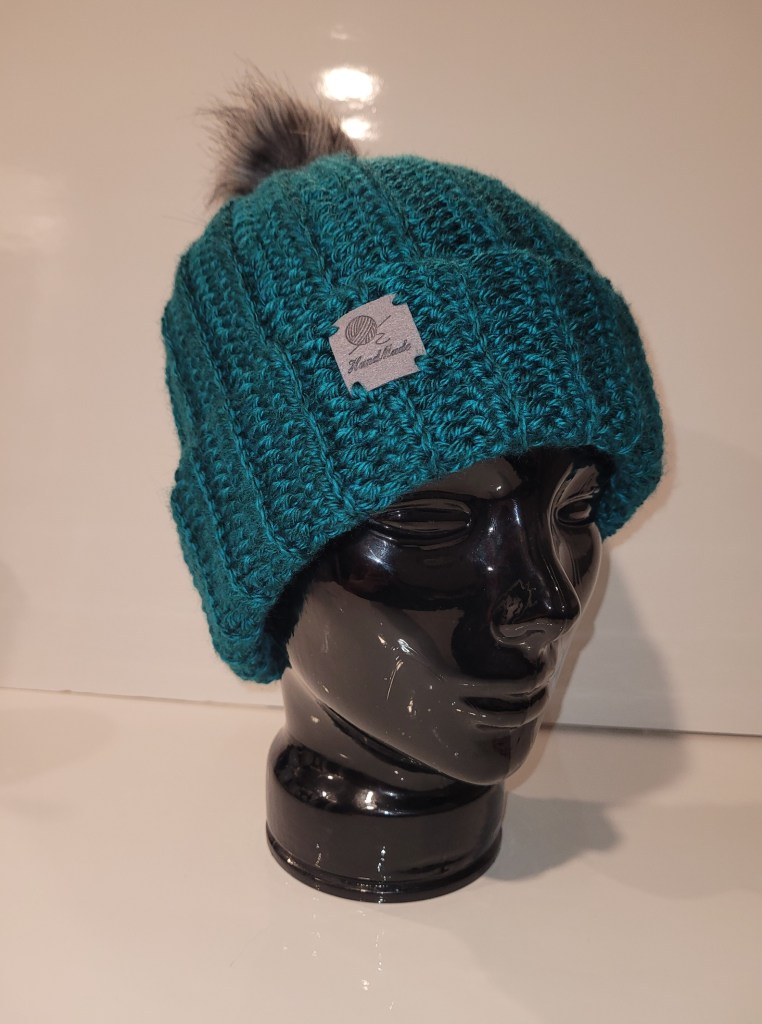
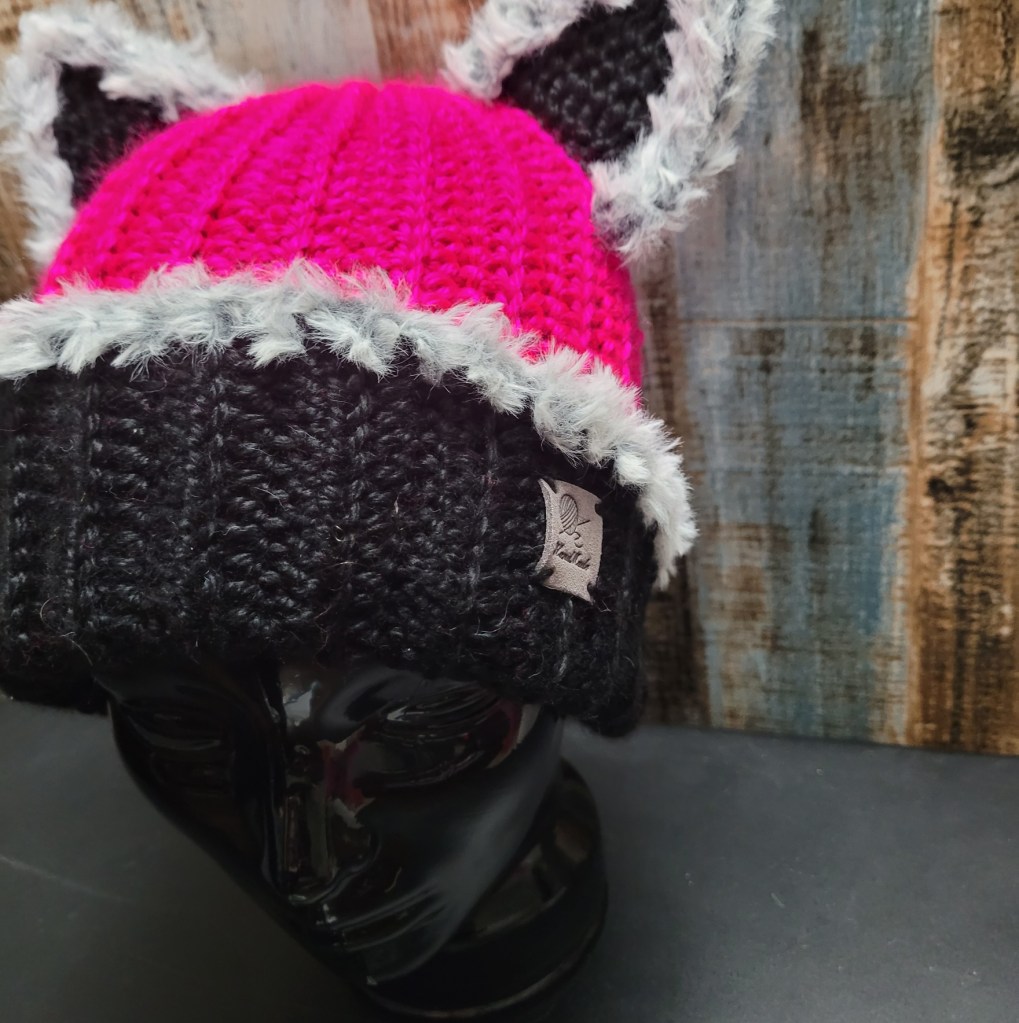
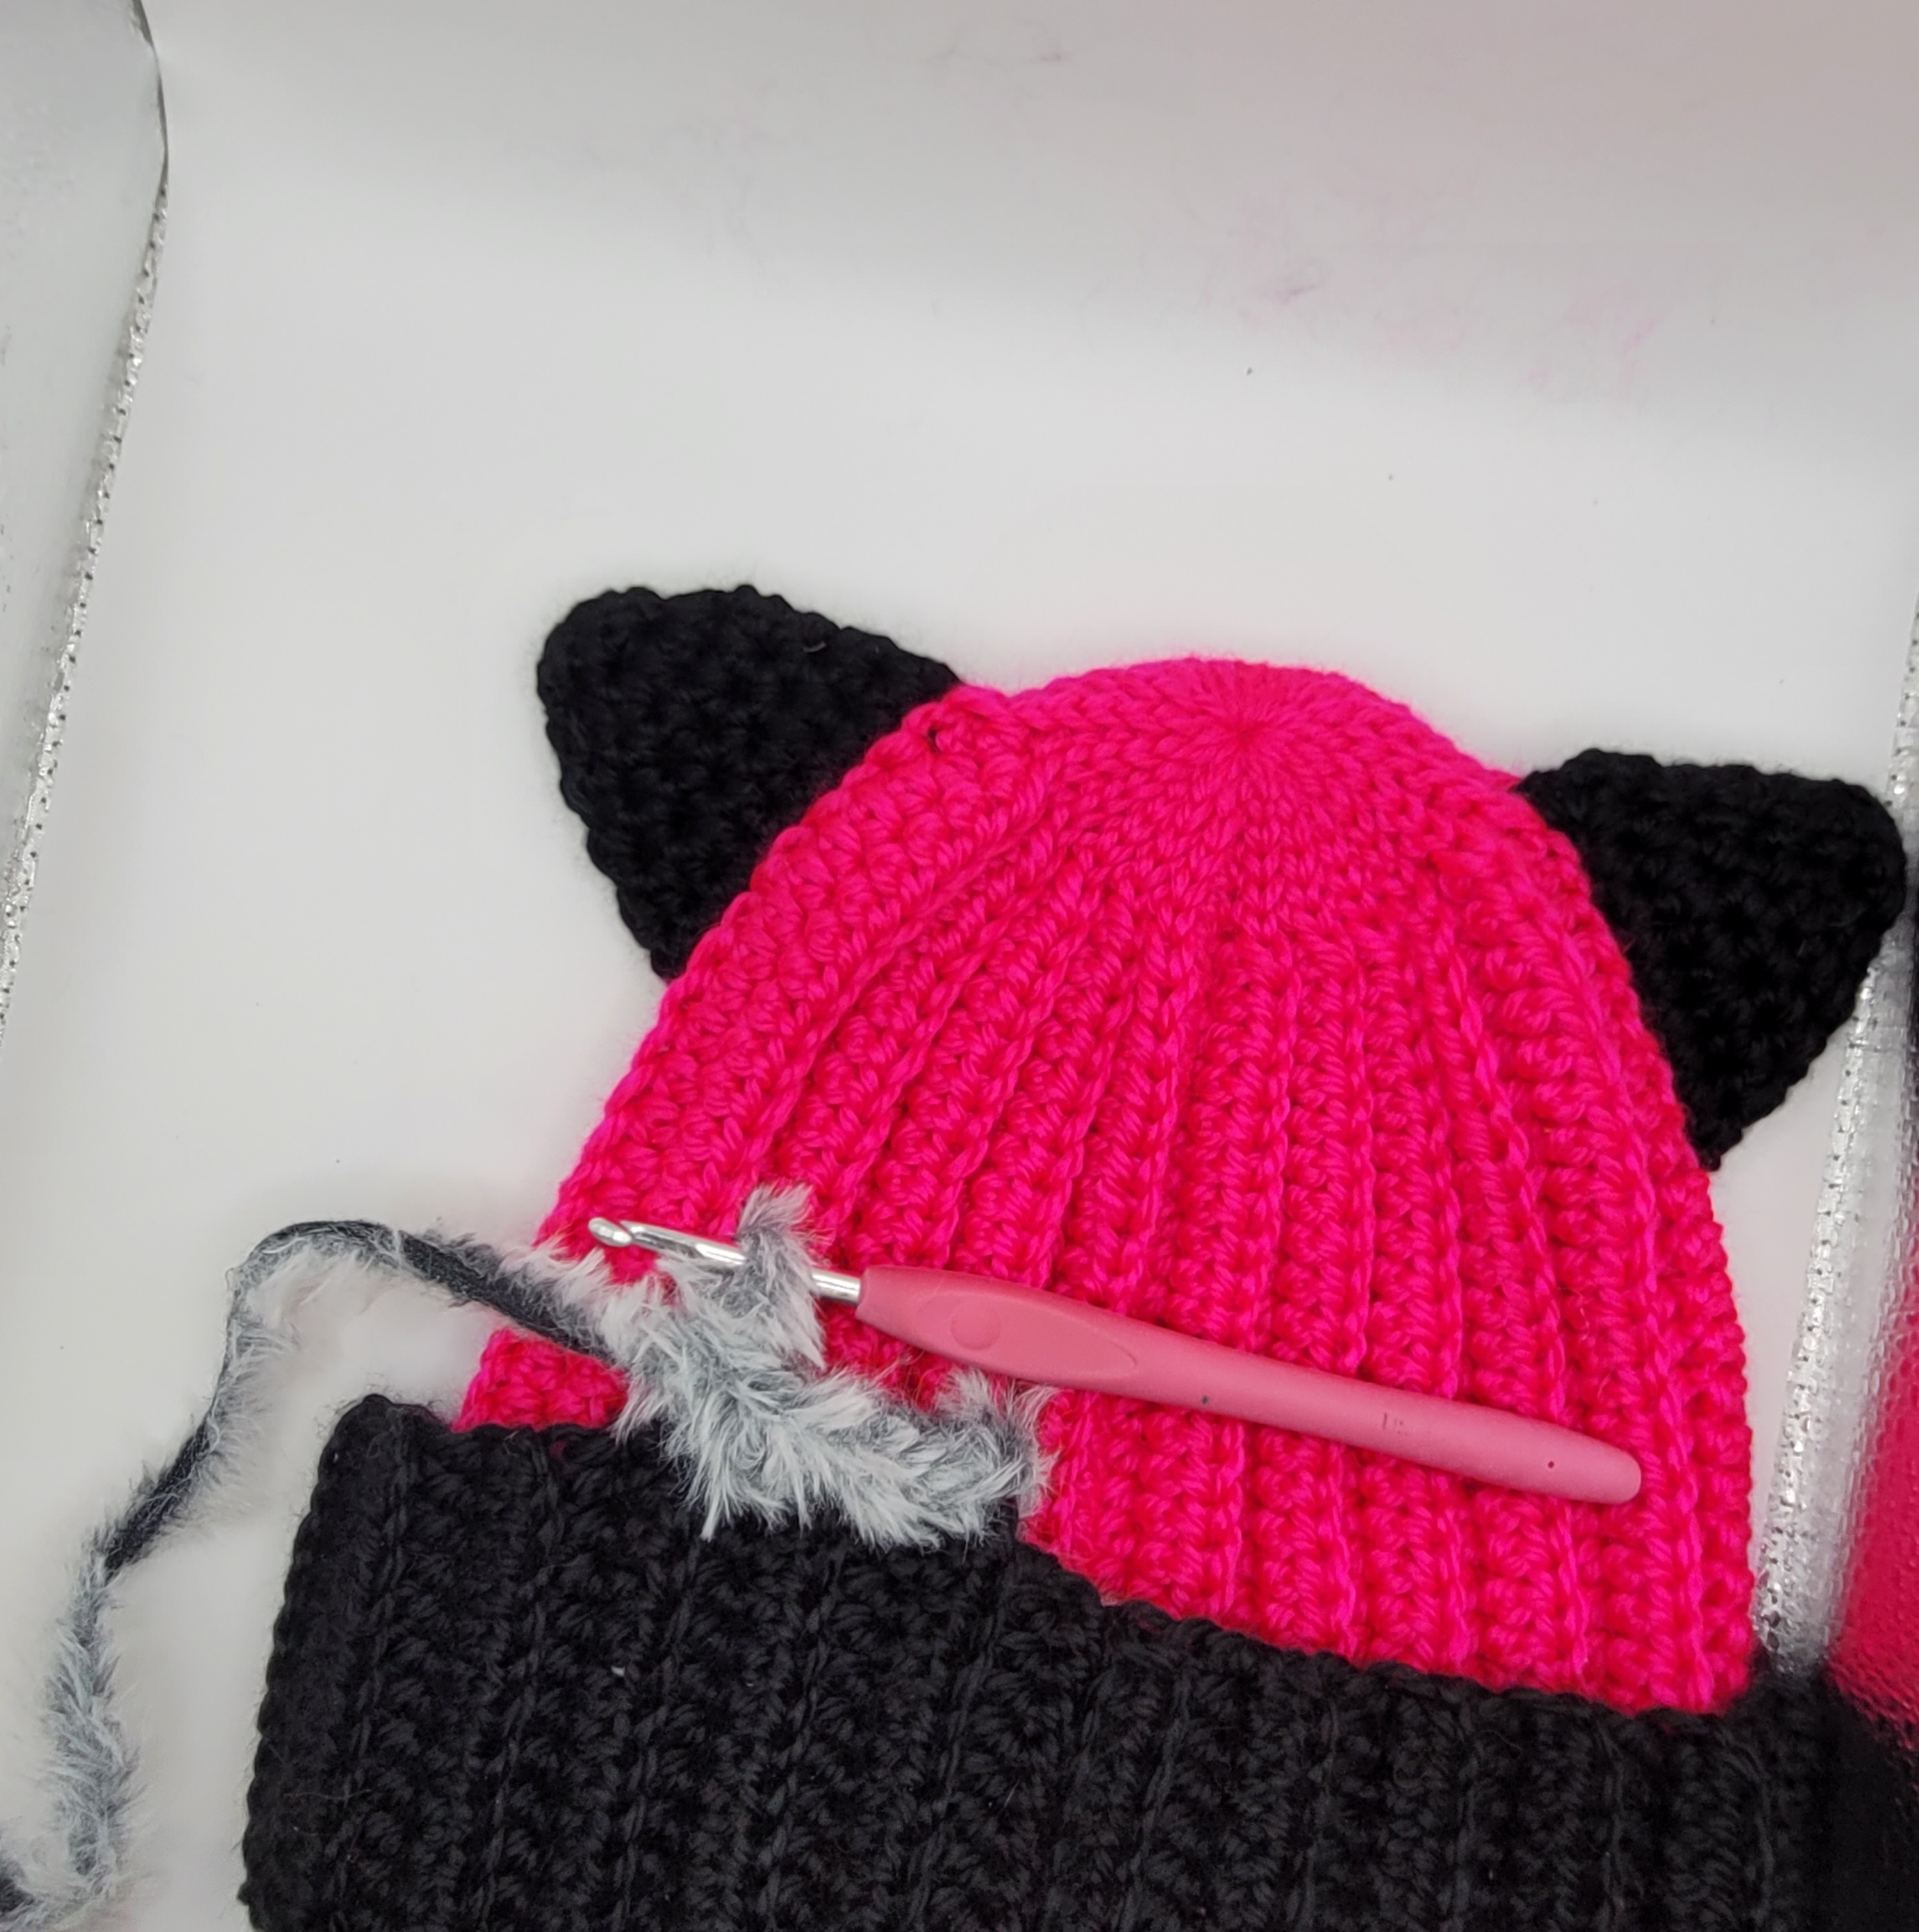
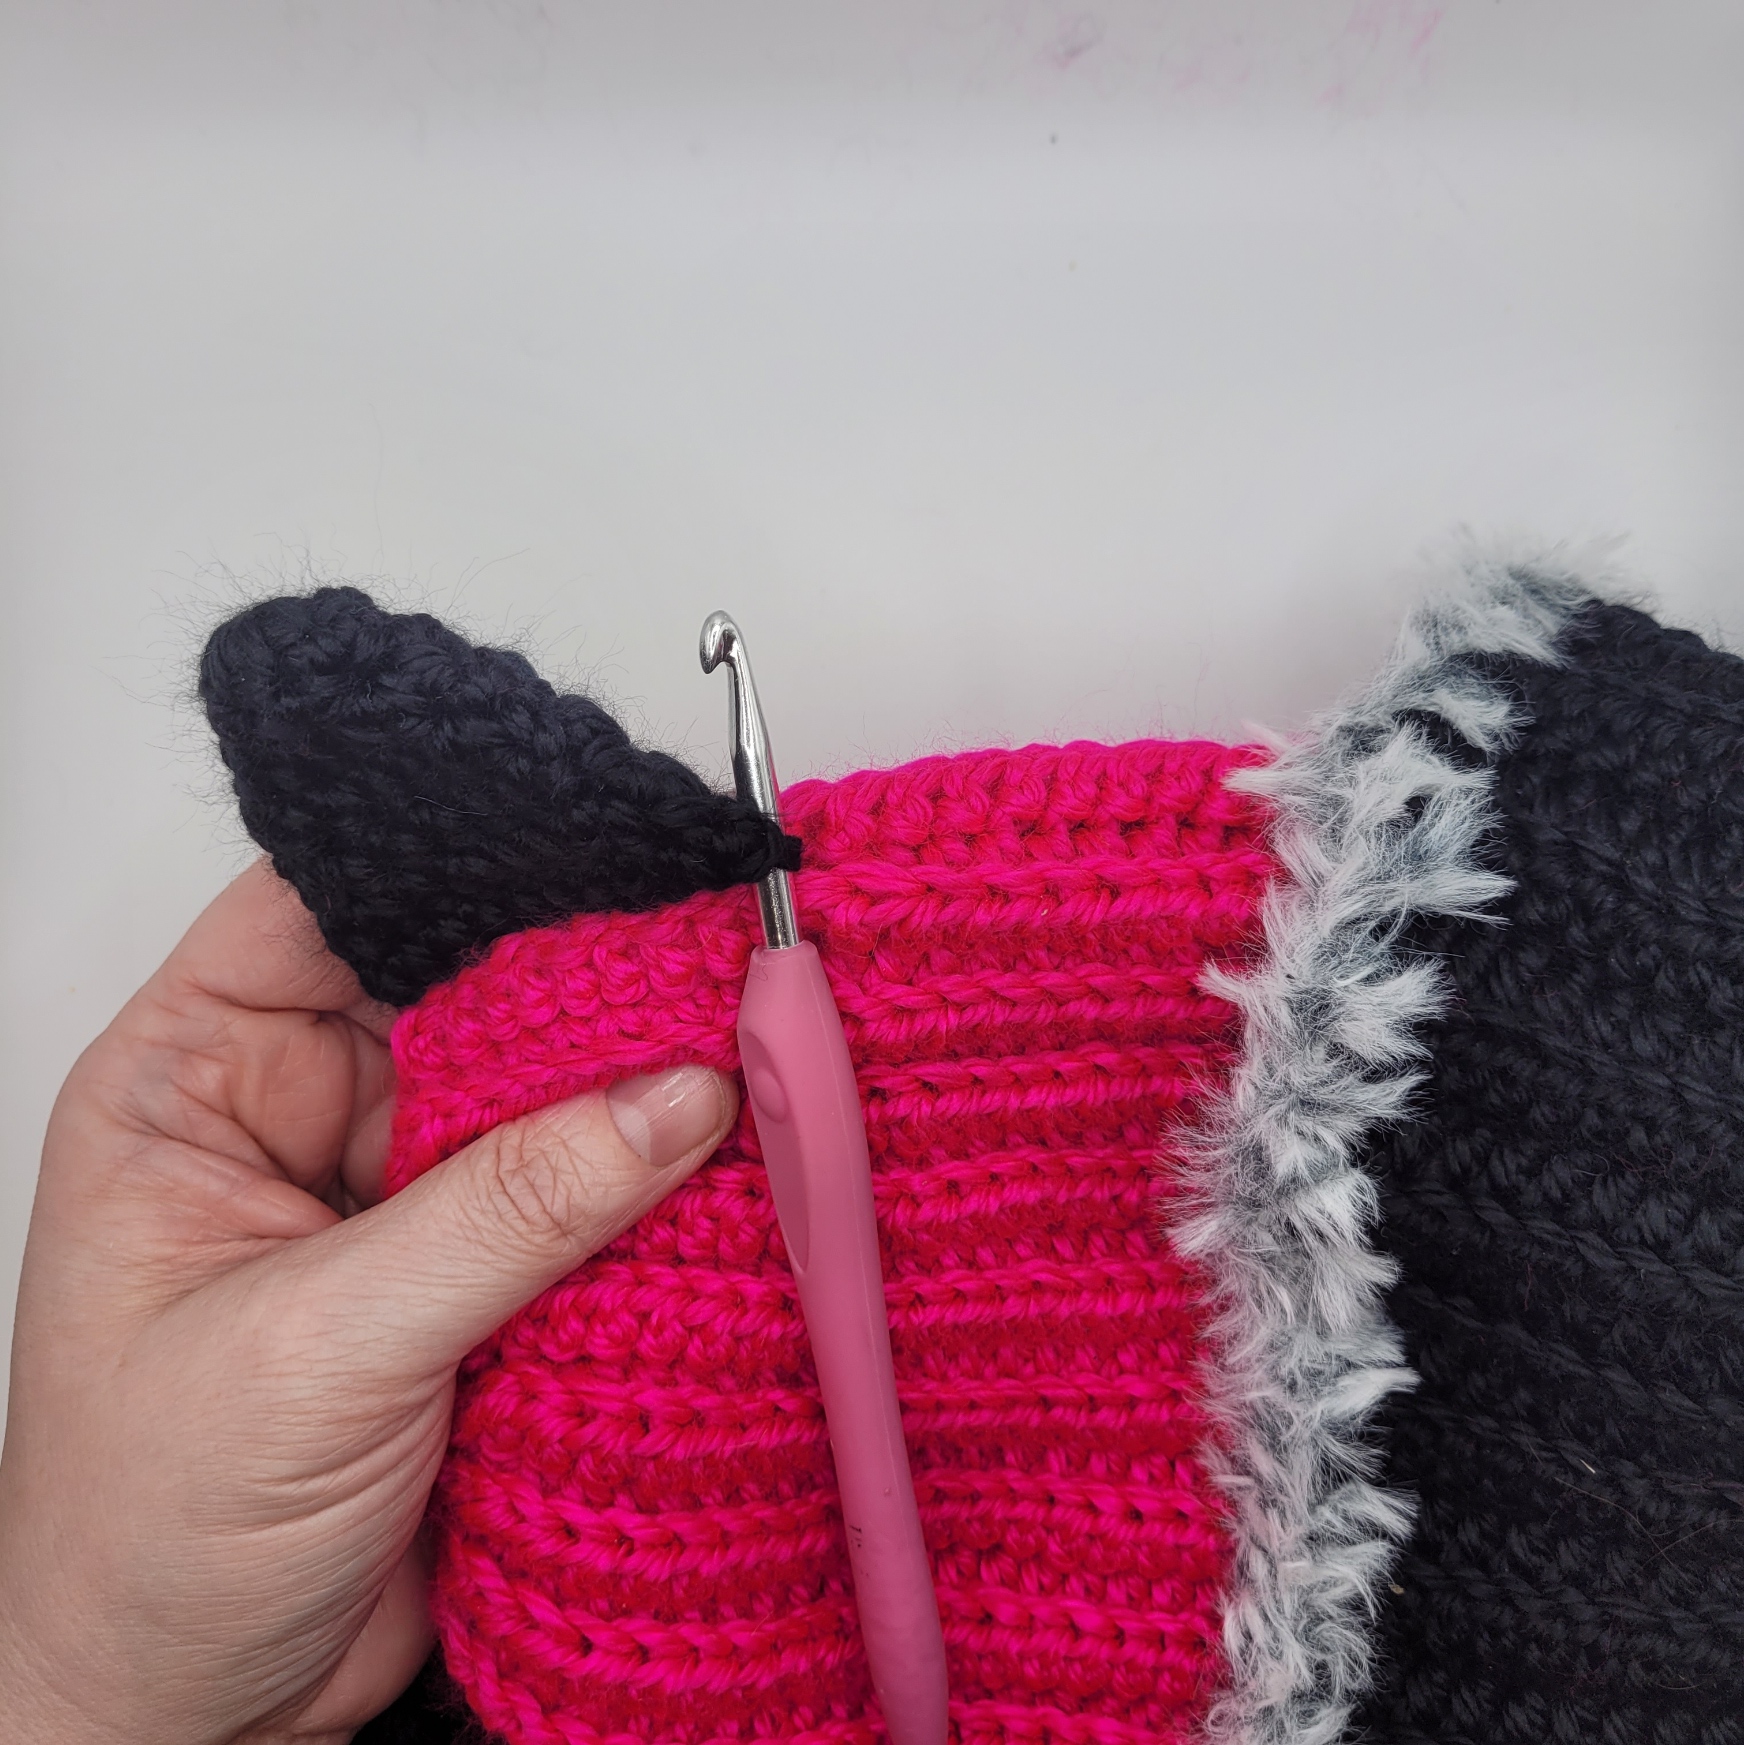
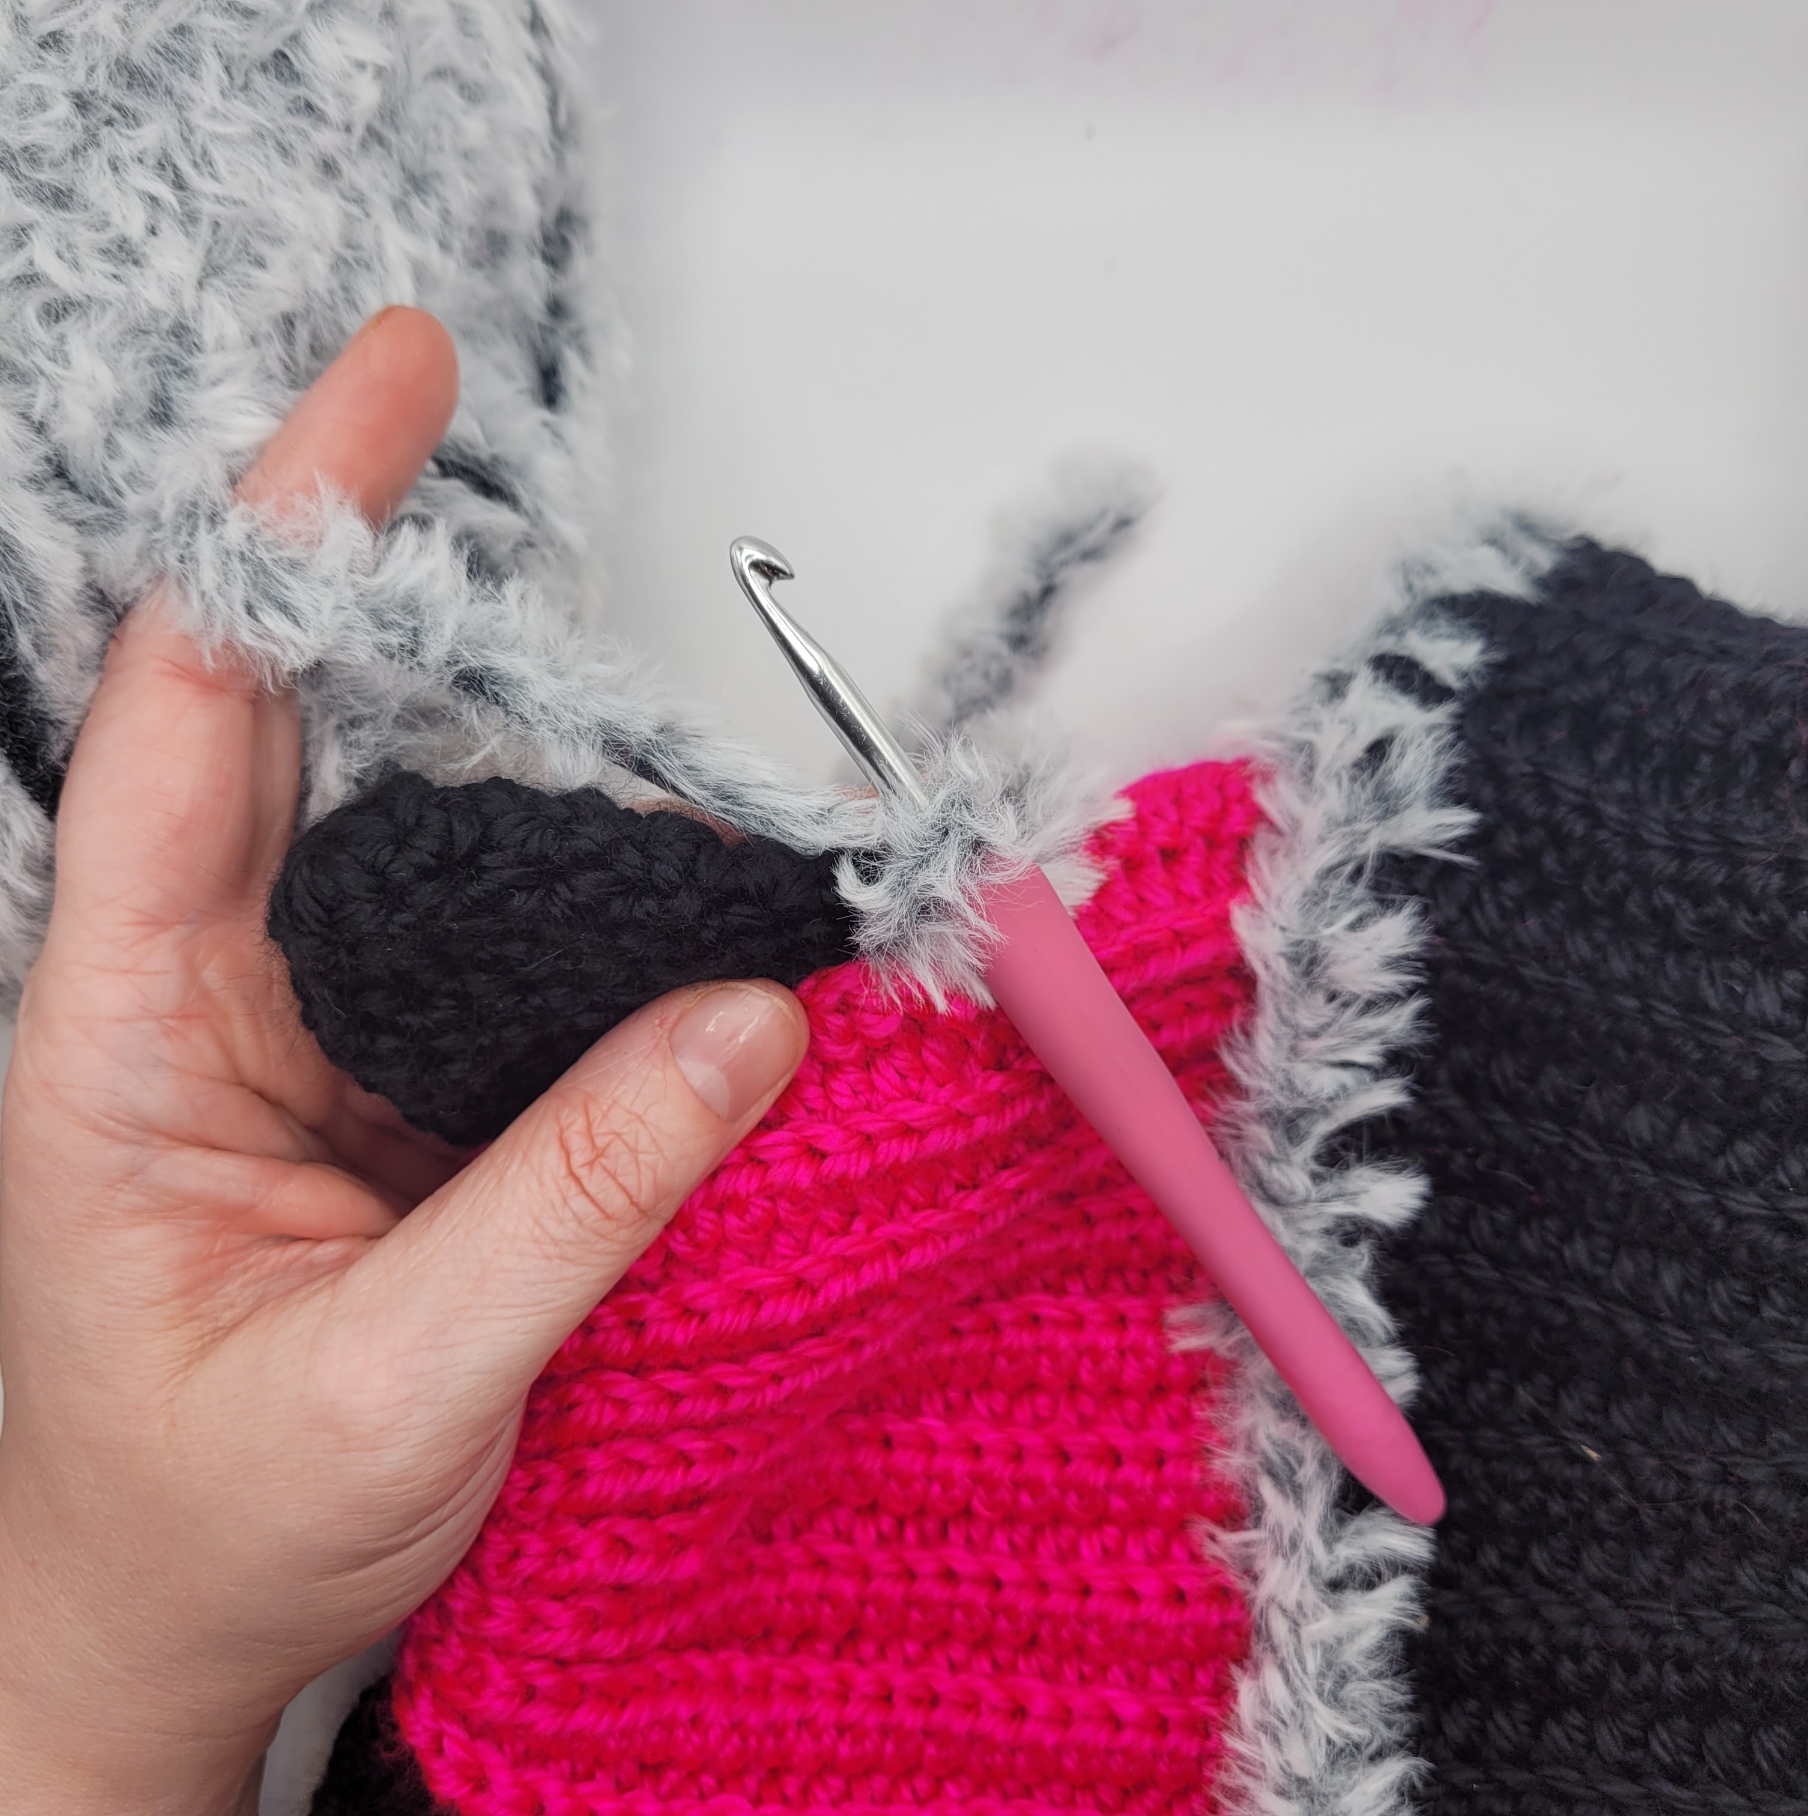
Adding the fur
BRIM: using fur yarn, work into the ends of the rows along the brim, put 1 SC at the end of a row and then 2 sc at the end of the next row, continue to alternate between 1 sc and 2 sc in next stitch/row all the way around. Slip stitch to first st, cut yarn, weave in tails.
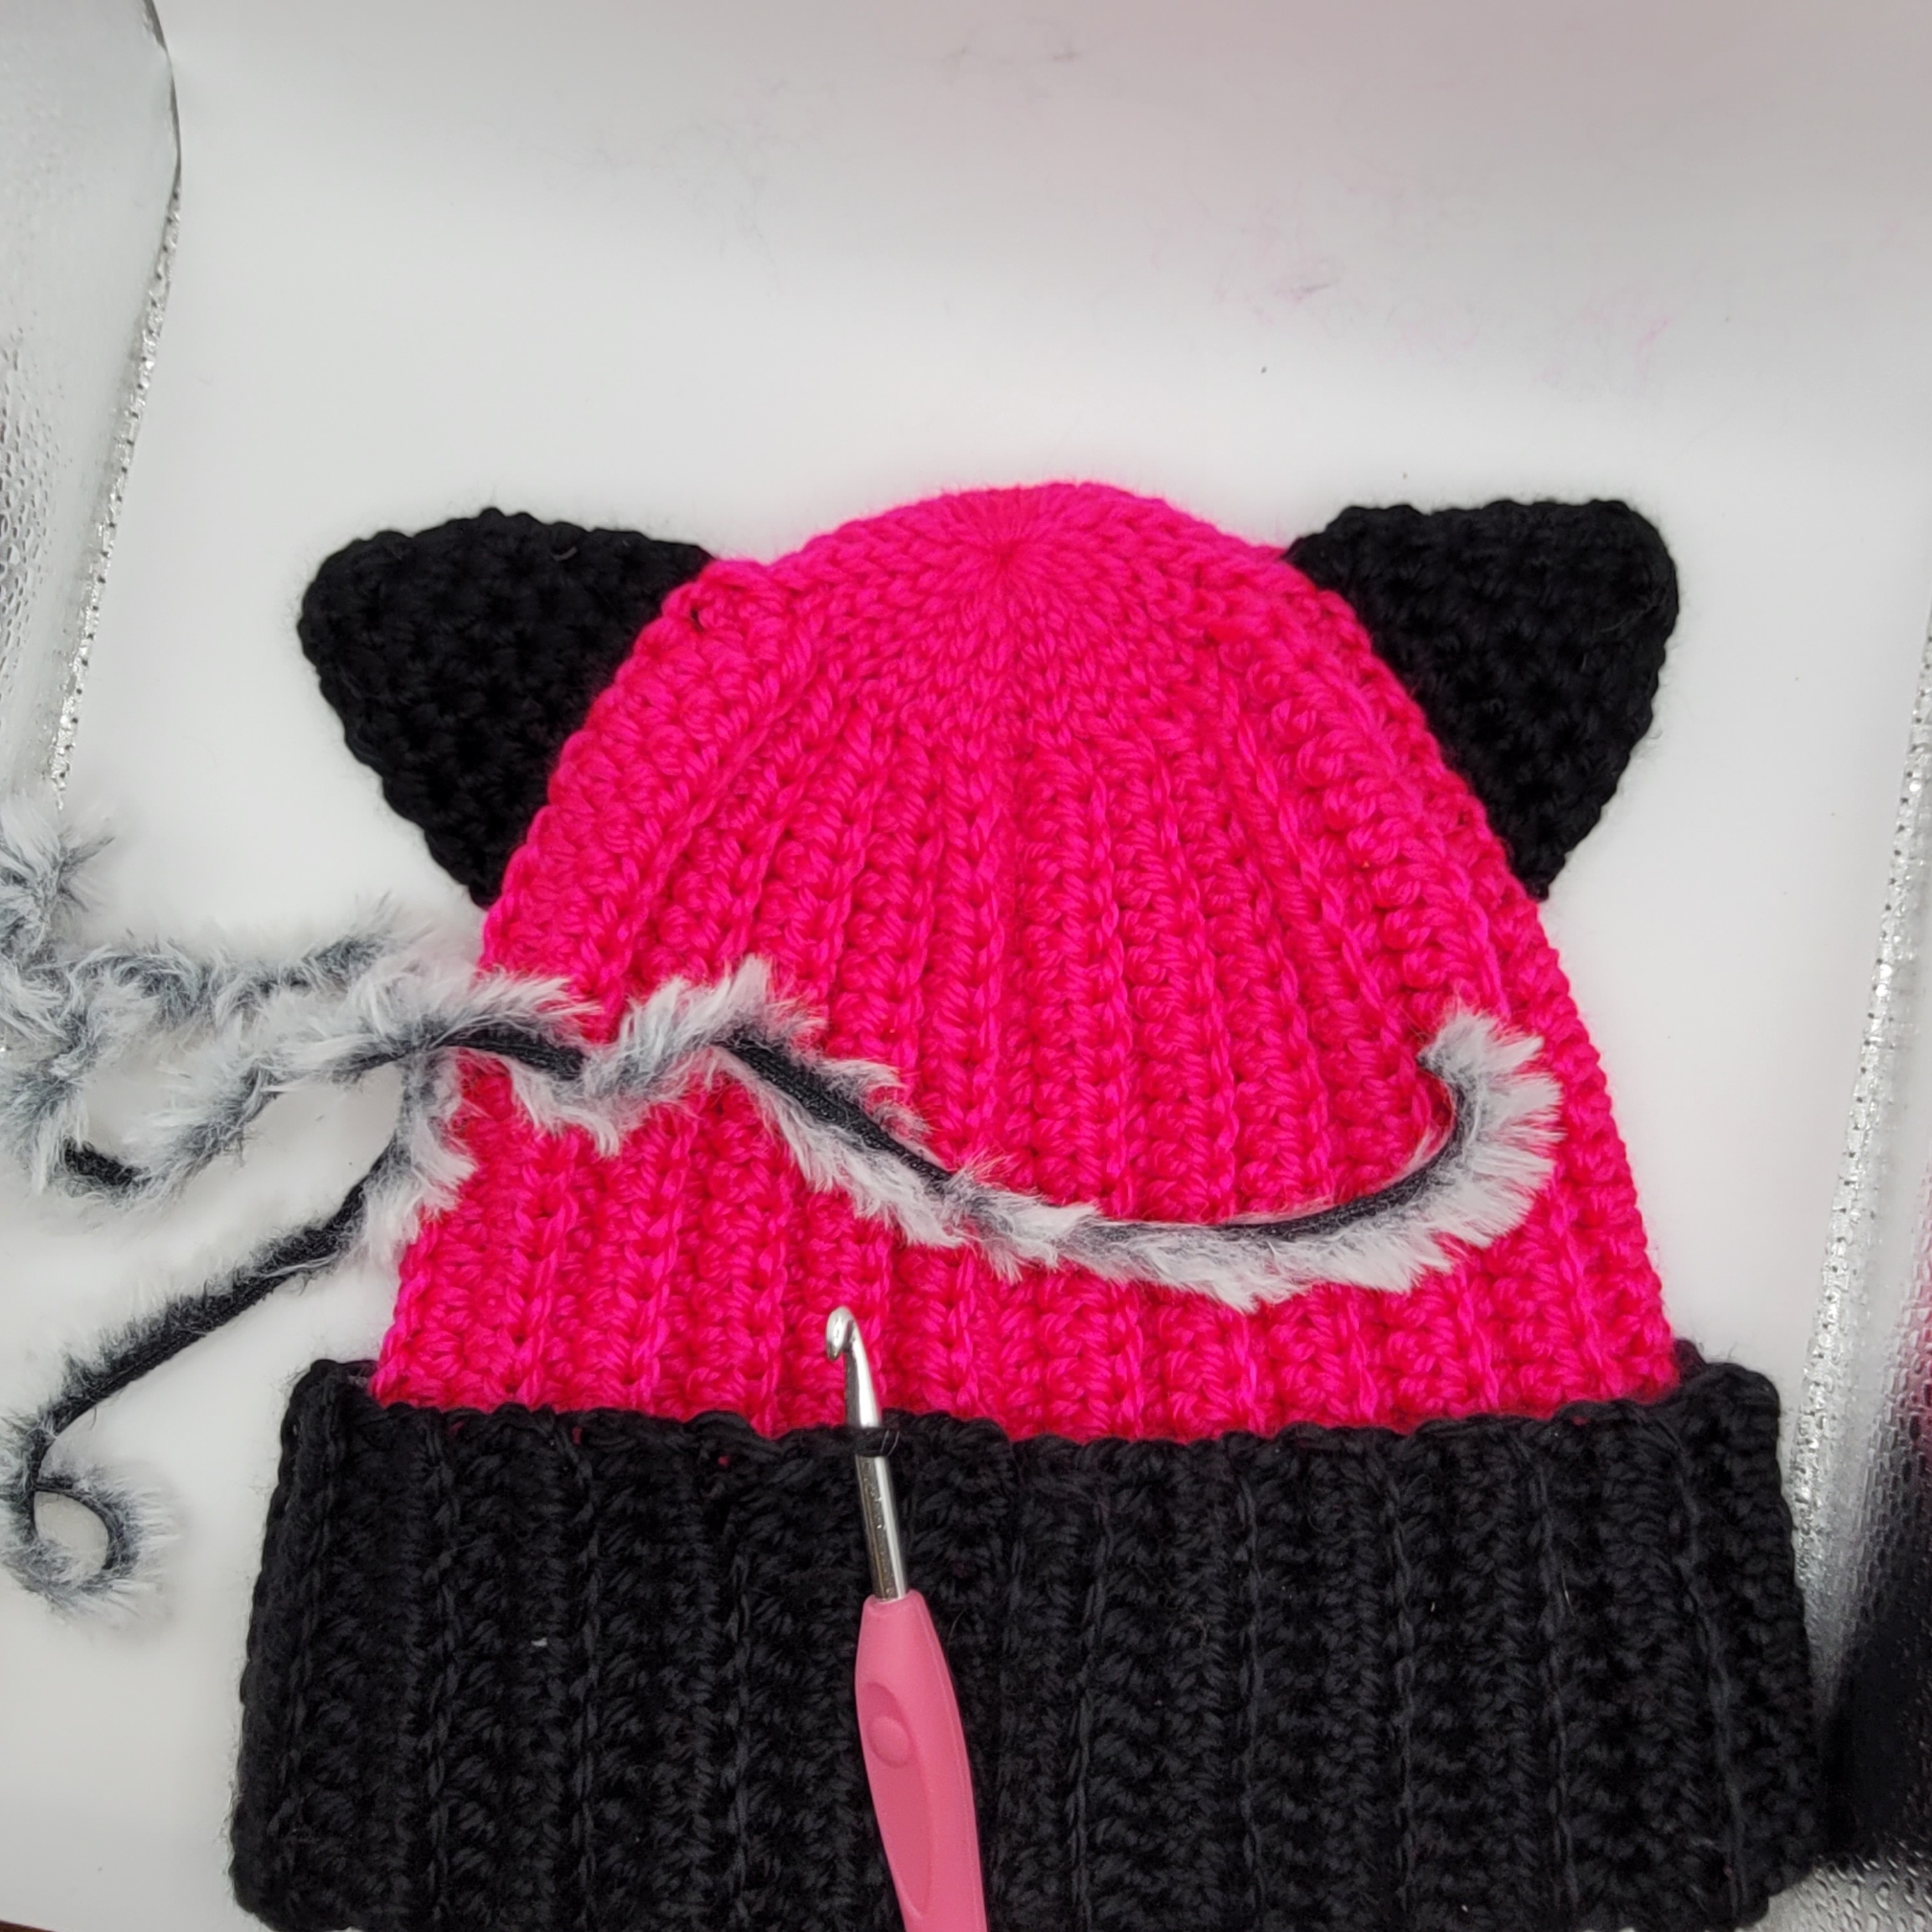

EARS: attach fur yarn at bottom corner of ear, put 2 SC in the end of each row, working your way up the ear to the point, put 4 SC into the point, work your way back down the other side of the ear putting 2 sc in the end of ear row. Cut yarn weave in tails.
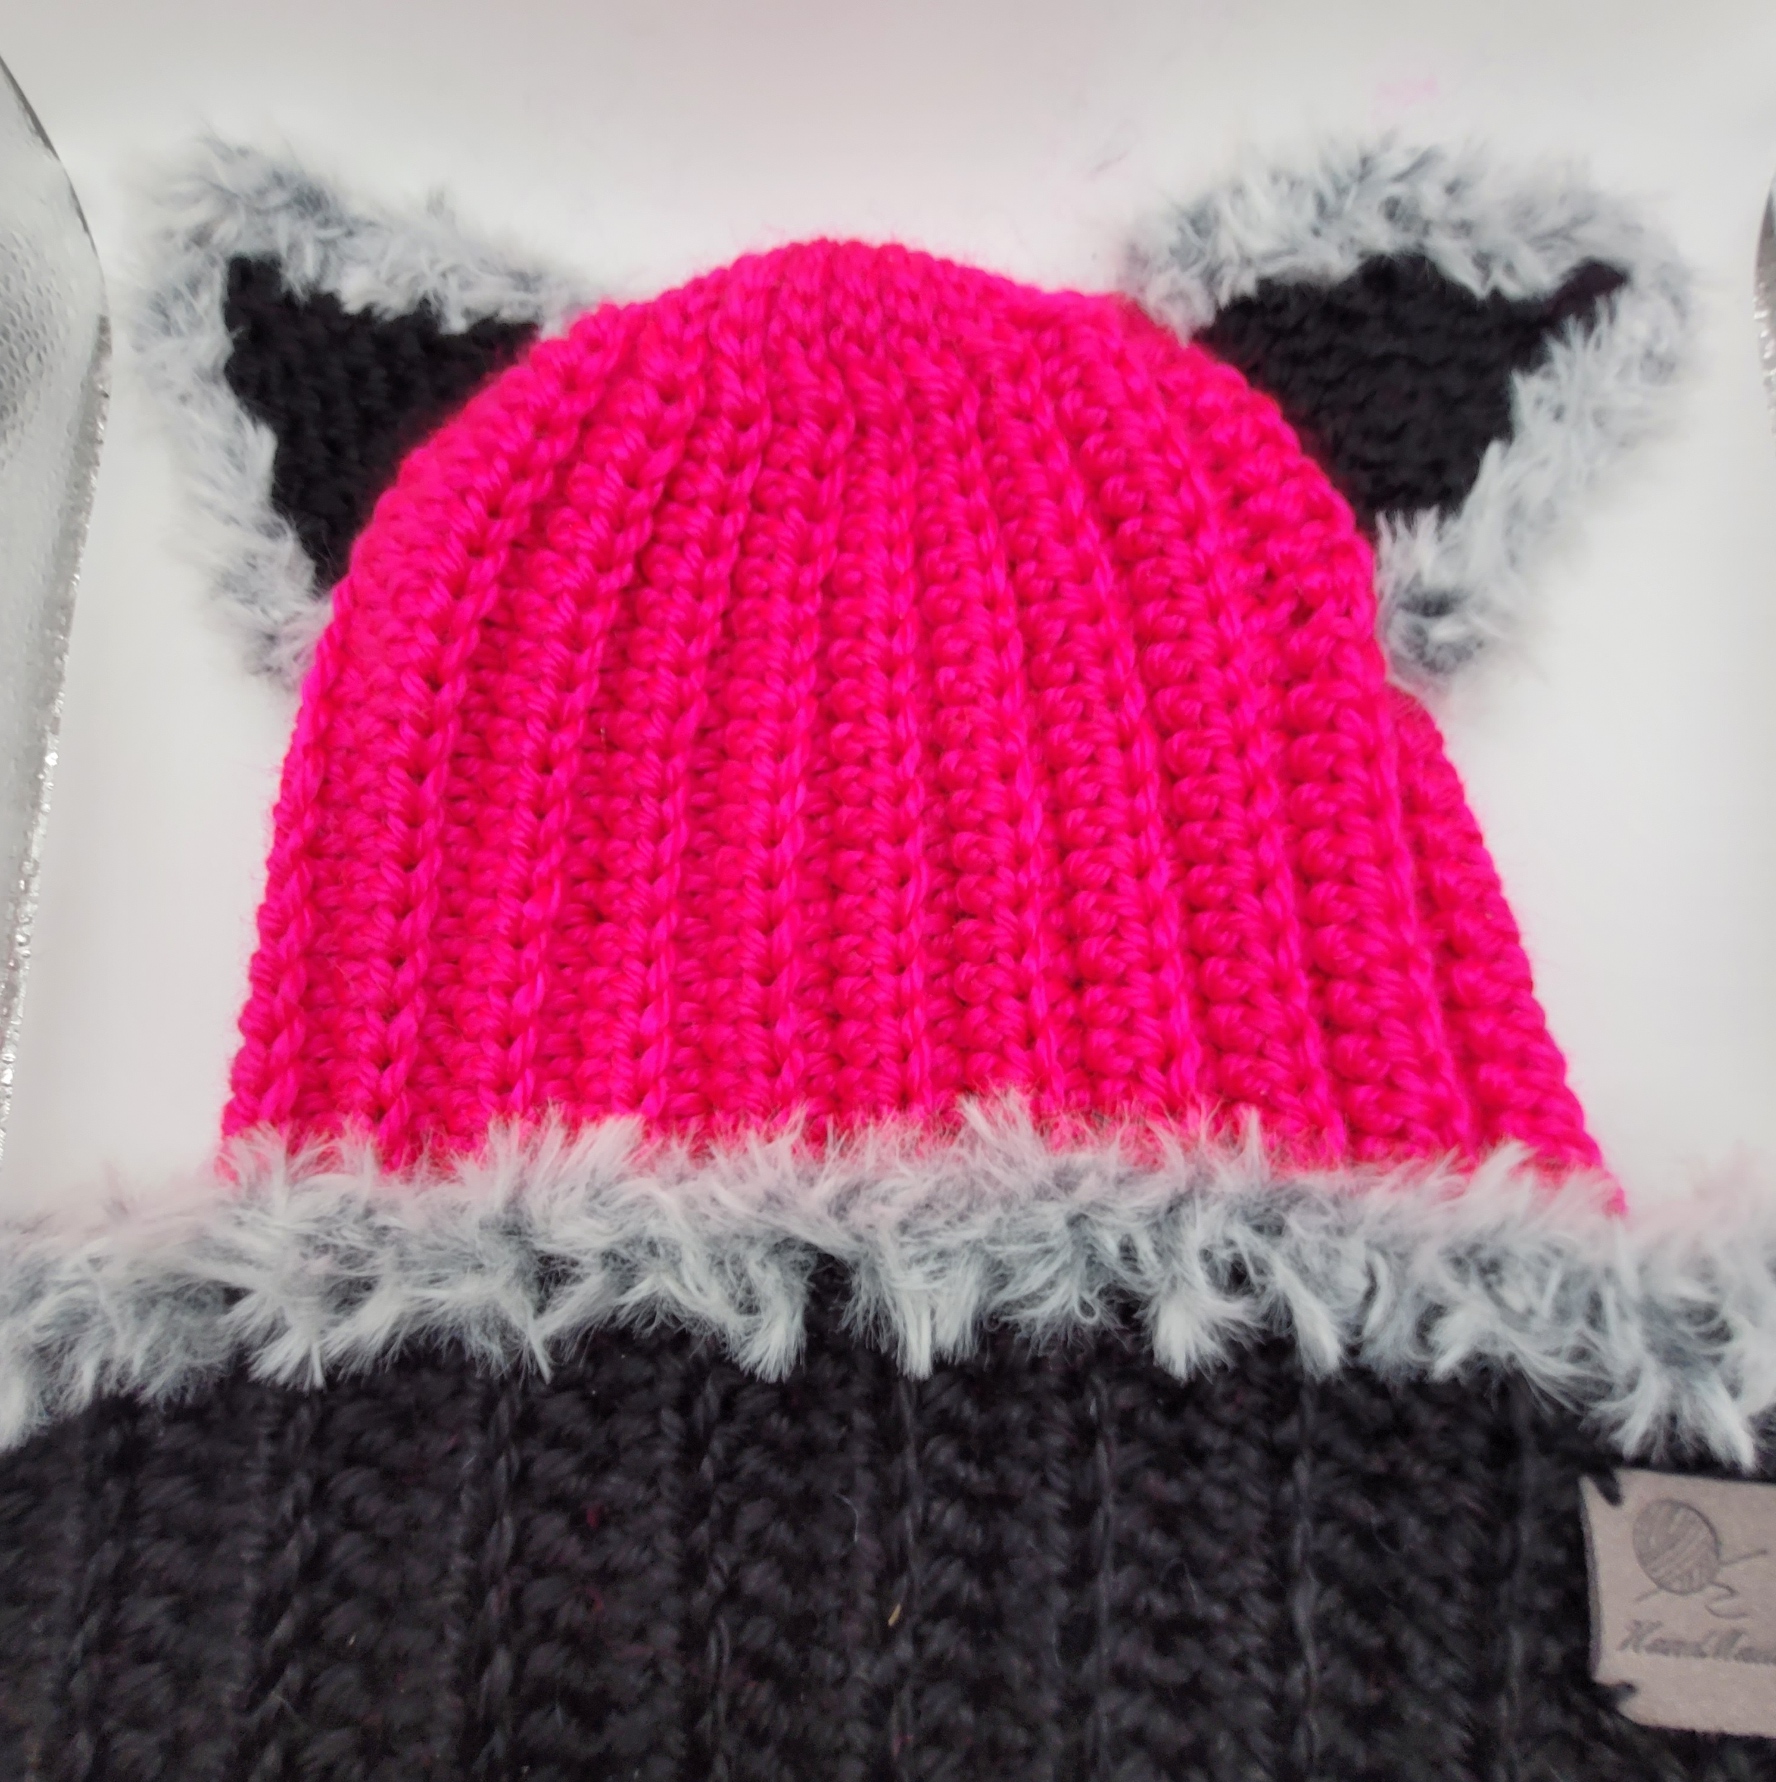
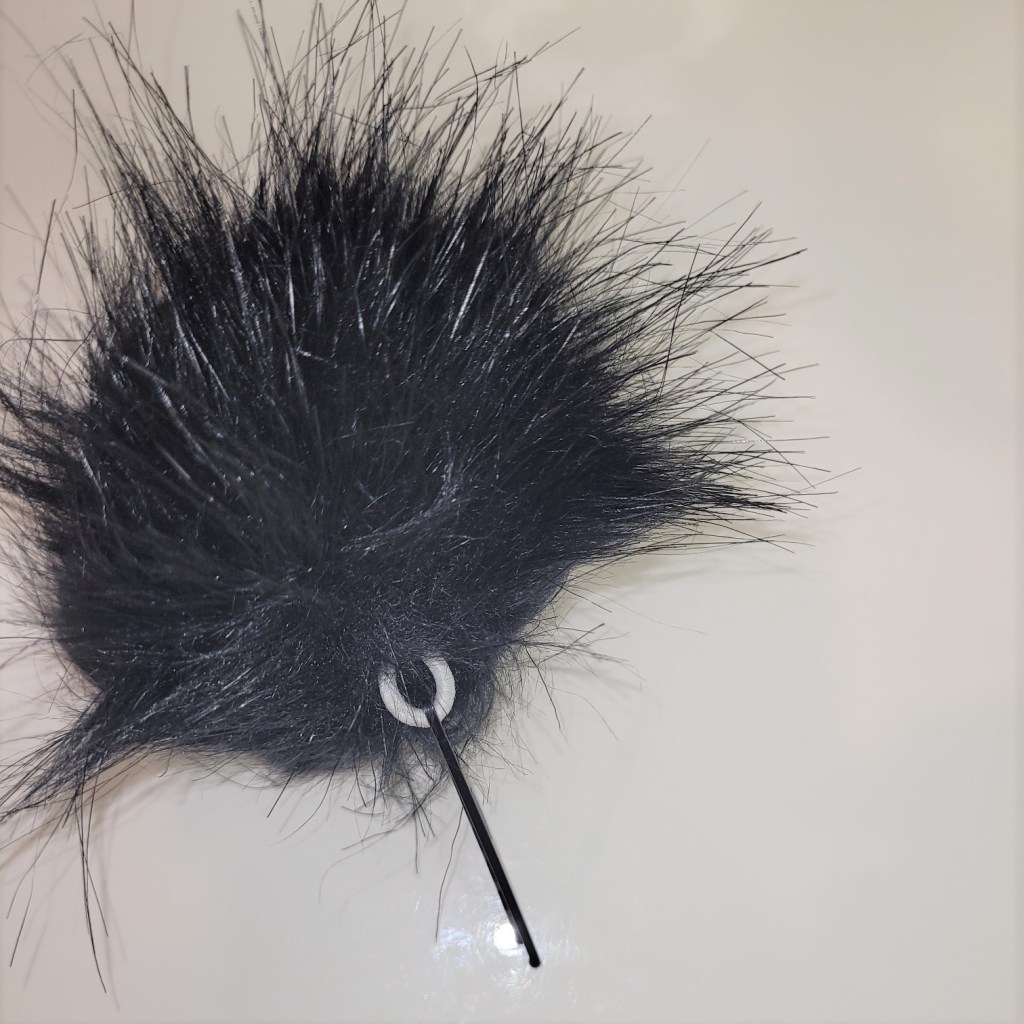
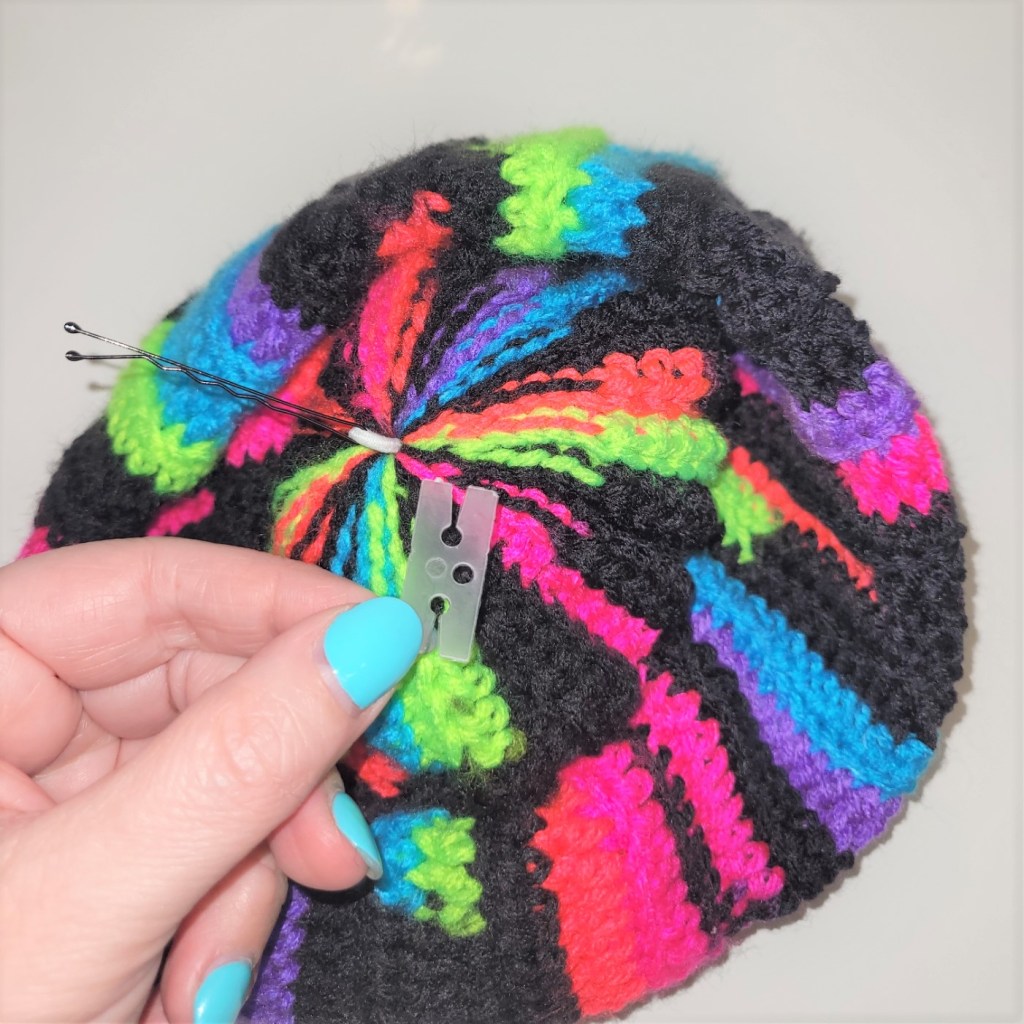
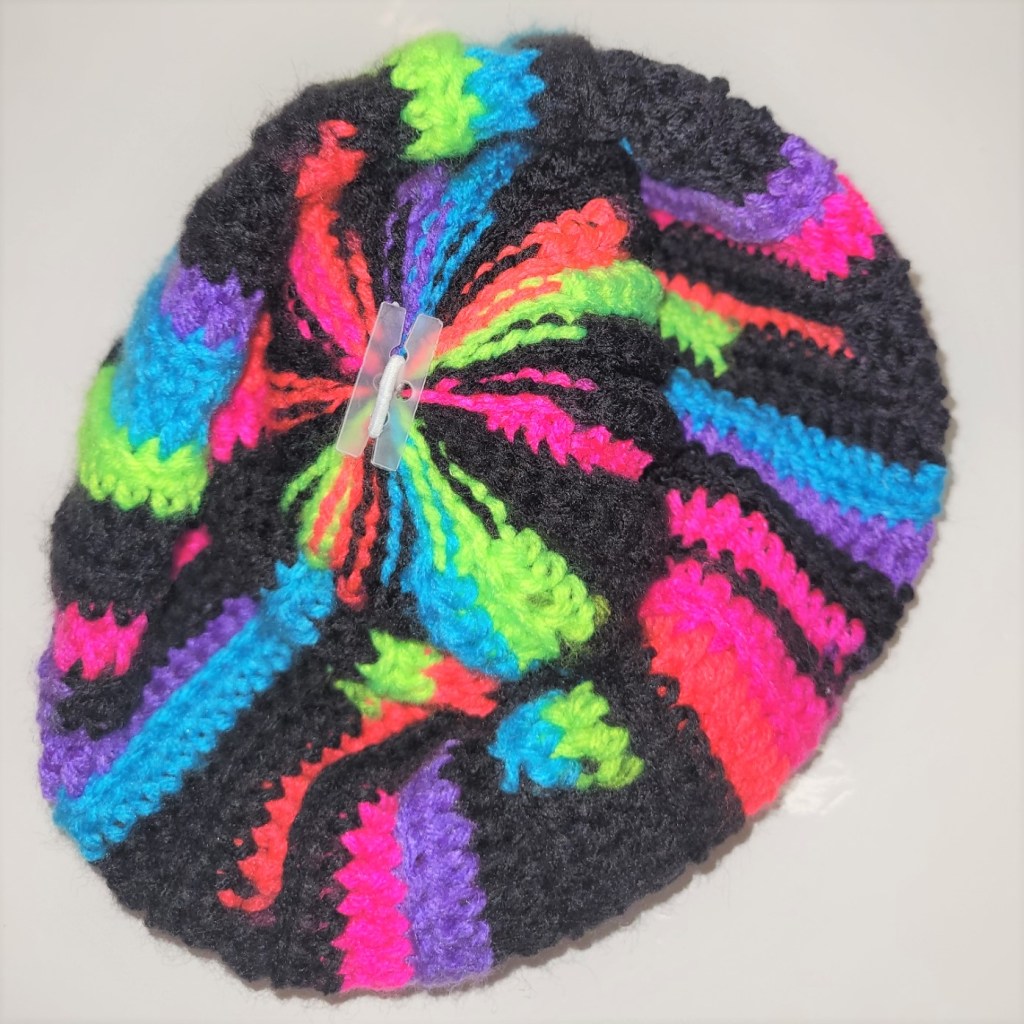
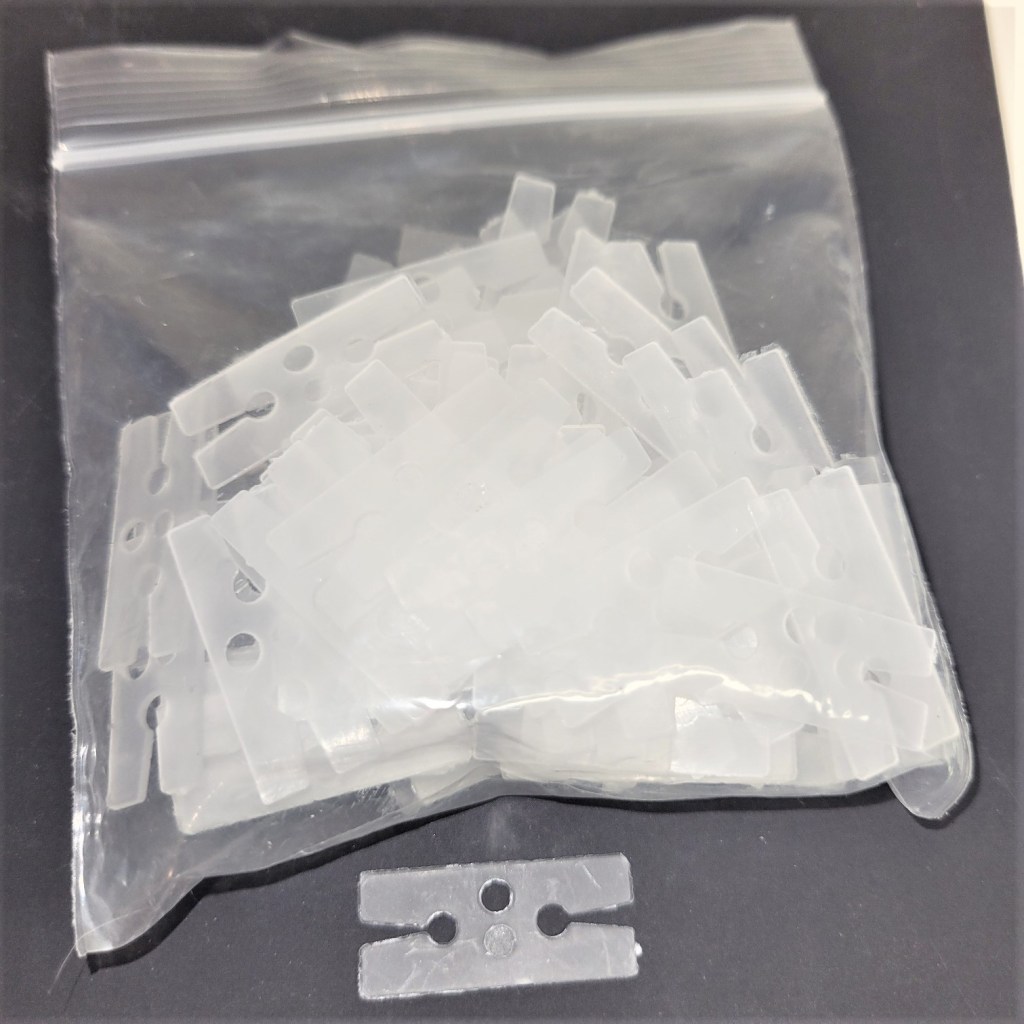
Add a tag and you’re finished!!!!